Introduzione

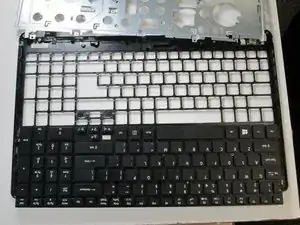
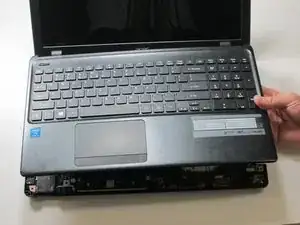
This guide will show you how to properly remove the keyboard.

  1. MM2tMSvY4BeluLxm
    • Before you begin, be sure to turn off your laptop and unplug it from the outlet.

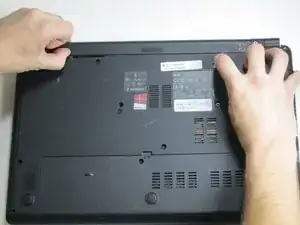
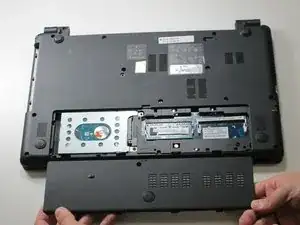
    • Flip your laptop over so the back panel is facing upwards.

    • Locate the lock switch below the battery.

  2. VARkRqnNXlwLgPoa
    VARkRqnNXlwLgPoa
    QOOidQNyoJLPQAEY
    25M3Km242JQPNtCK
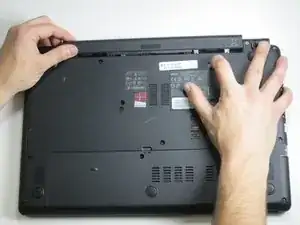
    • Slide the lock switch to the right using your finger or a spudger.

    • At the same time, grasp the battery with your other hand and slide it out of the laptop.
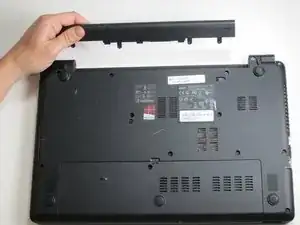
    • Remove the battery.

    • To reinsert or replace the battery, simply line up the tabs on the battery with the laptop and slide it straight back in. There is no need to move the lock switch.

  3. GFTbMEdwOXhkwdaV
    GFTbMEdwOXhkwdaV
    GAW3EyYSnrwFW2Xo
    • Remove the 16 2.5 x 8mm Phillips #0 screws from the back panel.

    If you just want to replace the screen then skip this step and all the following steps up to Step 13.

    I’ve followed this procedure several times trying to fix a dodgy screen on the same laptop. After the 4th time I realised that you do not need to disassemble the base part of the laptop at all. Just skip to Step 13, remove the 2 hinge screws and pull off the black screen surround. It needs a bit of jiggling but its much, much easier than trying to fight with the 3 ribbon cable connectors for the keyboard.

    If you do actually need to replace the screen cable, then you have to follow the complete process.

    Adrian Berry -

  4. xgUAOxQTMp6cj36r
    xgUAOxQTMp6cj36r
    YMJmXUvUid2rcXml
    ZQmXeccJ1UWQ2yVV
    • Remove the back panel by carefully disengaging it around the edges and then pull upwards.

  5. G325xw6dqtTOMcEF
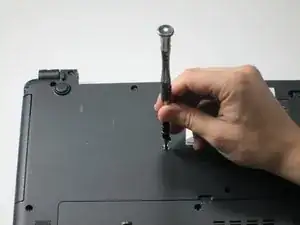
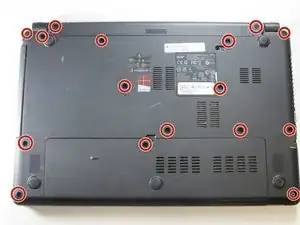
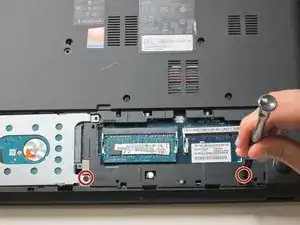
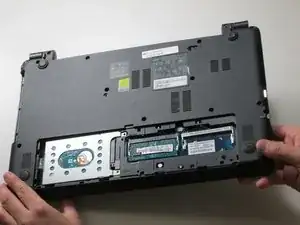
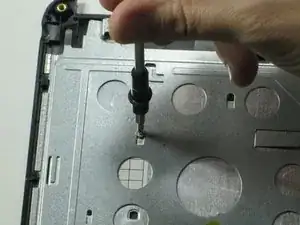
    • Unscrew the two remaining 2.5 x 8mm Phillips #0 screws from inside the bottom panel as designated in the image.

  6. FRB3txuZRnTOxFeB
    FRB3txuZRnTOxFeB
    pNdJkrehZSvGWH3o
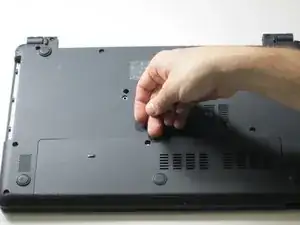
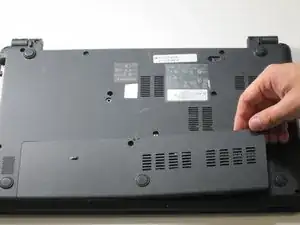
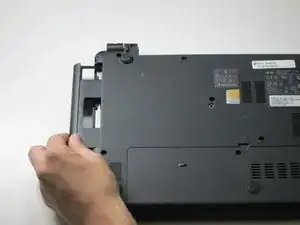
    • Slide out the plastic insert located on the left side, and remove, before returning the laptop to the face-up position.

  7. IVvbWlXESWhPBEwD
    IVvbWlXESWhPBEwD
    ftdTGXB33UFIG3oN
    J1iR6GHQmBDNYXUR
    • Carefully flip your laptop back over and open it up.

  8. prgNPK3onrF3g5pE
    prgNPK3onrF3g5pE
    lXwyFOKNmrBdYwlQ
    CobhHZZbhCEKdD1L
    • Carefully detach the top panel of the laptop and slowly lift it up to reveal the internal components.

    The sides and front edge of the top panel have a lot of moulded in clips holding the top onto the bottom. I needed a spludger to lever the sides of the bottom case out to release the clips from the top

    Adrian Berry -

  9. DFNbGkANeGSDXTSd
    DFNbGkANeGSDXTSd
    rkNdGqUIjNRkXUDF
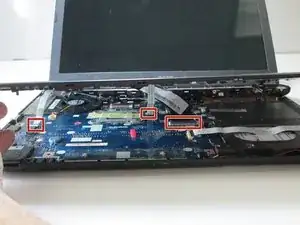
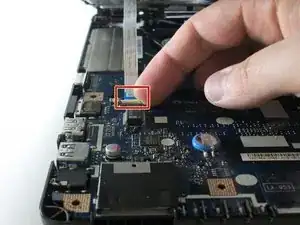
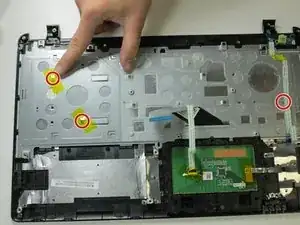
    • Locate the three ribbons that need to be unplugged, so the two halves of the device may be separated.

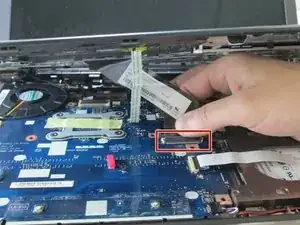
    • Unplug the large ribbon by sliding the retainer clip backward (toward the hinges), then gently pulling the cable out of the connector.

  10. sWPWInAUO6STk1YW
    sWPWInAUO6STk1YW
    OSdsaBfadbEmhCRp
    J5kUJSSFEvPyianY
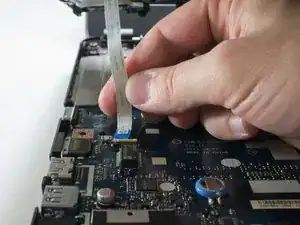
    • Remove the other two smaller ribbons by flipping open the small plastic tab that holds the ribbon in the connector.

    • Then simply pull the free ribbon out.

  11. IHyLfofpHCUXsOvO
    IHyLfofpHCUXsOvO
    rtZIEdWOwceTHg4o
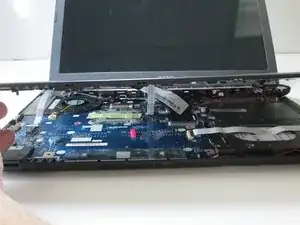
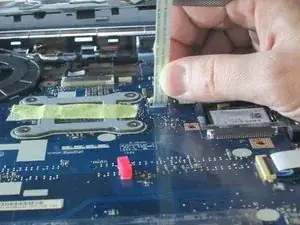
    • Lift the top panel all the way up and your laptop is now split into its two distinct halves.

    Thank you, I found the instructions straight forward and easy to understand. Good step by step and photos easy to see. I would use other instructions presented by you. Alan Keirle

    Alan Keirle -

    Can you show me where the power button is on the inside of my acer e1572-6484. I have tried everything to turn on and start my laptop, which turned on before i disassembled it to reset the CMOS battery. I connected everything. The led light is on indicating fully charged. new RAMS ac charger and battery pack. HELP!

    Elizabeth Torres -

    By the way regarding my Acer e1572-6484, after opening it I found it did not have an CMOS battery to reset.

    Elizabeth Torres -

  12. yRNFSUUZZDjLKvmQ
    yRNFSUUZZDjLKvmQ
    rQCpijGL3sGg6RbO
    rnx3Vh4HQZgVkA4Y
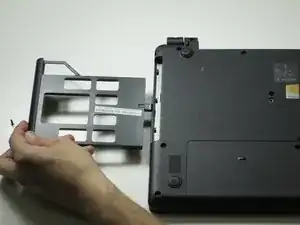
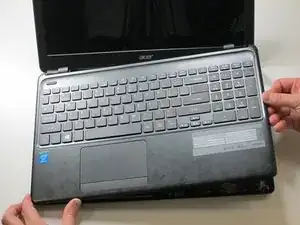
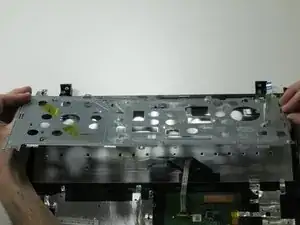
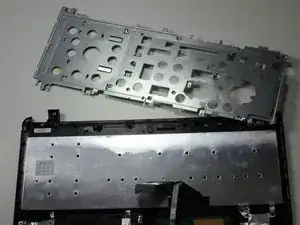
    • Separate the top panel from the rest of the laptop.

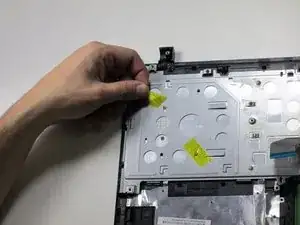
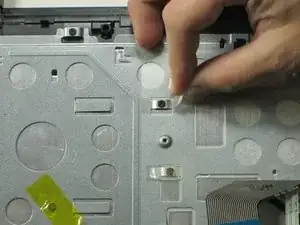
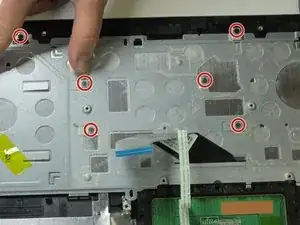
    • Remove the yellow tape and then remove the three 1.4 x 2 mm Phillips #00 screws with a Phillips #00 screwdriver.

  13. D5FNIDkvkLSSNCuB
    D5FNIDkvkLSSNCuB
    an6A2RQEKlyehWDX
    2Kio2xfkFEMc3awJ
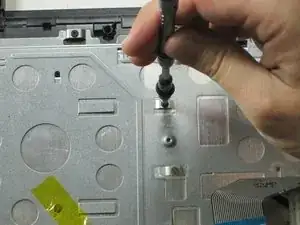
    • Remove the clear tape and then, remove the six 1.6 x 3 mm Phillips #0 screws with a Phillips #0 screwdriver.

  14. UJLY1fjbGpEfXDj4
    UJLY1fjbGpEfXDj4
    QwCoR5mfnN4DrH12
    aFyIPGddKPyRLRLm
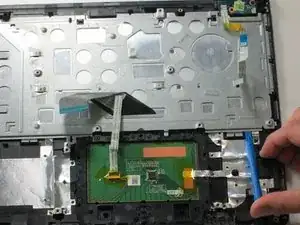
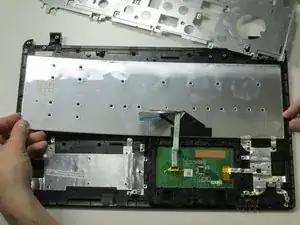
    • Once the screws have all been removed, use a plastic opening tool to slide the metal panel upward on both sides to disengage the metal tabs.

    • Flip the metal panel out once this is done.

  15. sdLWXH6Q3IeZVdbm
    sdLWXH6Q3IeZVdbm
    AgSP6DpuGigFOqUl
    ASIQIlgFEmRcGrMd
    • Flip panel towards you to take out keyboard.

Conclusione

To reassemble your device, follow these instructions in reverse order.

Cody Lim

Membro da: 26/01/17

1404 Reputazione

Un commento

If installing a new keyboard, remember to pull the keyboard cable through the metal panel before screwing it back in.

Jared Williams -