Introduzione
If your laptop makes a buzzing sound or seems to be overheating, the fan might need to be cleaned or replaced. This guide will help you remove the fan to clean or replace it.
-
-
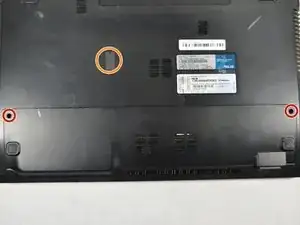
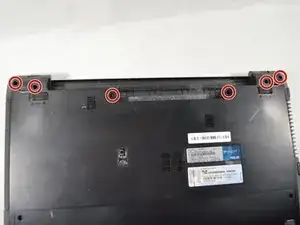
Remove the two 2 mm Phillips head screws on each side on the bottom using PH00 screw driver.
-
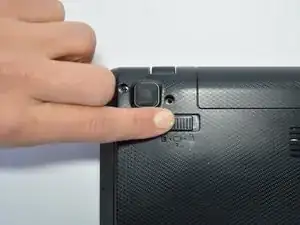
Remove the one 2 mm screw underneath the black cover in the middle using the same screw driver.
-
-
-
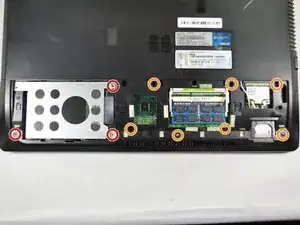
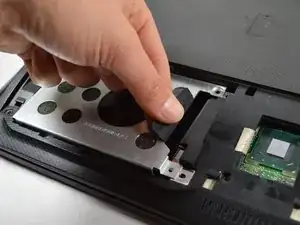
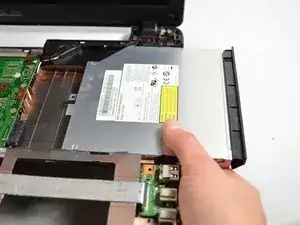
Remove the three 2 mm Phillips head screws on the hard drive using PH00 screw driver.
-
Remove the remaining seven 1.8 mm Phillips head screws using the same screw driver.
-
-
-
Remove the six 2 mm Phillips head screws on the top edge of the laptop using PH00 screw driver.
-
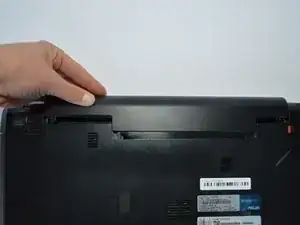
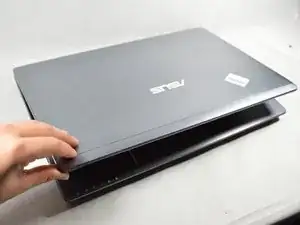
Flip the laptop right-side up and open the screen.
-
-
-
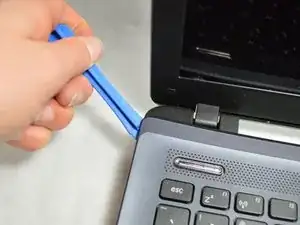
Starting in a corner of the keyboard, pry the keyboard from the laptop using a plastic opening tool.
-
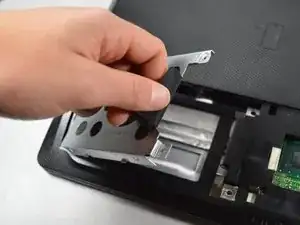
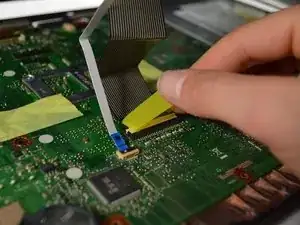
Remove the ribbon cable on the bottom of the keyboard by lifting up on the tape and pulling up.
-
-
-
Remove the four 2 mm Phillips head screws from the top of the motherboard and fan using PH #1 screwdriver.
-
-
-
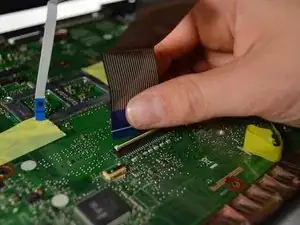
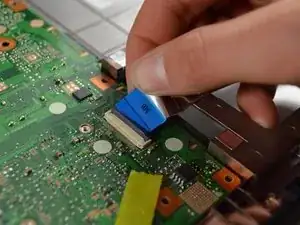
Remove the blue cable on the bottom right by lifting up on the tab and pulling the cable out.
-
-
-
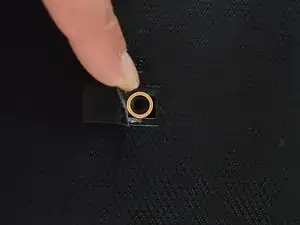
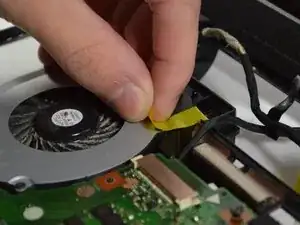
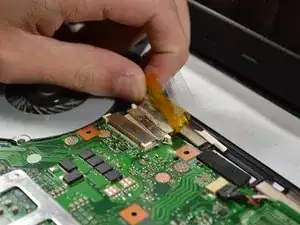
Peel off the black and yellow tape attaching the fan to the base.
-
Peel the tape off the yellow cable and pull out to remove the cable.
-
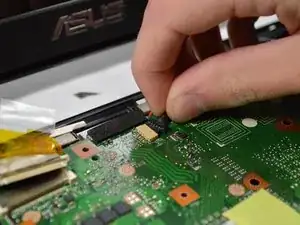
Remove the small black, white and red cable next to the yellow cable at the top.
-
-
-
Carefully and slowly lift up the motherboard from the base and remove the red and black cable underneath the motherboard in the top left corner near the fan.
-
-
-
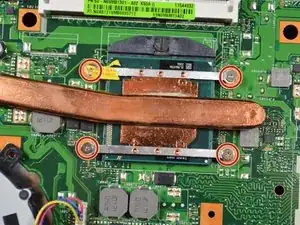
Remove the four 2 mm Phillips head screws surrounding the copper rod using PH1 screw driver.
-
-
-
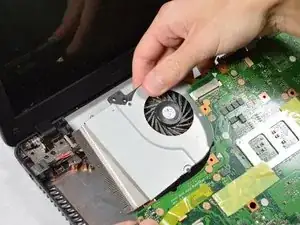
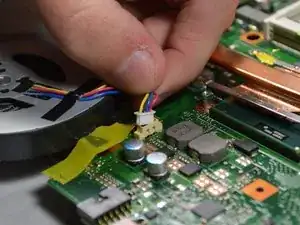
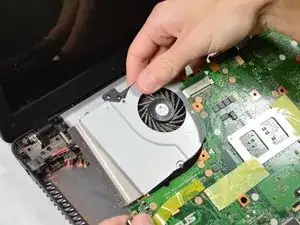
Remove the red, blue, black and yellow cable attaching the fan and motherboard together with your fingers.
-
Now the motherboard and fan are completely separate from each other.
-


To reassemble your device, follow these instructions in reverse order.