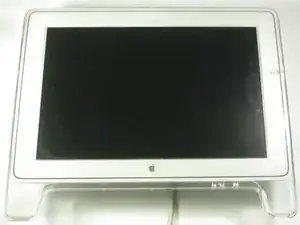
Introduzione
If your Apple Cinema Display M8149 control board isn't sending signals—leading to system crashes—use this guide to replace the faulty control board.
The control board is an essential part of the display as it is the component that acts as the nerve center that the CPU sends signals through. When those signals aren't being processed by the control board, that can cause the system to crash.
Before starting the steps be sure to power off the display and disconnect it from any external power source.
Strumenti
-
-
Place the Cinema Display so that it is lying on its face and the feet are pointed away from you.
-
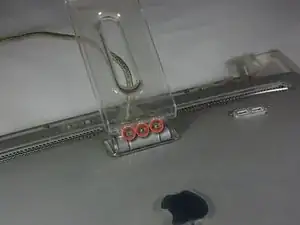
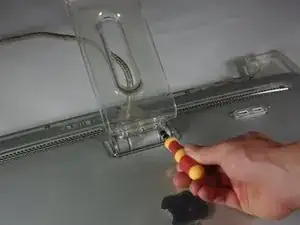
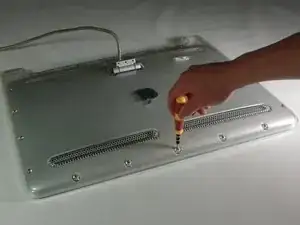
Remove the three screws (9.52 x 4.43mm) that connect the back foot to the hinge using the Hex Key.
-
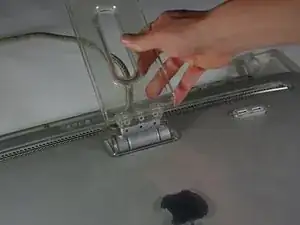
Remove the back foot from the hinge mount by grabbing the foot and pulling upwards.
-
-
-
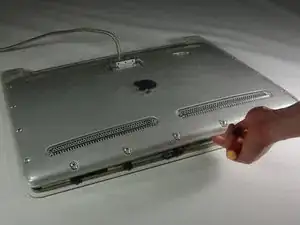
Remove the eighteen (5.25 x 4.43 mm) screws around the edge of the backplate using the Hex key.
-
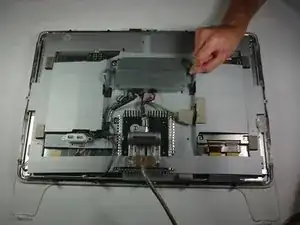
Disconnect the small white connector leading to the display's Power button.
-
Gently lift the backplate off of the display. Completely remove the backplate and set it aside.
-
-
-
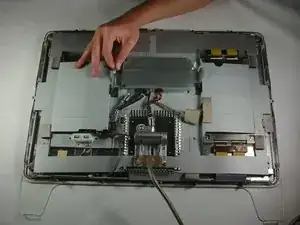
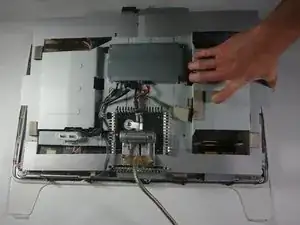
Use a Phillips #2 screwdriver to remove the four (9.52 x 3.43 mm) screws on the outer rim of the metal cover.
-
Next, remove the four cover (11.91 x 2.89 mm) screws located at the corners of the metal cover using the Phillips #2 screwdriver.
-
-
-
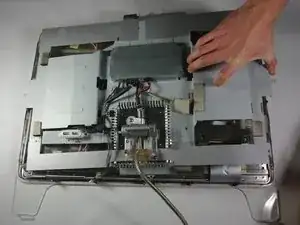
Unplug the large brown plug in the center-right, that connects the control board to the rest of the display.
-
Unplug the blue and gray plug on the right side of the control board. Repeat with the left side.
-


To reassemble your device, follow these instructions in reverse order.
Un commento
thank you for this guide. my 22" adc didn't want to start up. after following this guide, it now works with my G4. thank you
Mine had hex head screws instead of Phillips head.
Bill Greene -
Hex 2.0 screws here too!
dietrichbatista -