Introduzione
Strumenti
-
-
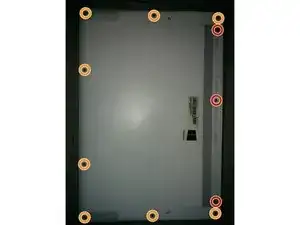
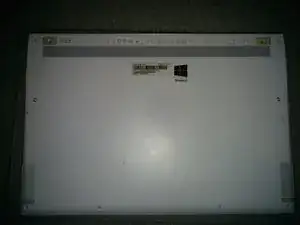
First, remove the 3 long torx t5 screws (red) and the 8 short ones (orange).
-
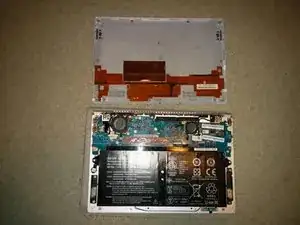
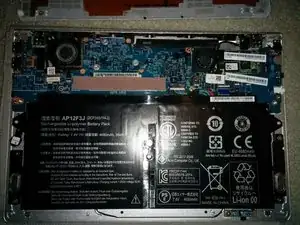
Once you have removed the screws, you can pry off the bottom panel.
-
-
-
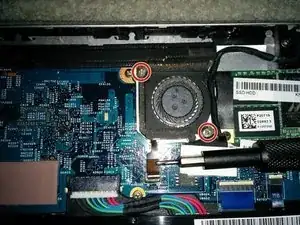
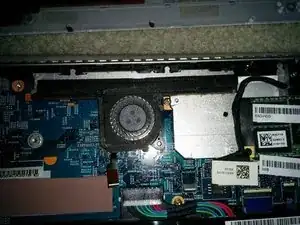
Unplug the flex cable at the bottom left of the fan by flipping up the release tab and pulling. Also remove the two Philips #0 screws (red) securing the fan. The fan should then pull out without too much difficulty
-
-
-
Simply install the new fan in the opposite order that you removed the old one. Put everything back together and boot the computer. The new fan should now be working.
-
Conclusione
To reassemble your device, follow these instructions in reverse order.
Un commento
Very good, but this says nothing about the other fan
Anson Ma -