Introduzione
Before doing this replacement make sure that you have a correct 2.5" hard drive to use. The original drive is a 500 GB hard drive, but any size could be used as a replacement.
-
-
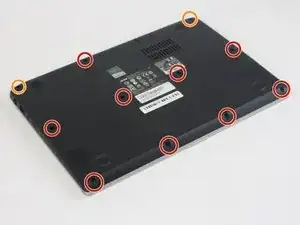
Remove the nine 4mm screws with a PH0 screwdriver.
-
Remove the two 6mm screws with a PH0 screwdriver.
-
-
-
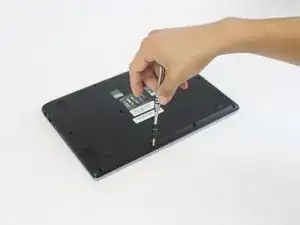
Remove the black rubber tab on the back of the computer
-
Remove the 4mm screw hidden underneath the black tab with a PH0 screwdriver.
-
-
-
Orient the computer upside down, with the hinges facing away from you.
-
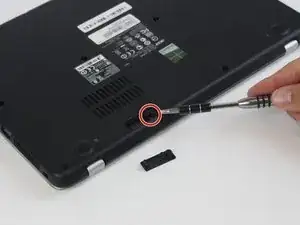
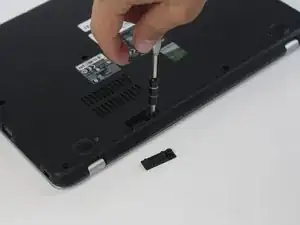
Find the black plastic piece in the SD card slot on the right side of the computer.
-
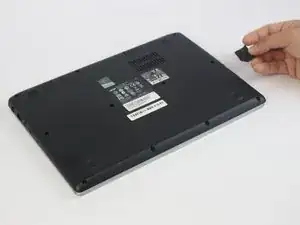
Remove the plastic piece by sliding it out of the SD card slot.
-
-
-
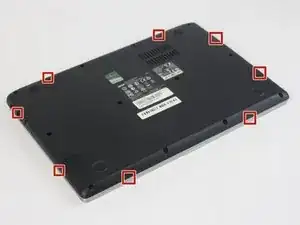
Insert a spudger at these eight locations to disengage the plastic tabs from the housing cover, and pry apart.
-
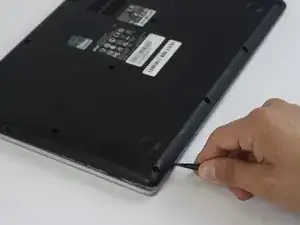
Continue around the entire perimeter of the cover with the spudger.
-
-
-
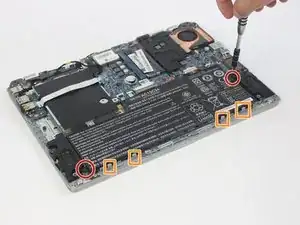
Remove the two 4mm screws using a PH0 screwdriver.
-
Depress the tabs holding the battery with a spudger.
-
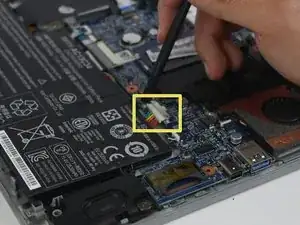
Disconnect the battery connector from the motherboard using a spudger.
-
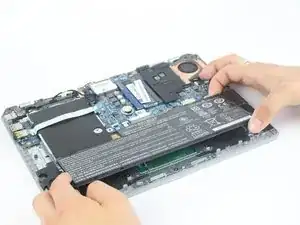
Pull the battery up and away from the laptop to remove.
-
-
-
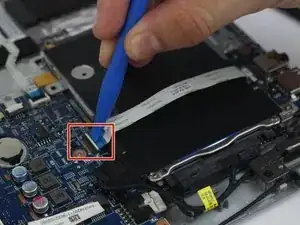
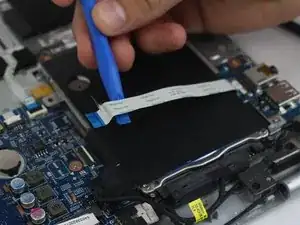
Use a plastic opening tool to pop the latch up on the ZIF connector up.
-
Pull out the ribbon cable to disconnect it from one side.
-
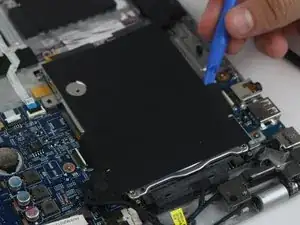
Remove the black isolation pad.
-
-
-
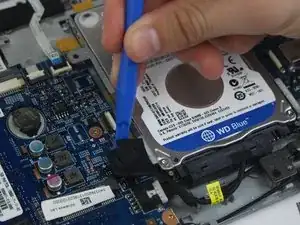
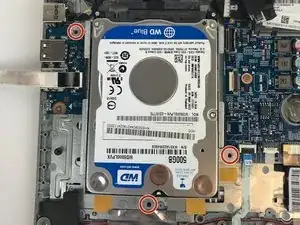
Remove the four 3mm Phillips #0 screws located on the side of the rails.
-
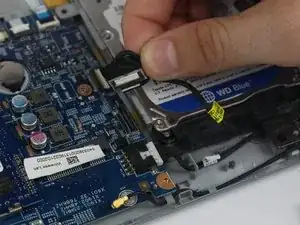
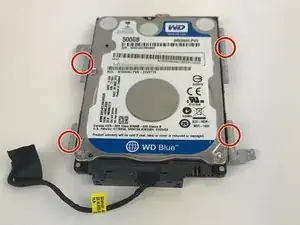
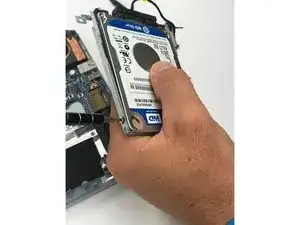
Separate the hard drive from the mounting rail.
-

To reassemble your device, follow these instructions in reverse order.
Un commento
What would be the correct hard drive upgrade. Something to make this laptop faster mines the 500gb the processor is and dual core prossee a4-1250