Introduzione

Guida prerequistia.

  1. bXHPdJvmOqwnRZ5W
    bXHPdJvmOqwnRZ5W
    Kxh4sK2xMaaiHQtJ
    • Spegni il dispositivo e rimuovi la memory card.

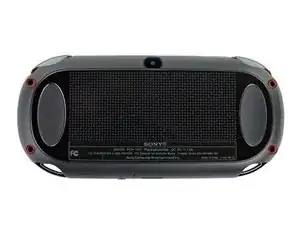
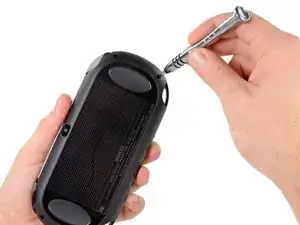
    • Usa un cacciavite a croce Phillips #00 per svitare le quattro viti da 6,4 mm nella scocca posteriore.

  2. WwpKNcKBHnx3iwJP
    WwpKNcKBHnx3iwJP
    36FYDevnAqBvbNY3
    mjh2iFATaa2BKMEs
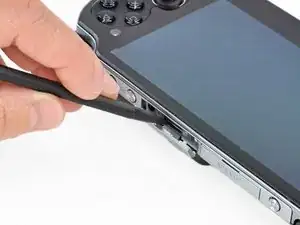
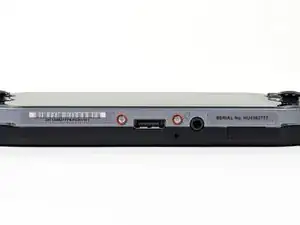
    • Usa un'unghia o uno spudger per aprire il vano per gli accessori sopra la console.

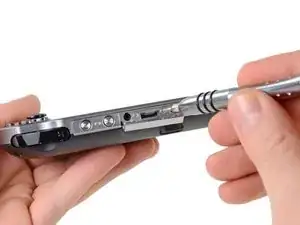
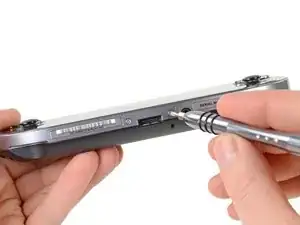
    • Usa un cacciavite a croce Phillips #00 per svitare le due viti da 5,4 mm nascoste sotto la protezione della porta degli accessori.

  3. AH6yWSkBJ4VWv3RB
    AH6yWSkBJ4VWv3RB
    aXih4BBWrQN2fmOK
    • Svita le due viti a croce Phillips #00 sotto il dispositivo accanto alla porta di ricarica.

  4. bEJVmiEky4mHiDcb
    bEJVmiEky4mHiDcb
    aQOOn4pkOrVFR3hw
    vEQhcA4OEHFKVYLS
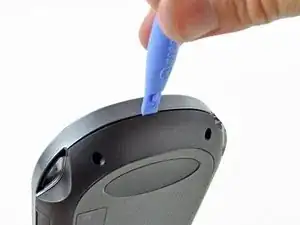
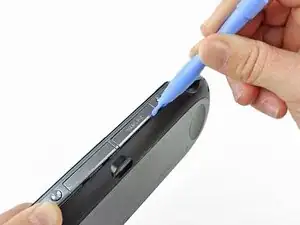
    • Usa un plettro di apertura per iniziare a separare la scocca anteriore da quella posteriore, iniziando dai lati della console.

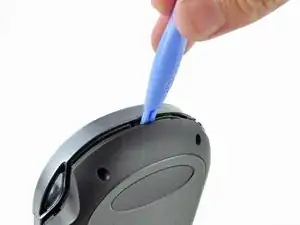
    • Continua a separare le due parti della scocca facendo scorrere il plettro delicatamente attorno a tutto il dispositivo.

    • Ci sono ancora dei cavi che tengono unite le due parti della scocca. Potresti danneggiarli se provi a separare del tutto la scocca.

  5. 3BBZJmwmjKVUDiJa
    3BBZJmwmjKVUDiJa
    EpjUlyY4L4GWcaLS
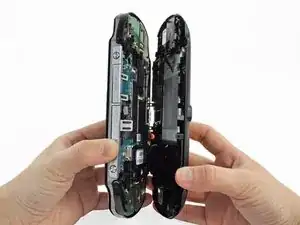
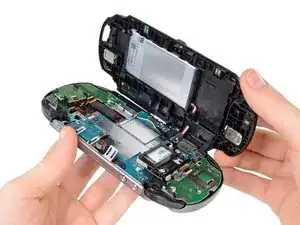
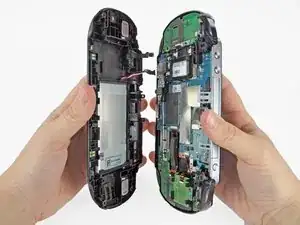
    • Separa delicatamente le due parti della scocca, prestando attenzione ai cavi della batteria e del touch screen che ancora le tengono insieme.

    One of the shoulder buttons fell out when I was doing this step, along with the piece holding it in place. They go back in just fine when reassembling but make sure that they are oriented properly, of course.

    klung -

  6. NeowybD4slFqYmiM
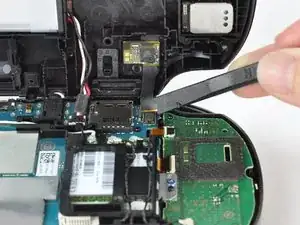
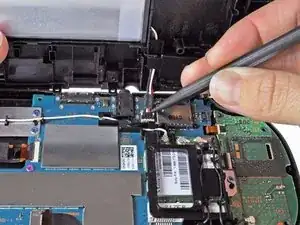
    • Usa uno spudger per scollegare delicatamente il cavo a nastro del touch screen sollevandolo dalla sua presa.

  7. DtebpV1FIAkm4AUj
    • Scollega il cavo della batteria sollevando delicatamente il connettore dalla sua presa con uno spudger.

    Any idea what type of pcb header is on the board for the battery? I have a motherboard with a broken header but I cant source a replacement

    Jimbo Jones -

    This is where I screwed up so I recommend extra caution for other newbies. Only the black part is supposed to come off. Don't be an idiot like me and pry off too much...

    ylimakiminna -

    Yea I messed up there too. Is there a way to fix it?

    Alethia Henry -

    This component was far more stubborn than the screen connector when it came to removal. I opted for a smaller tool than the spudger (small flat-head) and managed to disconnect it after determining the best bit size for the job. Screwdriver is metal, obviously, so being gentle helps to avoid damaging anything.

    klung -

    broke the white part

    Benaya Miller -

  8. fkyIaVUrPDRIlhZV
    • Separa la scocca anteriore da quella posteriore.

Conclusione

Per riassemblare il tuo dispositivo, segui questa guida al contrario.

Brittany McCrigler

Membro da: 05/03/12

88905 Reputazione

0 commenti