Introduzione
This repair will need:
A T8 Torx screwdriver.
-
-
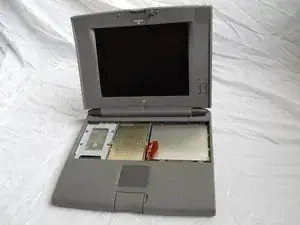
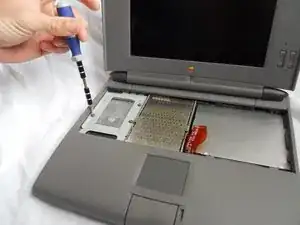
First, you will need to remove the five T8 torx screws that mount the hard drive to the internal frame.
-
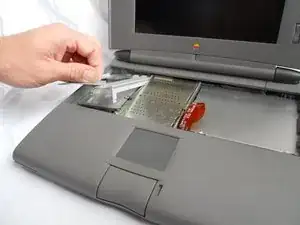
Next, you will remove the mounting frame and the plastic shield.
-
-
-
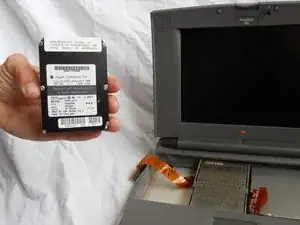
Attach the ribbon cable to the new hard drive and follow steps 1-3, in reverse, to complete the installation.
-


Conclusione
To reassemble your device, follow these instructions in reverse order.
After completing the initial disassembly, you may proceed to hard drive replacement.
Aubrey -