Introduzione

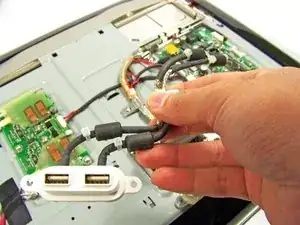
Replacing the USB port for the display.

  1. b4qJjtInMWyYMvki
    b4qJjtInMWyYMvki
    R1CKtpQdMrm5HJD1
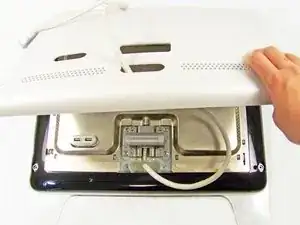
    • Lay the display facing down with the stand away from you.

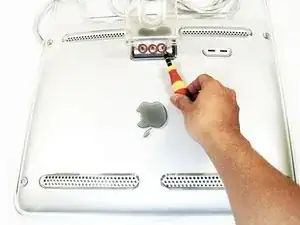
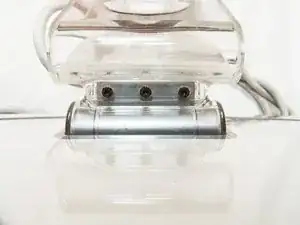
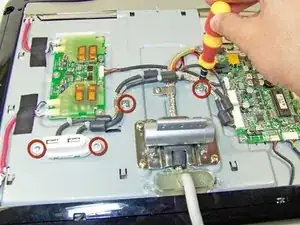
    • Remove the three size 2.0 hex screws on the swing arm and remove the swing arm as well as the plastic shield under it.

  2. 2sdVojMJ5FLK1psO
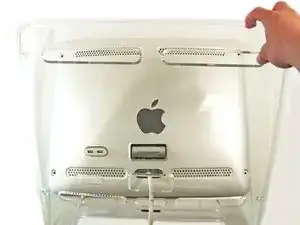
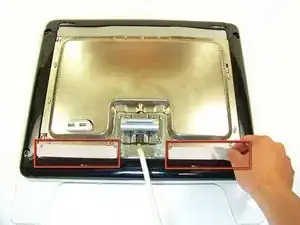
    • Remove the size 2.5 hex screws from each corner that connects the panels to the display and remove them.

  3. lCPiqihVgpNKiC3o
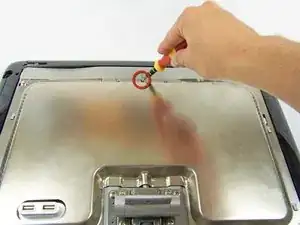
    • Rotate the display so the legs of the display are now facing you

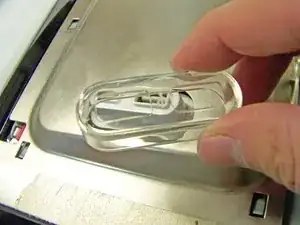
    • Grip the top of the clear panel and lift it upwards, and pull the ADC cable through the hole.

  4. utSTsKxrAxnUSOQm
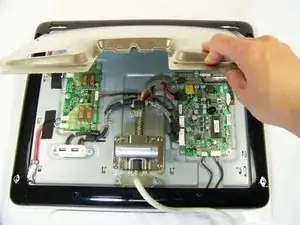
    • Remove the grey back panel by lifting the bottom and pulling the ADC cable through the hole.

  5. AexsdAEtlxLGBRaC
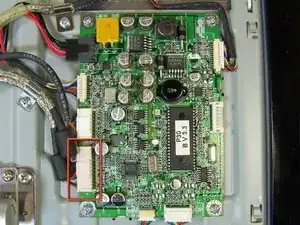
    • The next layer will be a shiny metal panel, which might have some stickers. Make sure to remove these stickers.

  6. MqdYGMYLltnbZEur
    • Now locate and remove the lone Phillips screw holding the EMI shield to the display

  7. MPn6KQk2pehMYMLy
    MPn6KQk2pehMYMLy
    HpvDQVdv2MEsp6OH
    • Now that the screw has been removed, slide the panel towards your body and lift it out.

    • You may need to remove the clear USB port cover to remove the metal EMI shield.

  8. JXp1OYY6e6xKEtTX
    • To remove the USB port, remove these four screws holding down the port and metal brackets.

    • There may be a zip tie you need to cut that is attaching the USB unit to the display

  9. DCDBPPBjLGU1Gcpn
    • Remove the cable from the logic board that is connecting the USB port.

  10. qPDmMjvARI6QVeFI
    • Remove the USB port

Conclusione

To reassemble your device, follow these instructions in reverse order.

Andrew Tsao

Membro da: 20/01/10

186 Reputazione

0 commenti