Introduzione
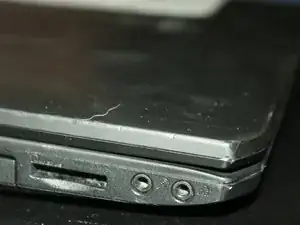
The Audio Jack can wear out over time or stop working completely. This guide will show you how to remove the Audio Jack on the side of the device.
-
-
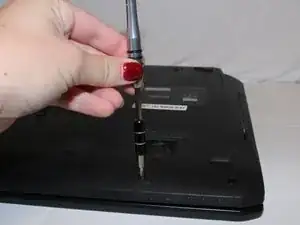
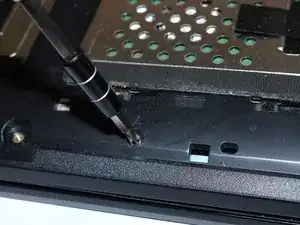
Remove the 5 (9 mm screws) around the outside edges of the back cover with the PH1 Phillips-head screwdriver.
-
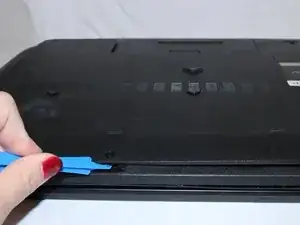
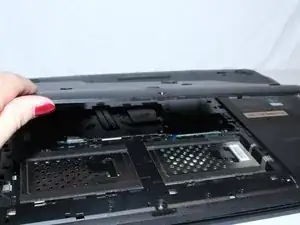
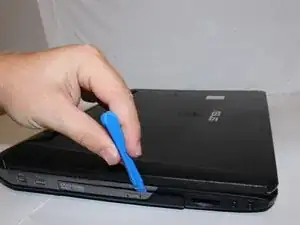
Lift off the back cover using the opening tool.
-
-
-
Remove the 10 (9 mm) screws marked 'A' using the PH1 Phillips-head screwdriver.
-
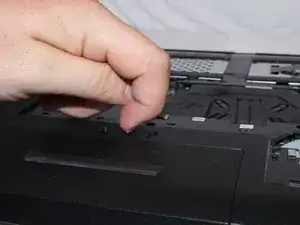
Remove the battery by pressing the slide release button.
-
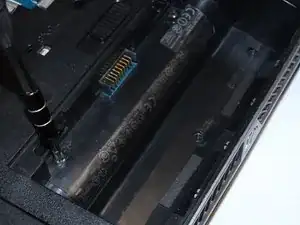
Remove 2 more (9 mm) 'A' marked screws within the battery compartment using the PH1 Phillips-head screwdriver.
-
-
-
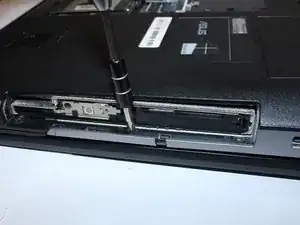
Remove the cover for the disc drive with the opening tool.
-
Remove the 6 (4 mm) 'B' marked screws with the PH1 Phillips-head screwdriver. (3 screws are in the battery compartment and 3 are under the disc drive cover)
-
-
-
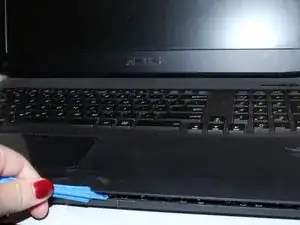
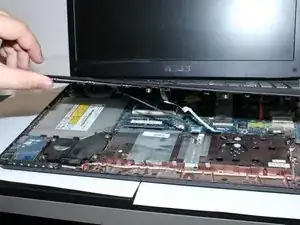
Pry open the keypad platform with the opening tool.
-
You will need to lift the keypad platform with your hands to get to the laptop's internal systems.
-
-
-
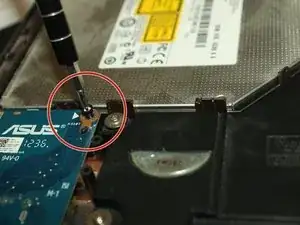
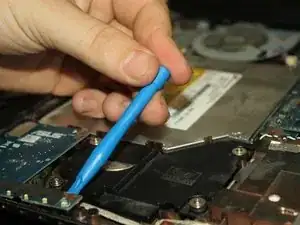
Take out 1 (5mm) screw, using the J0 Phillips head screwdriver.
-
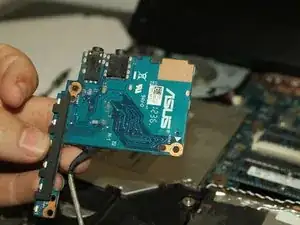
Use the opening tool to remove the audio-electrical board.
-
Lift out with your hands.
-
To reassemble your device, follow these instructions in reverse order.
