Introduzione

This guide will teach you how to remove and replace the screen in the event that it is broken or not displaying. Special care must be taken, due to the delicate parts and ribbon cables needed to be removed during the repair.

  1. jbdSAdmeNUFrEBWY
    jbdSAdmeNUFrEBWY
    g2yuC3wOLwmxifsc
    Q1MCwWsKTu4XNlLc
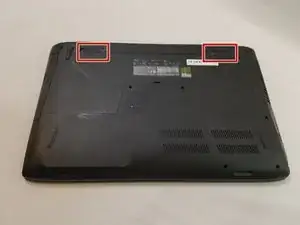
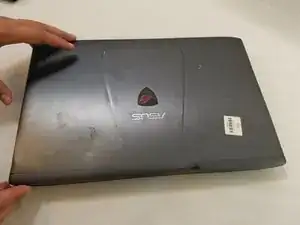
    • Flip the laptop over so the backside is facing upwards.

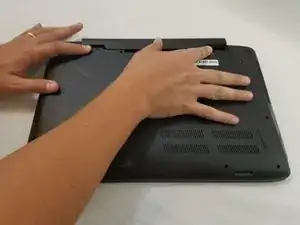
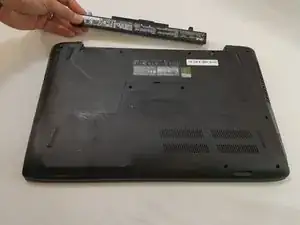
    • Using both hands, slide the lock mechanisms outwards and pull up to remove the battery.

  2. voPKjGeTQg4aUxcY
    voPKjGeTQg4aUxcY
    S2YJolR2TcpE1qg4
    GOWicG2qGJ5Y2i4L
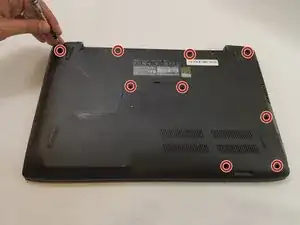
    • Remove the nine 15.4mm Phillips #00 screws.

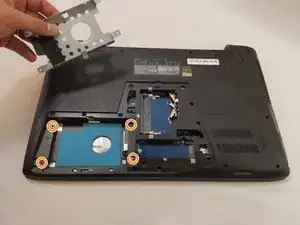
    • Remove the four 8.7mm Phillips #00 screws from the hard drive mounting bracket.

    • Remove the hard drive bracket.

    There is another screw next to the A near the CPU heatsink and RAM that also needs to be taken out.

    marcus lee -

    Additionally, there is a screw beneath the optical drive that attaches to the keyboard. While the laptop is upside down, slide the optical drive completely out, and remove the shallow screw near the lip of the chassis. This should be done prior to the next step of lifting the keyboard with a pry tool.

    Edward McLean -

  3. FrM3wIvhqMmXZ5YZ
    FrM3wIvhqMmXZ5YZ
    5hFewNRWCBM46Rup
    • Flip laptop over and open the screen.

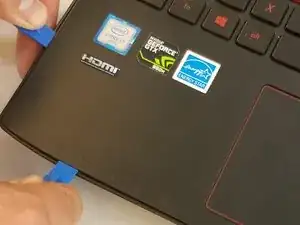
    • Wedge some plastic opening tools between the keyboard and case.

    • Work your way around with the plastic opening tools until the keyboard is separate from the case.

    • Do not try to lift the keyboard straight off at this time. There are some ribbon cables that attach the motherboard to the keyboard that need to be removed first.

  4. OLdPUQqeUhsKrCVt
    OLdPUQqeUhsKrCVt
    meo5U5ZSkTWYHgss
    bhoOlh3HD1gQMeLL
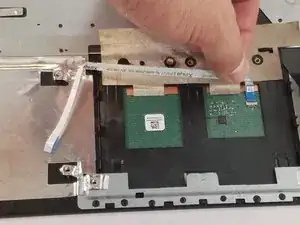
    • Remove the ZIF connected ribbon cables for the touchpad and keyboard by gently lifting the latch on the connector point, then slide the ribbon cable out. Repeat for each cable.

    • Verify all ribbon cables are disconnected and out of the way, and lift the keyboard out of the assembly.

  5. WPveUeWYLYSPGKRl
    • Remove the CD/DVD drive by sliding it out of the side of the laptop.

  6. wwKdIJP4iCLyYIJO
    wwKdIJP4iCLyYIJO
    EirbQNjWUBNUkEp1
    MbUUOW6vaoADBoQx
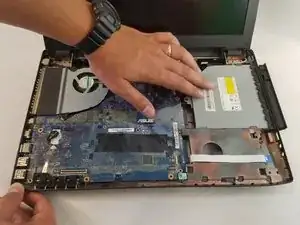
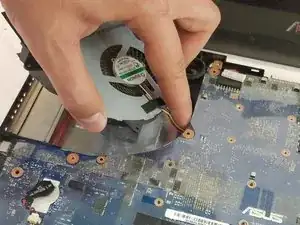
    • Remove the three 6.5mm Phillips #00 screws from the fan.

    • Disconnect the fan power cable from the motherboard.
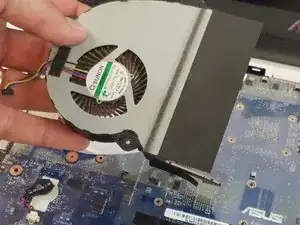
    • Remove the fan.

  7. c363VOXQWQpIcjqu
    c363VOXQWQpIcjqu
    EqCJyeYIk2eshoeB
    b4RlCJe1XW2KltsR
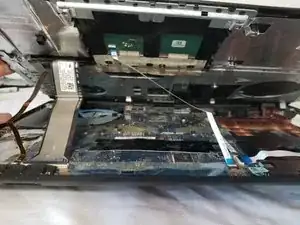
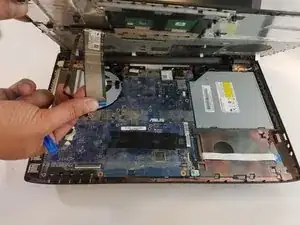
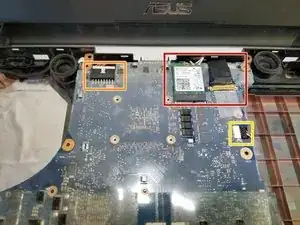
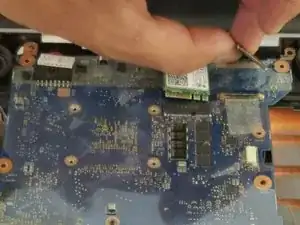
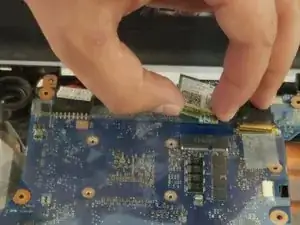
    • Gently remove the ribbon cables and wireless chip. A plastic prying tool will help in this removal.

    • Remove the power cable for the motherboard.

    • Remove the power cable for the speaker.

    i broke my ribbon cable when i was reconnecting it, is there a way to have a guide into how to repair that connection?

    dakalodev -

    Once you’ve removed most of those lengths of cables, they are really only held on by some tape you could just by a new cable. However if you’re talking about the port that it connects to on the motherboard you'll need to get really handy with a hot work station or buy a new mother board.

    Don E Humphrey II -

  8. rvN3N6HSrahB2A4G
    • Ensuring no missed connections or screws, remove the motherboard from the assembly.

  9. W5uG4GXmnBjVkhPp
    W5uG4GXmnBjVkhPp
    QXO1NlOuRcTXI3qK
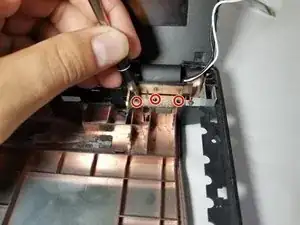
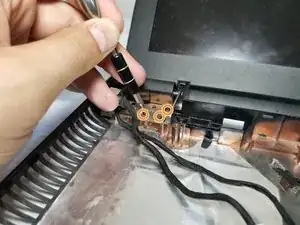
    • Using the Phillips Screwdriver #00, remove the 3 8.5mm screws to disconnect the right side hinge from the assembly.

    • Remove the 3 8.5mm screws to disconnect the left side hinge from the assembly.

  10. a1EHIuoeXAwTFJ2E
    a1EHIuoeXAwTFJ2E
    BRroMMR5ICDN2F1y
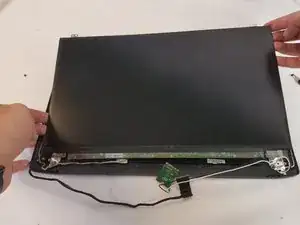
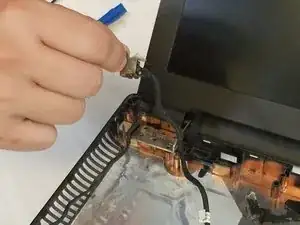
    • Remove the tape holding the power cable down and trace and remove the cables for the LCD from the assembly.

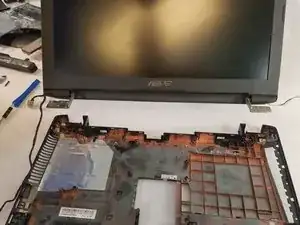
    • Set the assembly aside and all that should be left is the screen.

  11. TWqYPUaoAObxcLGR
    TWqYPUaoAObxcLGR
    TjCXTXOtXDlERQTD
    • Remove the black hinge covers on each side. They just pop on and off with some force.

  12. FYXVNOA6FyG2rNdP
    FYXVNOA6FyG2rNdP
    1ZkKlaU3yqci3w4Y
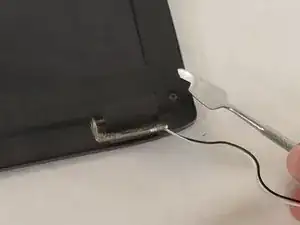
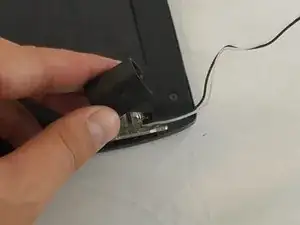
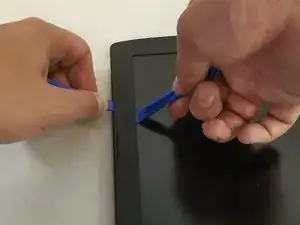
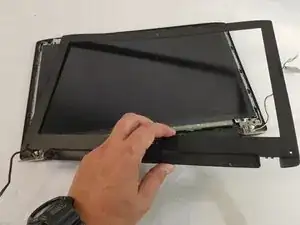
    • Using 2 plastic opening tools, remove the faceplate. Slide the tools under the side with the screen and the outside in the crevice.

    • You will feel the faceplate start to lift off with audible clicks.

    • Place the faceplate to the side.

  13. HU1eVhTHoG2e4vcv
    HU1eVhTHoG2e4vcv
    3ErBPURiCqEPUGSO
    j21fYoFleqhYSZEJ
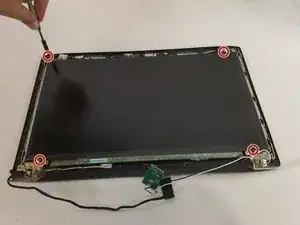
    • Using the Phillips Screwdriver #00, remove the 4 3.4mm screws that hold the screen to the top plate.

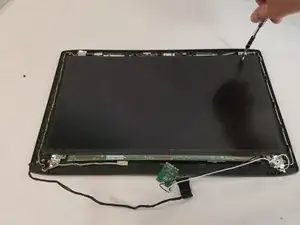
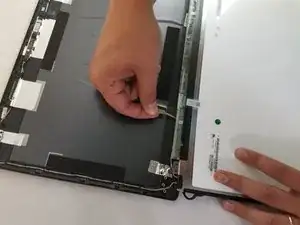
    • Trace the wires through the holders and remove the LCD.

    • Replace with new screen.

    Anyone know the correct model (s) number for the 1920 X 1080 screen for this model laptop? Many thanks

    Jack

    jack honeycutt -

Conclusione

To reassemble your device, follow these instructions in reverse order.

Addison Thomas

Membro da: 14/02/18

1232 Reputazione

0 commenti