Introduzione
Rechargeable batteries only have so many cycles of charge and discharge. When the battery is no longer able to be recharged this does not mean that the the controller itself is bad, it simply means that a new, fresh battery is needed. This guide is written to help you replace the factory installed battery with a new one to continue to use your controller without having to buy a complete new one.
-
-
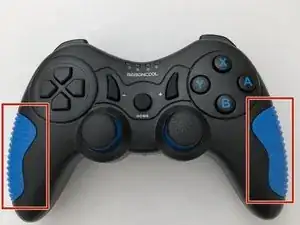
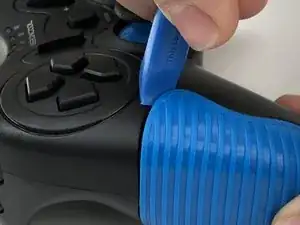
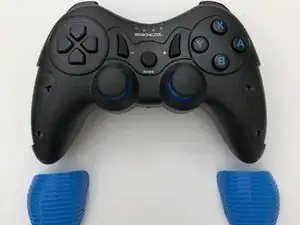
Use the plastic opening tool to remove the blue plastic grips from the sides of the controller.
-
-
-
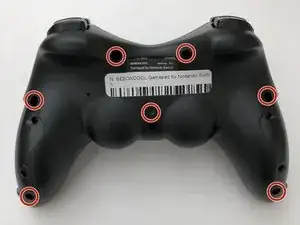
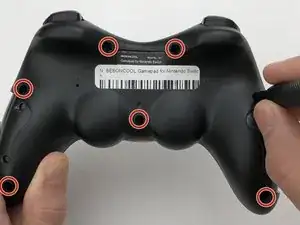
Use the Phillips #0 screwdriver to remove the seven 5mm screws from the back of the controller.
-
-
-
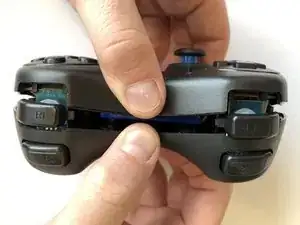
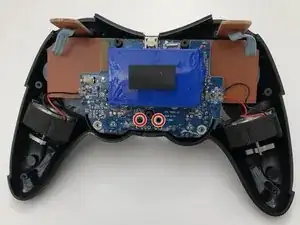
Gently separate the two halves of the controller.
-
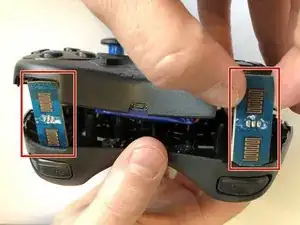
Be sure to slide the small circuit boards out of the covers to be able to separate the two halves
-
-
-
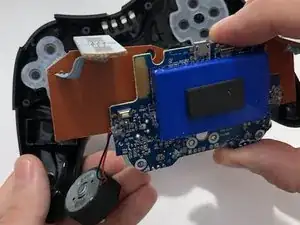
Use the Phillips #0 screwdriver to remove the two 3.5mm screws holding the circuit board in place.
-
-
-
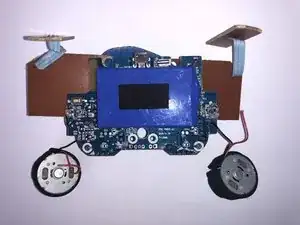
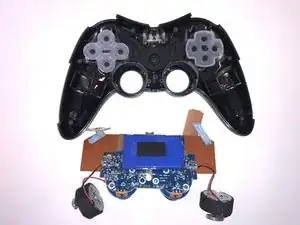
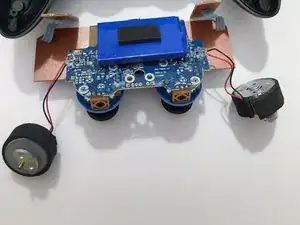
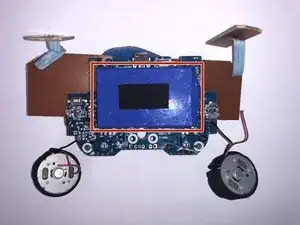
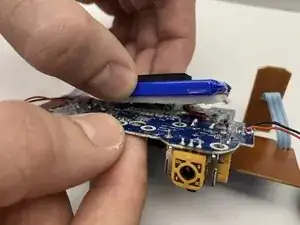
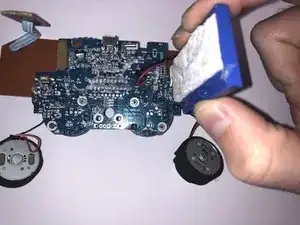
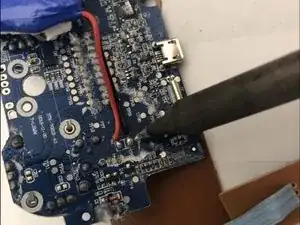
Lift the motherboard from the back case with the vibration motors and button boards attached.
-


To reassemble your device, follow these instructions in reverse order.
This sentence in intro is awkward and should be revised: “When the battery is no longer able to be recharged this does not mean that the the controller itself is bad, it simply means that a new, fresh battery is needed. “
John Lamothe -