Introduzione

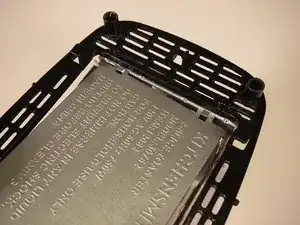
This guide shows how to completely disassemble the Bella KitchenSmith 2 Slice Toaster 12082. Before beginning the disassembly, make sure that your toaster is not plugged into the wall - you don’t want to get electrocuted while you’re doing your disassembly. While you are doing the disassembly make sure to treat your toaster with respect - the toaster contains a circuit board which could be damaged if you are not careful.

  1. uPYZkkMR1nKPwXns
    • Remove the toaster's handle by firmly grasping it and pulling on it away from the device.

    • This may take a bit of effort - do not worry about pulling too hard - you will not break the toaster.

  2. E3jHT6trEFLFhKhG
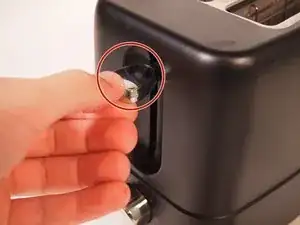
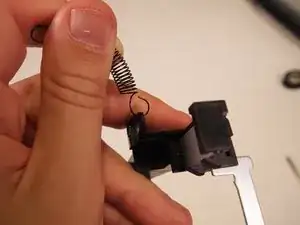
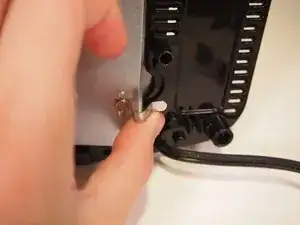
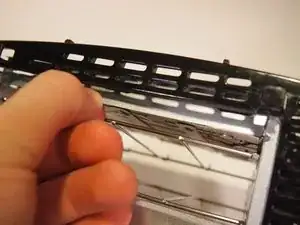
    • Turn the toaster over. Remove the two rubber gaskets from the legs of the toaster using a pointed tool such as tweezers.

  3. BFQJD3LimGkFjAqS
    BFQJD3LimGkFjAqS
    WmTPDwQa6wFRIDXe
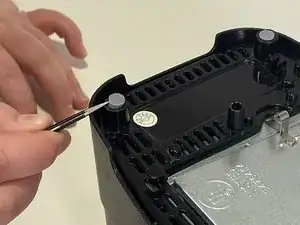
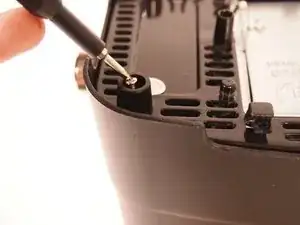
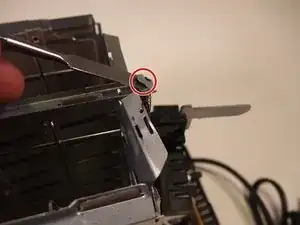
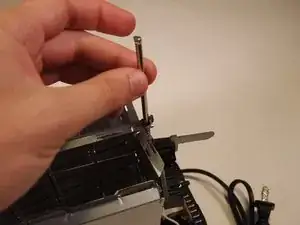
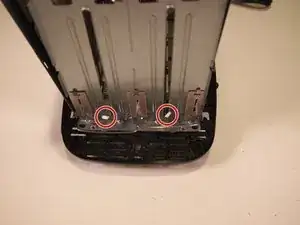
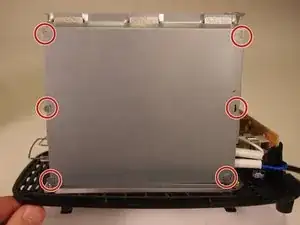
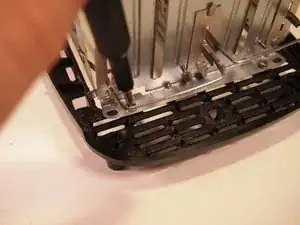
    • Using the Triangle #2 screwdriver, remove four 100.0 mm screws from the base of the toaster.

  4. cWILZrEd1yhIhLpF
    • Lift off the plastic cover.

    • You may feel a little resistance from the connection between the control knob and its counterpart on the circuit panel but just wiggle the cover around a bit and pull up and the cover should come off.

  5. bLlDY1AwvhkCgCM4
    bLlDY1AwvhkCgCM4
    6CoIcBL3BUWg1E5j
    • Unfold the four tabs that hold on the top cover to the toaster

    • In the next few steps you will be unfolding a lot of the metal tabs - you can either use your hand or the metal spudger to do so

    • Many of the metal tabs are very fragile - be very careful when you unfold them or they will break!

  6. j1q6BKjjnWdaUmFm
    • Unfold the tab above the toaster's handle.

  7. 3R2bKw5jUlspYenq
    • Pull the metal rod that was under the tab up and away from the device.

    • You may feel a bit of resistance as you pull the rod up - just wiggle it around a bit as you pull up and the rod should come free.

  8. wMxqwmnxFFnnFPZZ
    wMxqwmnxFFnnFPZZ
    yELkLjqx5ipbyZe6
    • Remove the spring from the front of the toaster.

  9. Mm2uvEkDfwuudLPL
    Mm2uvEkDfwuudLPL
    4b3xoUH1lMHhahQc
    • Unfold the two tabs on the back of the toaster.

  10. MIMtBpYOSyhXJaCs
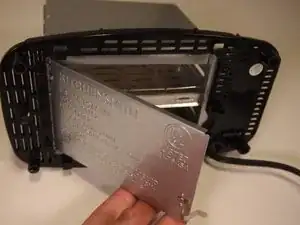
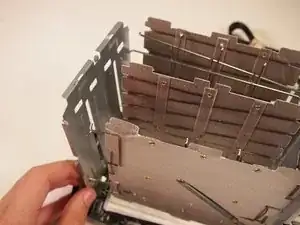
    • Remove the bread holder base from the toaster by lifting it up and then pulling it towards you.

  11. QndCKUiHMRXamNDo
    QndCKUiHMRXamNDo
    GHHMLxUuLcvQ1nQR
    • Remove the spring part of the bread holding mechanism.

  12. LjdECyXDLlHFxVKS
    • Unfold the two tabs on the top of the toaster that hold the central bar in place.

  13. bqqTaHJTY4gSRMsn
    bqqTaHJTY4gSRMsn
    Kf2XCg1NHVNZSCF1
    • Remove the central bar.

  14. HphoIevgyPNnIYMx
    HphoIevgyPNnIYMx
    fagvVYA2pKDYrJDr
    • Undo the latch to the breadcrumb tray and swing the tray open.

  15. ClZkAMZEXa5ZYOhf
    • Unfold the two tabs that hold the breadcrumb tray in place.

  16. 6RsdXlZZKNrI42C3
    6RsdXlZZKNrI42C3
    gGMPbZLM1yBqSiid
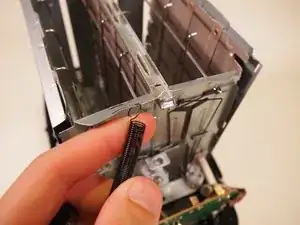
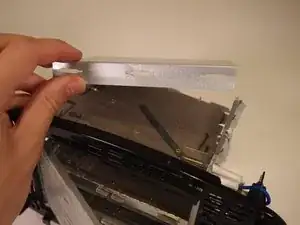
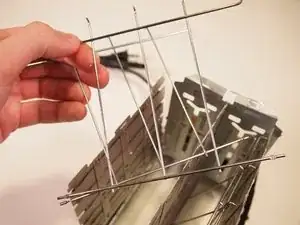
    • Lay the tray back down to its resting position and then pull the tray up and away from the device.

  17. G5RtgyllKJErIdG1
    G5RtgyllKJErIdG1
    V5wTUYiARbo2toiA
    • Unfold the twelve tabs that hold both sides of the toaster in place.

  18. lYS3LauE2MbmIFPc
    lYS3LauE2MbmIFPc
    VvsNVmjlKMJl6vUW
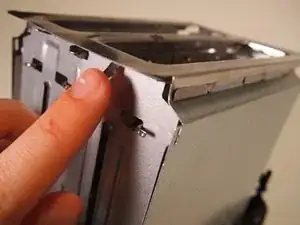
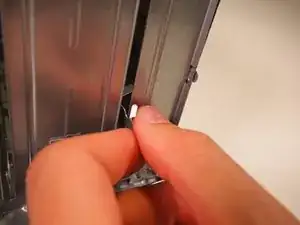
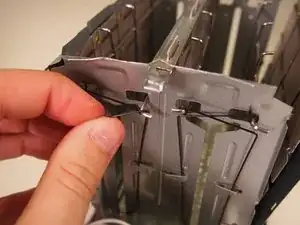
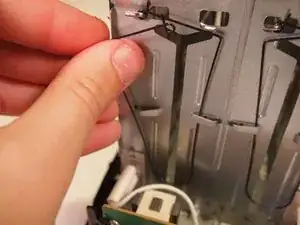
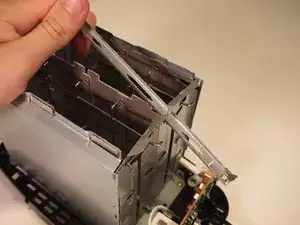
    • Pull the bottom of the side panels out and over the inner toaster pieces that are holding them in place.

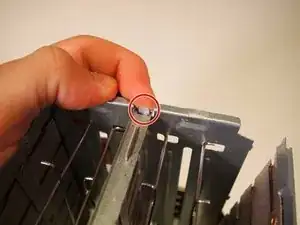
    • Then completely remove both side panels.

  19. rpLCPDHxkyY5eCCK
    rpLCPDHxkyY5eCCK
    GtRNMYKFPpR3FOEa
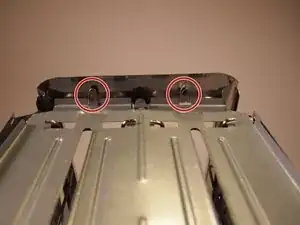
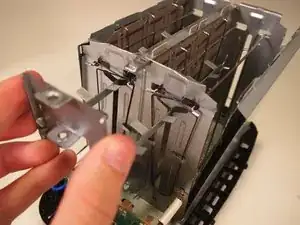
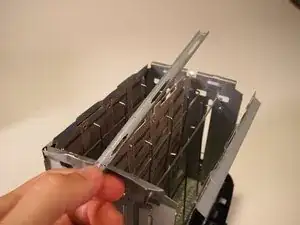
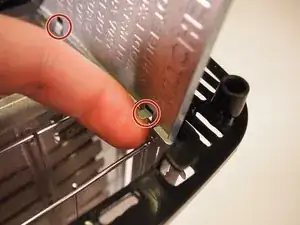
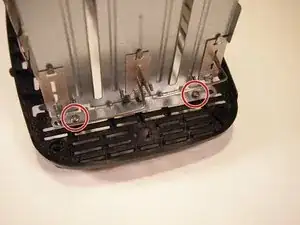
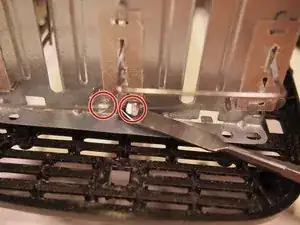
    • Using the Phillips #1 screwdriver, remove the two 8.0 mm screws from the backside of the toaster.

  20. ERLQKC23WvpMCIMn
    • Undo the two tabs on the backside of the toaster.

  21. iUFXJaujCXDRjYt1
    • Slightly pull the back panel of the toaster away from the device.

    • Do not try to attempt to completely remove the back panel - there are wires attached to the back panel that are still attached to the main body of the toaster - any attempt to completely remove the back panel could result in breaking your toaster!

  22. 4yOBoES46tFHgW3n
    • Remove the bread holders from the device.

    • When you pull back the back panel, the bread holders will fall out.

    • The bread holders were positioned so that their tips were pointed out towards the edges of the toaster slots.

  23. iNBQsOdZNjApJyEM
    • Once you've taken the toaster apart you can get a very good sense of how it operates. Here's the basics of how it works:

    • There is always power running to the toaster when it is plugged in but the electrical circuit is broken until the handle is pressed down. When the handle is pressed down, two switches are closed, closing the circuit and turning on the power to the toaster.

    • When the power goes on, an electromagnet in the circuit board is turned on, causing a magnet on the toasters handle to bond to the electromagnet and holding the handle down (and keeping the toaster on) until the circuit is broken.

    • The circuit is broken when a predetermined amount of power has entered the 555 timer chip in the circuit board - when enough power has entered the chip it sends a signal that causes the electromagnet to lose enough of its magnetic field that the handle is released and the bread pops.

    • The amount of power that flows to the chip is controlled by a potentiometer which is connected to the circular control knob.

    • If the maximum toasting setting of seven is used, the potentiometer only allows a small amount of the power to flow into the chip, causing it to take longer to reach the required threshold of power and making the bread spend a longer time in the toaster.

    • On the other hand, if the cancel setting is used, the potentiometer barely offers any resistance at all, allowing the power threshold in the chip to quickly be reached and as a result, rapidly triggering the popping of the toaster.

Conclusione

To reassemble your device, follow these instructions in reverse order.

Ethan Goldman

Membro da: 16/09/21

441 Reputazione

0 commenti