
Introduzione
If the steps are followed properly, you can expect to learn how to replace speakers that are not working correctly. You will learn how to remove the front face containing the speakers, how to dissect the screws and wires, and how to connect wires to the new speakers. The proper knowledge of how to use a soldering iron is required when dealing with this component.
-
-
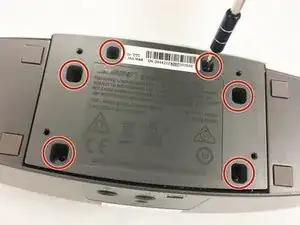
Remove six 10 mm length screws from the bottom panel of the SoundDock.XT using a #1 Phillips screwdriver.
-
-
-
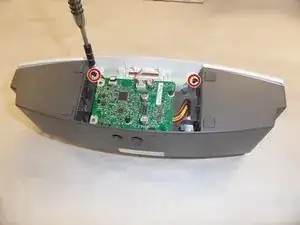
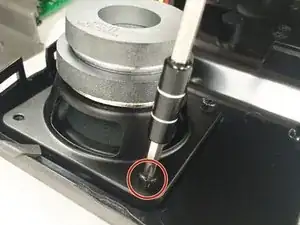
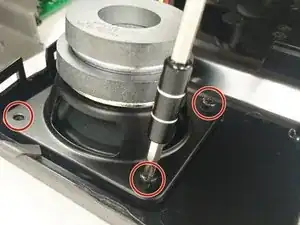
Remove the Front Panel, use a #2 Phillips screwdriver to remove the two 6.5 mm length front panel screws located under the bottom cover (highlighted in red circles in the photo).
-
-
-
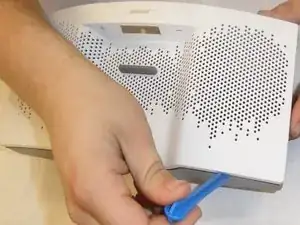
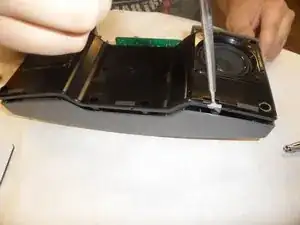
Next, use a plastic opening tool to slide under the edge of the front cover. Start edge located at the top of the left or right speaker and work your way around the speaker. Remove the front cover.
-
-
-
Using a metal spudger, slide between the outer case and the front speaker cover. Work your way around the cover and remove the speaker cover. You now have access to the speakers.
-
-
-
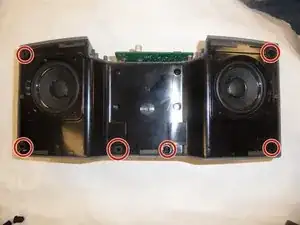
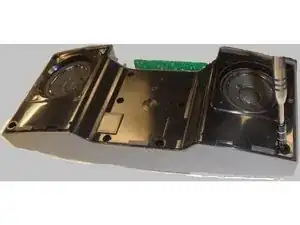
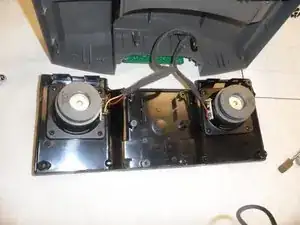
Lift back cover to reveal the speakers. This is what you should be able to see once you have completed the above steps.
-
-
-
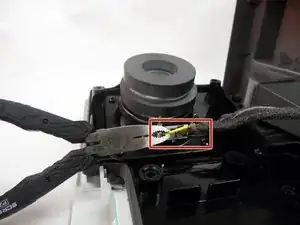
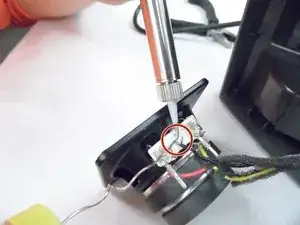
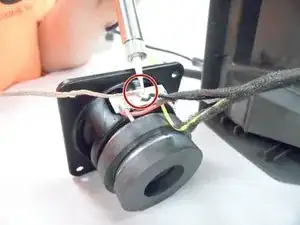
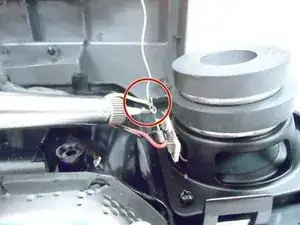
Using a 12 gauge wire wrapping wrapping tool, secure the yellow and red wire to the proper post as recorded earlier.
-

To reassemble your device, follow these instructions in reverse order. With proper execution of these steps, you will be able to replace your speakers and enjoy the sound of your SoundDock XT.
4 commenti
Hello what size are the speakers in this? Looking to buy some replacements
Could you help me with the part number please?
Thanks a lot !
Greetings from Mexico !
Please send video
Send video about this video
Mohan Cheery -