
Introduzione
Use this guide to replace the amplifier from your device.
Strumenti
-
-
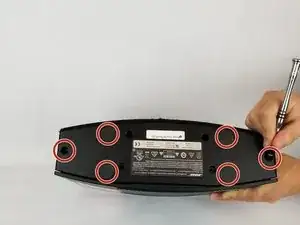
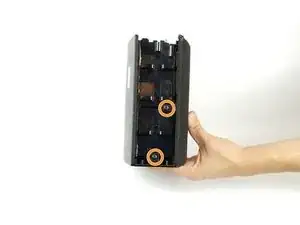
Remove the (6) six 1.5 cm Phillips screws holding on the bottom cover of the speaker using a Phillips #0 screwdriver.
-
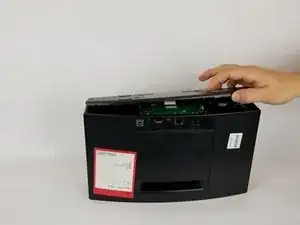
Lift the cover straight up and set the cover to the side.
-
-
-
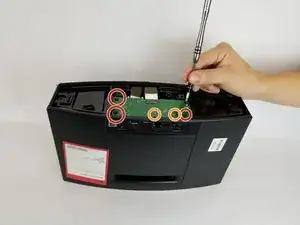
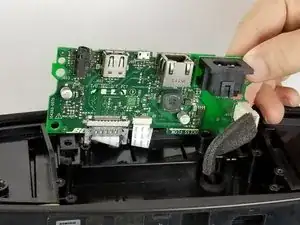
Remove the (4) four 1.5 cm screws connecting the motherboard to the speaker.
-
Remove the (2) two 1 cm screws connecting the motherboard to the speaker.
-
-
-
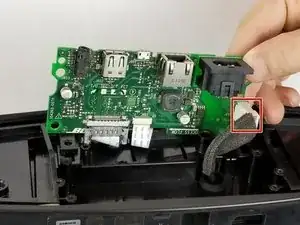
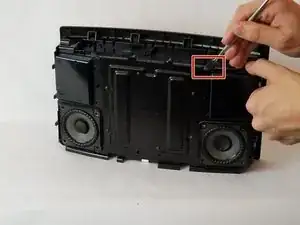
Remove the white cable by pressing on the side of the connector with a tab and pulling backwards.
-
-
-
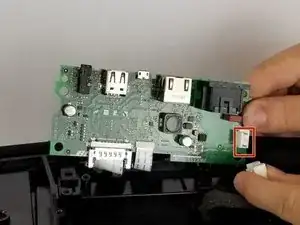
Gently pull the thinner white ribbon located towards the center of the board
-
Squeeze the plastic sides of the plug and pull straight down to remove this ribbon.
-
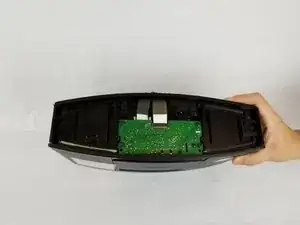
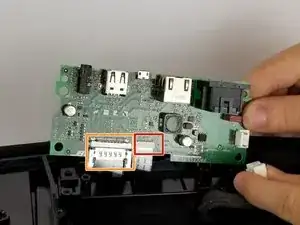
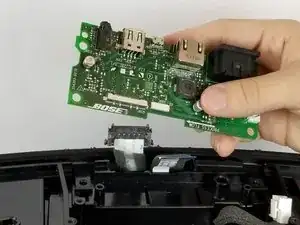
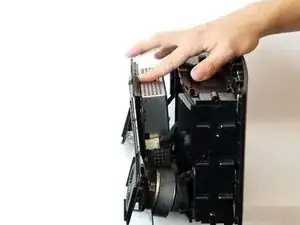
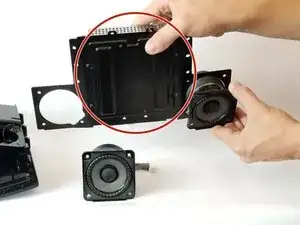
After removing the two ribbons, completely remove the motherboard and set it to the side.
-
-
-
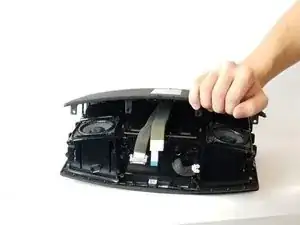
To remove the side panel from the speaker, lift the top of the sides from the slots.
-
After completing the previous step, pull gently straight up to remove the side.
-
Repeat on both sides of the speaker.
-
-
-
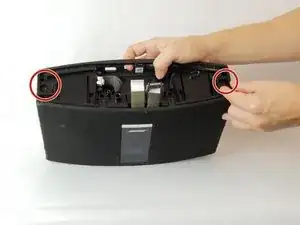
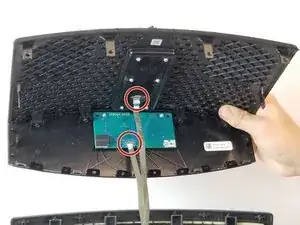
Remove the (2) two 1.5 cm screws circled in picture one.
-
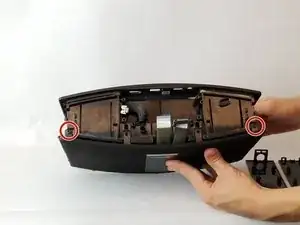
Rotate the speaker to its side and remove the (2) two 1.5 cm screws circled in picture 2. Remove these screws on either side of the speaker.
-
-
-
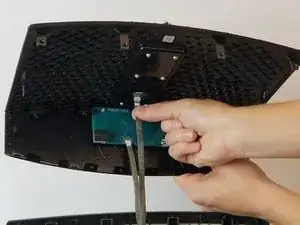
After lifting the cover, you will see two ribbons attaching the cover to the speaker. Gently remove these ribbons by pulling straight down.
-
-
-
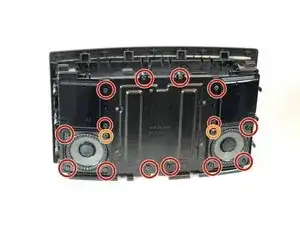
Remove the (14) fourteen 1 cm screws from the speaker.
-
Remove the (2) two 1.5 cm screws from the top left and right hand corners of the speakers, respectively.
-
-
-
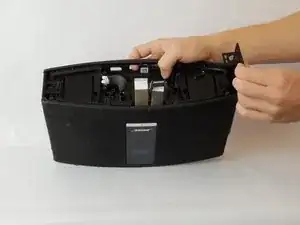
Using a metal spudger or a prying tool, gently push forward to separate the cover from the speaker.
-
After lifting the cover, you will see two ribbons attaching the cover to the speaker. Gently remove these ribbons by pulling straight down.
-
-
-
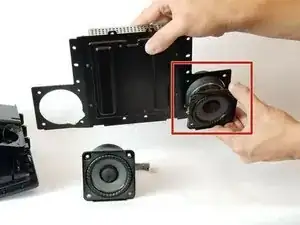
The amplifier comes as one piece. Once the speakers are removed, the part is ready to be replaced.
-


To reassemble your device, follow these instructions in reverse order.