Introduzione
Strumenti
-
-
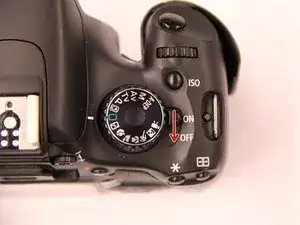
Turn off camera using the power button on the top of the camera.
-
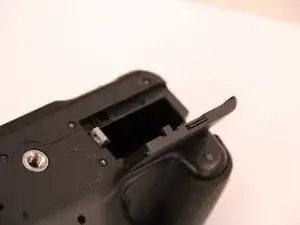
On the bottom of the camera, open the battery door and remove the battery.
-
-
-
Remove 1 screw from the left side of the camera.
-
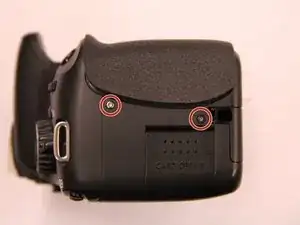
Inside the rubber door, remove the two silver screws.
-
-
-
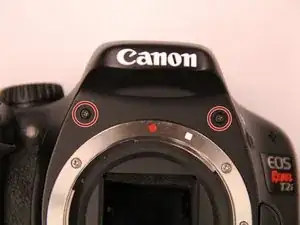
Remove the two black screws on the front of the camera just above the lens mounting ring.
-
NOTE: Do not remove any of the silver screws on the lens mount ring. This could cause problems with auto focussing features.
-
-
-
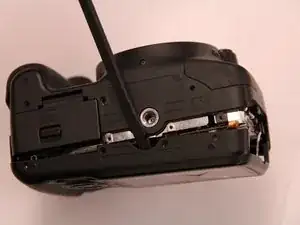
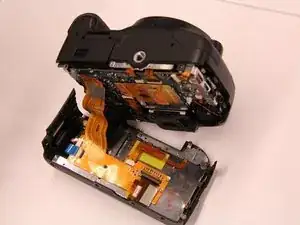
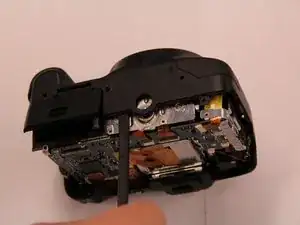
Using the spudger and plastic opening tool, pry the bottom of the front panel of the camera over the tripod mount.
-
-
-
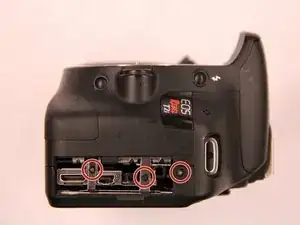
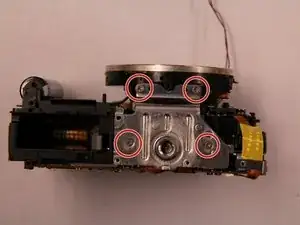
The screws holding the tripod mount are now exposed.
-
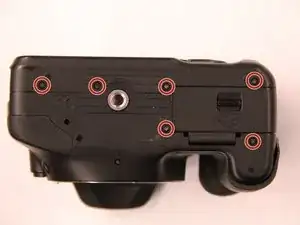
Remove the screws securing the tripod mount
-
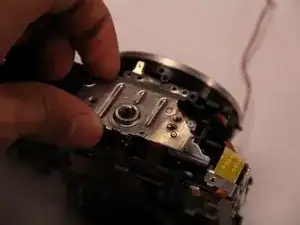
With the screws removed, the tripod mount can now be easily pulled free.
-

To reassemble your device, follow these instructions in reverse order.