Introduzione

This guide will take you step by step through the simple process of replacing your broken battery so you may use your device again!

  1. 6jjbErJIok6MkAxA
    6jjbErJIok6MkAxA
    TyXVPLAoUylme4Y3
    psuFAuJT41SCKGkE
    • Remove the top (button side) rubber cover using your hands.

    The third picture in step 1 could be more focused.

    Sarah Hamrin -

  2. vGptoVnDCUXRfLUC
    vGptoVnDCUXRfLUC
    RgYHCykchLSNCLxV
    • Flip over the device and remove the bottom rubber cover using your hands.

    In the picture for step two, the device should be in clear focus. The hands can be blurry, but the device must be in focus.

    Sarah Hamrin -

  3. yOxfumEALTVUbYYF
    yOxfumEALTVUbYYF
    ySNFrwVVHABaWdxZ
    FiZDnjJL2mIGSbTH
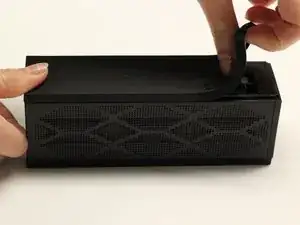
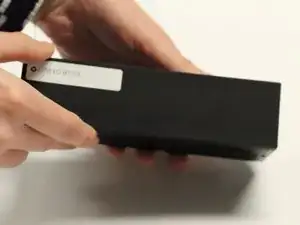
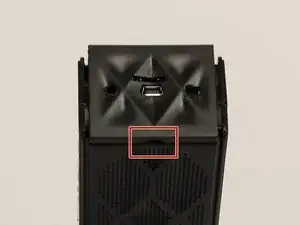
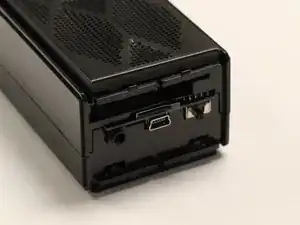
    • Using your hands, pull off the plastic side cover (on the side with the audio jack) using the indented tab. The indented tab has been highlighted in the picture.

    The first picture in step 3 could be more focused.

    Sarah Hamrin -

  4. TOvRukfbwcqcunsx
    TOvRukfbwcqcunsx
    CIVlXTrxusoCGIW1
    JsphVNgxY6oWktCy
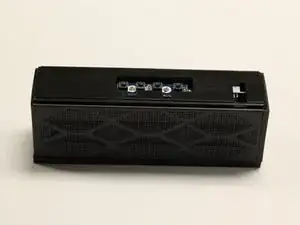
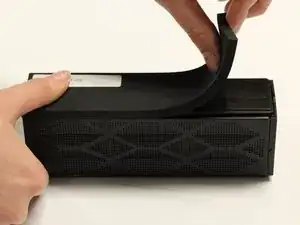
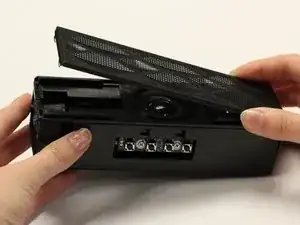
    • Detach the plastic speaker cover on both the front and back sides. Then slide the cover off of the device.

    • The cover should remain as one solid piece.

  5. MlfilHJOmIsQo2ds
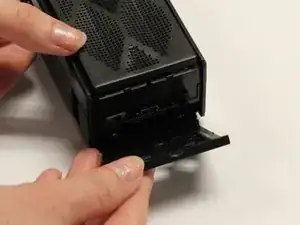
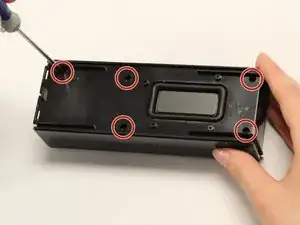
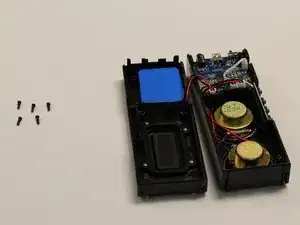
    • Remove the five 1 cm screws on the back side (opposite of the speakers) of the device using a Phillips #1 screwdriver.

  6. gFLNJOMvGklIMEev
    • Gently pull apart the two sections of the device.

    In particular, the background of step 6 could be much whiter. The rest of the photos could be whiter as well.

    Sarah Hamrin -

  7. xCyveoDIcqmBReGB
    xCyveoDIcqmBReGB
    uFQPuHNRhr4XuOgy
    • Pull the wires connecting the blue battery out of the circuit board.

    In step 7, the parts of the device that are mentioned in the bullet points need to be in clear focus in the pictures.

    Sarah Hamrin -

  8. DsQwgiXuasR4uFdV
    DsQwgiXuasR4uFdV
    XXkTcCYpINnMPg1f
    • Using your fingers, pull the blue battery out of the casing.

    • There might be slight hesitation due to the adhesive attaching the battery to the casing, so a slight bit of force might be necessary.

Conclusione

To reassemble your device, follow these instructions in reverse order.

Cole Crawford

Membro da: 13/02/17

85 Reputazione

0 commenti