Introduzione
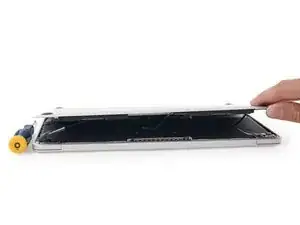
La funzione Auto Boot accende il tuo laptop appena rimuovi il coperchio, quindi dovrebbe essere disabilitata prima di intraprendere determinate riparazioni. Auto Boot si trova nei modelli 2016 (e successivi) di MacBook Pro e nei modelli dal 2017 in poi dei MacBook da 12 pollici.
Questa guida ti spiegherà il processo di disabilitazione dell'Auto Boot e riattivazione quando la tua riparazione sarà completata.
Nota: Disabilitare Auto Boot potrebbe non funzionare sui nuovi MacBook Air e Pro basati sulla serie M Apple con architettura ARM rilasciati a fine 2020. In questo momento, non sono note delle procedure per disabilitarlo sui dispositivi con Big Sur v11.1 o successive.
-
-
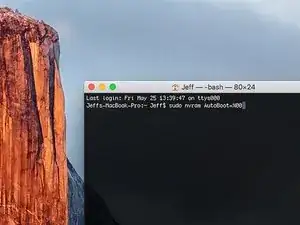
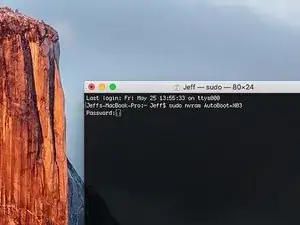
Copia e incolla il seguente comando (o riscrivilo correttamente) nel Terminale:
-
sudo nvram AutoBoot=%00
-
Premi [return].
-
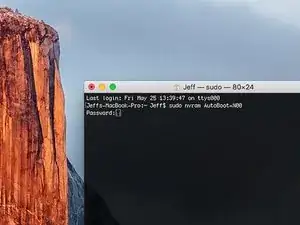
Se viene richiesta una password amministrativa, digitare la password e premere [invio].
-
-
-
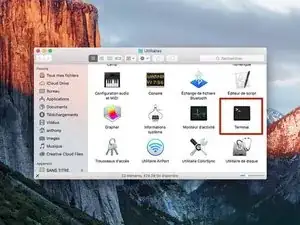
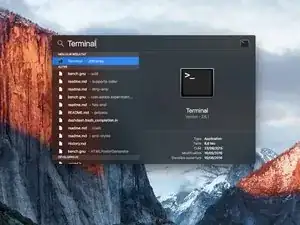
Accendi il tuo Mac e apri Terminale.
-
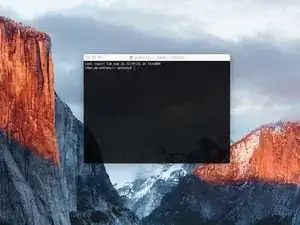
Copia e incolla il seguente comando (o riscrivilo correttamente) nel Terminale:
-
sudo nvram AutoBoot=%03
-
Premi [return]
-
Se viene richiesta una password amministrativa, digitare la password e premere [invio].
-


Congratulazioni! Hai finito.

16 commenti
hello may i ask, how do u make it Jeff$? mine’s scarlet$ and i want to change it but idk how
I can’t type anything into the terminal…what am I doing wrong?
HELP
it doesn’t work on MacBook Air><
my sister’s pro did work, thanks!! but mine can’t do so. what should I do???
Hi. This does not work on 2018 13” MacBook Pro with Touch Bar. I did exactly this to disable auto boot. But when I check by using nvram -p it says: auto-boot true. Am I doing something incorrectly? I did everything step by step. Copied and pasted the sudo command, pressed enter and then entered my password. I have Big Sur 11.1 installed. Is there any other way since I need to replace the screen. Thank you. Adrian
Adrian Vizik -
I am having trouble enabling and disabling auto boot on a 2018 A1932 Air. If you are going to replace the screen, just open the machine and let it boot. Then hold the on / off touch ID button in until it shuts down. Then remove the back cover and slide the battery plug out of it's socket on the logic board. It's then safe to replace the screen.
Peter Newman -