Introduzione
Consigliamo di non rimuove questo tasto a meno che non sia strettamente necessario.
è molto più difficile da riattaccare rispetto alle tastiere Mac precedenti, inclusa la tastiera wireless a batterie AA delle generazione precedente.
Strumenti
Ricambi
-
-
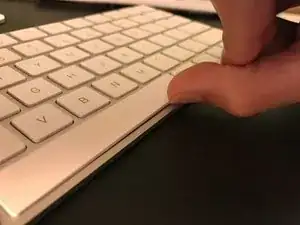
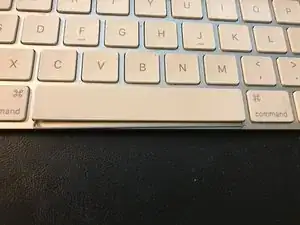
Per rimuovere la barra spaziatrice, fai scorrere un unghia sotto la parte frontale della barra per sollevarla delicatamente.
-
-
-
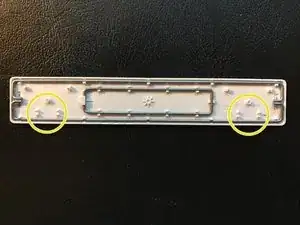
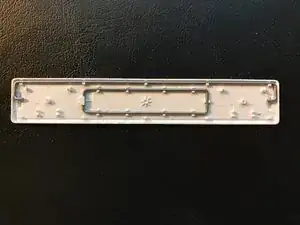
Identifica il bordo superiore e inferiore della barra spaziatrice.
-
Quello inferiore (quello che sarà il più vicino al bordo della tastiera) ha due rientranze in plastica su entrambi i lati. Queste rientranze si fissano ali piccoli fori sulla parte inferiore del meccanismo a forbice, come indicato.
-
-
-
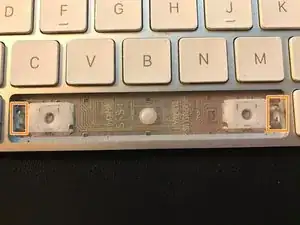
Identifica i piccoli ganci in metallo che tengono i bracci della staffa e si agganciano verso l'interno per afferrare i bracci della staffa
-
-
-
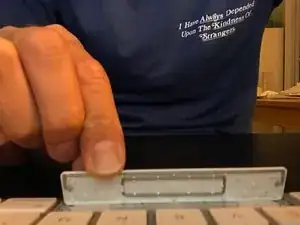
Posizionare la parte inferiore del tasto nell'apertura con la parte superiore inclinata verso l'alto e lontano dalla tastiera.
-
Fai forza partendo dal bordo inferiore facendo scorrere le dita man mano verso quello superiore.
-
Dovresti sentire i i due ganci inferiori fare presa sul meccanismo a forbice . Il supporto dovrebbe posizionarsi da sola correttamente.
-
Premendo sulla barra dovresti sentire la corsa normale nella parte superiore, indipendentemente da dove premi sulla metà superiore.
-
-
-
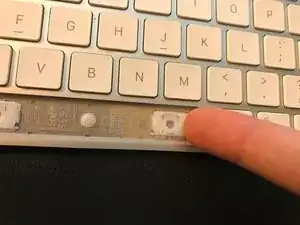
Solleva con cautela il bordo inferiore della barra spaziatrice, facendo leva in un angolo, senza tirarla via dai punti agganciati al meccanismo a forbice.
-
Fai scorrere attentamente il supporto inferiore nello spazio sotto la barra. Spingi il supporto finché non è in posizione corretta.
-
Premi delicatamente sul bordo inferiore della barra. Non fare troppa forza come mostrato nei video per le tastiere Mac precedenti.
-
Per rimontare il dispositivo, segui le istruzioni in ordine inverso.

24 commenti
Great tutorial, thanks a lot!
However I found it easier to attach the metal bracket to the holding clips and just popping the key back on top of it.
Same as Xavier. First both metal brackets in the keyboard in place and then gently pushing the spacebar down on them. The key got stuck in its lower position at first, but after pulling it up, it works like a charm.
Gerard L -
Thanks for saying I had to pull it up a little.
Thanks! I spilled beer on my Enter and Caps Lock keys—two of the most complex :(
Your advice helped me for Caps Lock.
The Enter key is different.
For an Enter key, you need to remove the butterfly hinges and attach them to the key cap first. Then add the metal bar, then slide the butterfly hinges back into place. The other edge of the hinge and the metal bar then click back into place when you press down.
This is because under the Enter key there are two hinges that are not aligned, so you can’t slide the key in — whichever way I tried, I only ever caught one hinge and not the other.
By removing them from the keyboard you can check they are properly in their slots on the key cap. You need to look carefully at how they attach to the keyboard, so you can slide them back in later.
I really don’t recommend this repair for the Enter key unless you are really, really precise and have a real eye for detail and a magnifier. Trickiest is getting a <1mm piece of nylon into a <1mm piece of plastic.
Amazing design.