Introduzione
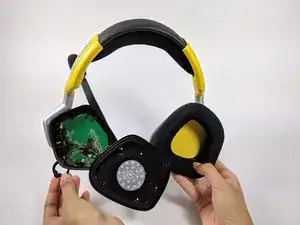
Learn how to replace the volume switch by following these steps. Replacing the volume switch does not involve many technical operations.
All steps for replacing the volume switch should be applied to the lefthand earcup..
-
-
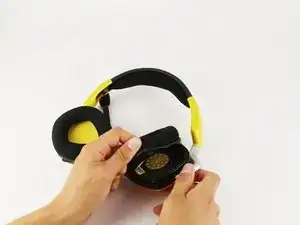
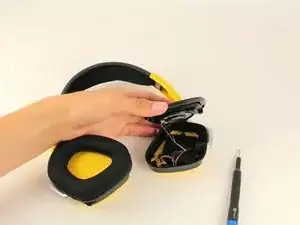
Carefully remove earmuff from headphones by getting a grip under the earmuff cushion and peeling up over the lip that keeps it in place.
-
-
-
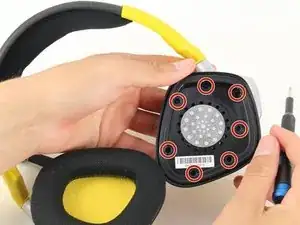
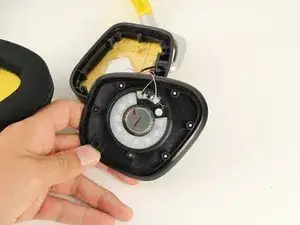
Using the Phillips #0 screwdriver, unscrew the seven 6.4 mm screws holding the black speaker cover in place.
-
-
-
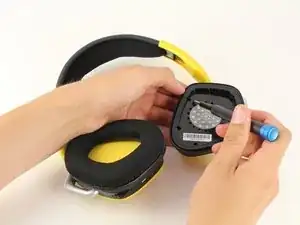
Using the Phillips #0 screwdriver, remove the three 6.4 mm screws on the black plastic panel with the grid of holes.
-


To reassemble your device, follow these instructions in reverse order.
Un commento
Heads up, some headsets have hot glue holding the wiring down below the speakers, and sometimes the hot glue will grab the speaker frame so its impossible to teardown the headset without damaging the wires, speaker or PCB board.
Found this out when my volume wheel was catching on something, so i decided to check it out. It was a glob of glue in the way of the wheel making it difficult to hit the switch to adjust the volume. Took me a little creative thinking to remove it with a plastic pointer/ scraper, and some fine tweezers, as the speaker panel was being held down by a large glob of glue.
USB Lynx -