Introduzione
Questa guida ti accompagnerà attraverso tutti i singoli passaggi richiesti per la creazione di una periferica USB di ripristino per Windows 10, che tecnicamente andrebbe eseguita prima che ti si presenti qualunque problema. Solitamente, è buona norma creare una di queste periferiche e conservarla nel cassetto per "tempi più bui", poiché non si può mai sapere quando potresti averne bisogno.
A ogni modo, nel caso in cui avessi problemi ad accedere al tuo sistema operativo, puoi farlo usando un altro PC con Windows.
Strumenti
-
-
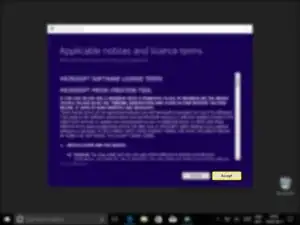
Vai su questo sito: https://www.microsoft.com/it-it/software...
-
E fai click su "Scarica ora lo strumento".
-
-
-
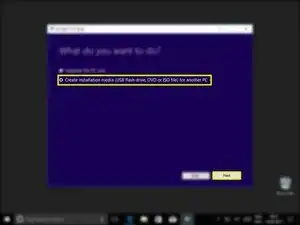
Seleziona "Crea supporti di installazione (unità flash USB, DVD o file ISO) per un altro PC"
-
Fai click su "Avanti"
-
-
-
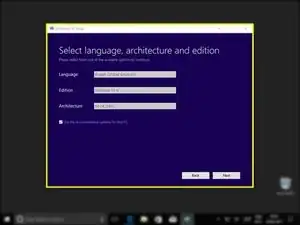
Se stai creando una periferica USB destinata ad un altro computer assicurati che le impostazioni inserite corrispondano al computer di destinazione. Impostare la lingua non è fondamentale, poiché potrai cambiarla anche dopo.
-
Se invece stai creando un back up destinato allo stesso computer sul quale stai usando lo strumento, mettendo la spunta su "Usa le opzioni consigliate per questo pc" imposterai tutto automaticamente.
-
-
-
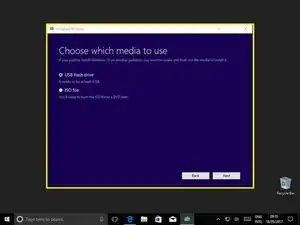
Seleziona "Unità flash USB"
-
Fai click su "Avanti"
-
Se invece selezioni "File ISO" puoi creare un'immagine disco che può essere masterizzata su un CD o trasferita su USB, e conservata per quando ne avrai bisiogno.
-
-
-
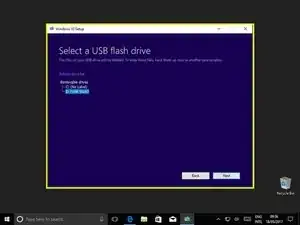
Ora seleziona la periferica USB su cui vorresti installare lo strumento.
-
Se la periferica che hai scelto non appare nel menù a tendina, assicurati di averla inserita corretamente e che sia stata riconosciuta da Windows.
-
-
-
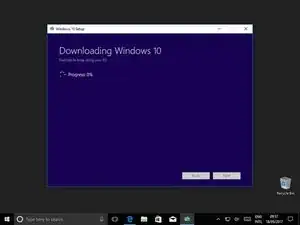
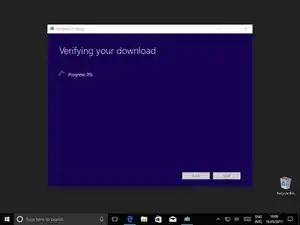
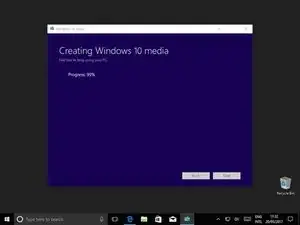
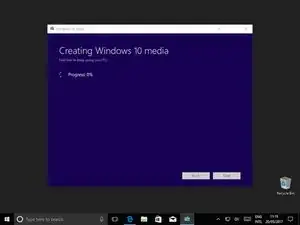
Non appena la procedura di trasferimento sulla periferica sarà conclusa, fai click su "Avanti".
-
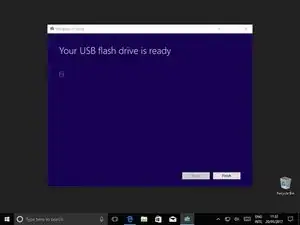
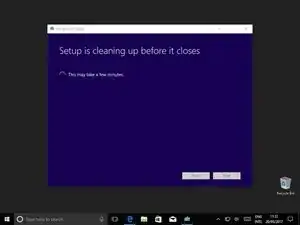
Dopo una brevissima attesa, avrai concluso la procedura. Ecco fatto, hai finito!
-


Per riassemblare il tuo dispositivo, segui queste istruzioni in ordine inverso.

23 commenti
Mr. Bailey. How is this Boot drive different from the Recovery drive that I create directly from my PC? Thanks.
They do the same thing essentially, they allow you to boot and recover your windows installation. However there is a one difference and that's that, I believe, the recovery drive tool only gives you the option to create a disk for the computer you are using. It's exactly like the recovery partition that some computers and laptops have.
My guide is quite generic in that you could create the disk for any Windows 10 installation.
Thanks for the question.
From my practice, UUByte ISO Editor can also create disks for any Windows 10 installation (including Windows 7, Windows 8 and Mac).
And compared with the method shared by Mr. Bailey above, UUByte ISO Editor saves time for users because it only takes 3 steps to create a Windows 10 bootable USB on my PC. It has no difficulty for those new users.
KKEmily -
I recommend you add something about how to boot from the USB drive, especially on a machine that has UEFI SecureBoot enabled.
I agree that that part of the process is important, however there are so many variables to uefi that writing a coherent guide for that would be difficult. Not to mention that screen shotting those steps a more difficult (although obviously not impossible).
But thank you for the feed back, I'll consider it in the future.
I'd like to see those instructions, too, just because with Windows, not everything is always as it would seem.
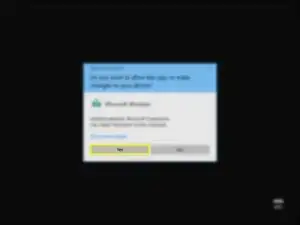
for the second step, what you mean UAC pls?
It's a feature of windows called User Access Control and is the name for the pop up asking for permission to run an app.
This feature can be disabled which is why I say if.
Download tool? I just got an ISO file when following this link.
Marc -
So this guide is for windows users?
Marc -