Introduzione
Strumenti
-
-
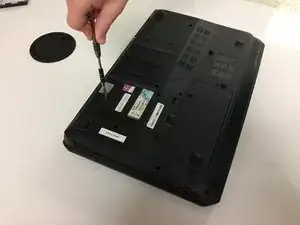
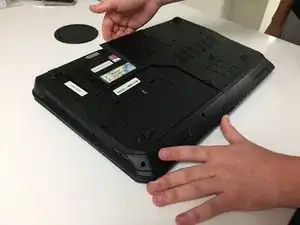
Turn the laptop so the back is facing up.
-
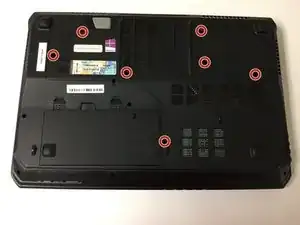
Use a Phillips #00 screwdriver to remove the seven screws from the bottom cover. These will require a counter-clockwise rotation to remove. A magnet may be helpful to remove screws if they get stuck at the bottom of their inserts.
-
-
-
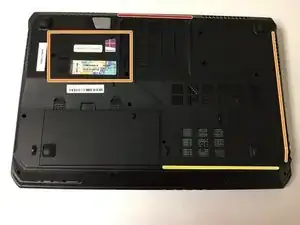
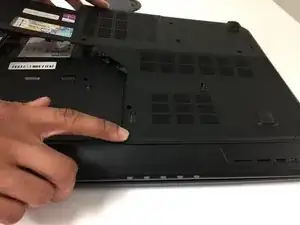
Start by pulling up on the lip, highlighted in Red. This will be at the back of the computer.
-
Once the back has been lifted up, begin lifting up at the orange side on the left. This will be right next to the back we just pulled up. The right side should come loose at this time; pull up on it as well
-
Lift and pull on the yellow edge, on the opposite side of the first part we pulled up on. Once this is removed, lift the panel off the computer.
-
-
-
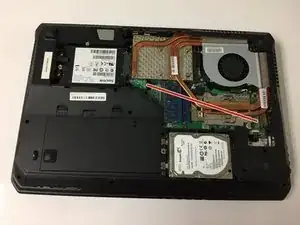
Take a can of compressed air duster and use it along the red line or wherever you see any dust on the internal components.
-
Continue this until the device is clean.
-
To reassemble your device, follow these instructions in reverse order.