Introduzione
The membrane keys on the keyboard may become stuck or cease functioning due to wear or improper maintenance. This guide will show how to replace keys that have stopped functioning.
-
-
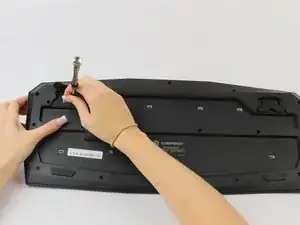
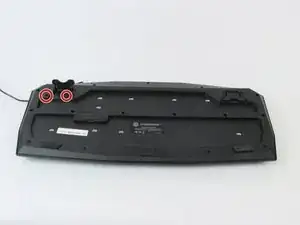
Remove the two 10 mm length screws using the Phillips head #1 which are located underneath the kickstand of the keyboard and directly next to it.
-
-
-
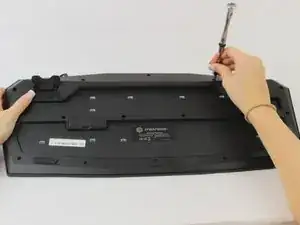
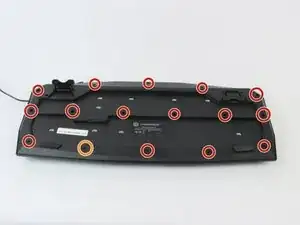
Remove the sixteen 5 mm length screws using the Phillips head #2.
-
One of the screws may be located underneath a manufacturer's sticker.
-
-
-
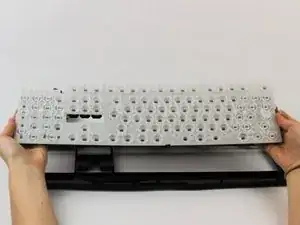
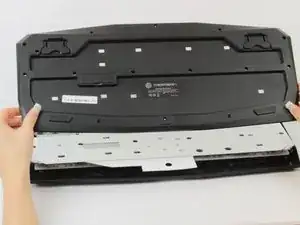
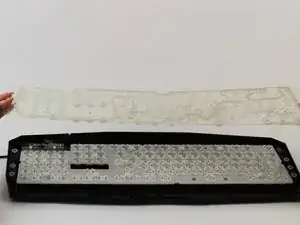
Now the cell membrane should be exposed, gently lift this part and ensure that the rubber buffers are all intact to the membrane, if not pick up the buffers and set to the side.
-
-
-
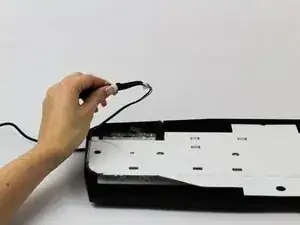
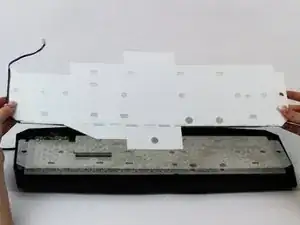
The keyboard should now be free to move, pick up the entire keyboard membrane and search for the key that needs to be replaced, to assist in remembering which key needs to be replaced place a small marker dot on the individual key back.
-


To reassemble your device, follow these instructions in reverse order.
Un commento
Gooooooooooooooooood