Introduzione

A damaged motherboard is a serious issue and can be a hassle to fix, but it doesn't have to be! By following the quick and easy motherboard replacement guide you can have your Chromebook working again in no time!

  1. wFwuXOCJhN4ZCDDO
    wFwuXOCJhN4ZCDDO
    taajDEMBCRwj1GSB
    • Remove the eleven 3mm Phillips #1 screws.

  2. IklIfhBrAj5DLrtO
    • Use a plastic opening tool to gently remove the back panel.

    • It can be easier to pry open near a corner.

  3. YZYOqG5uPrJw5SJI
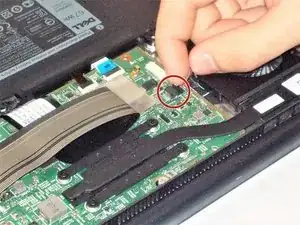
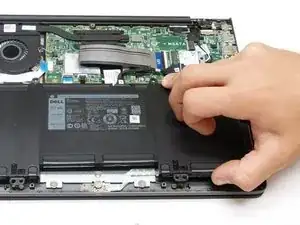
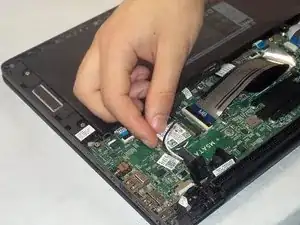
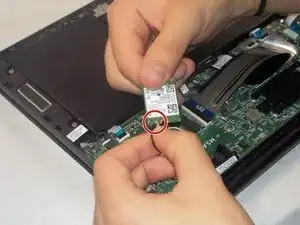
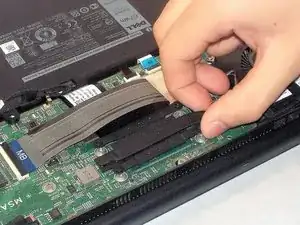
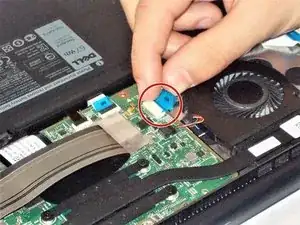
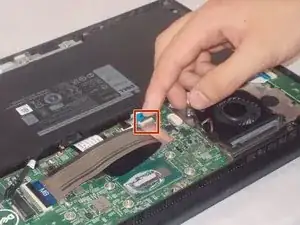
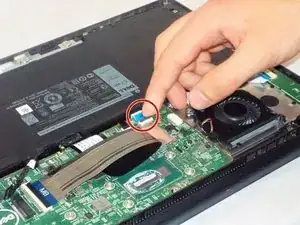
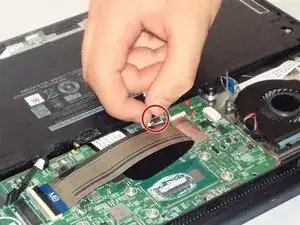
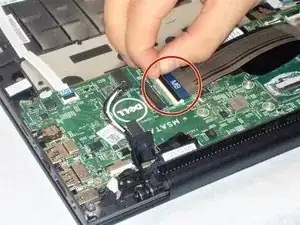
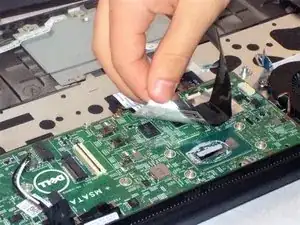
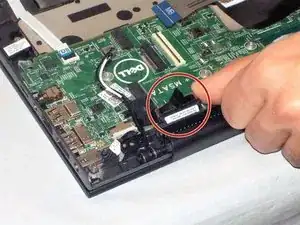
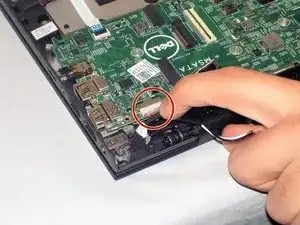
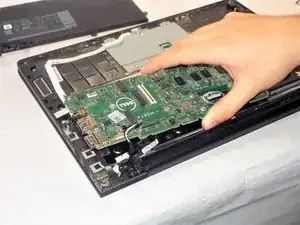
    • Use your fingers to remove the connecting cable to the battery unit. Firmly grab the cord closest to the motherboard connection and pull straight back.

  4. g2fZcr46CLTGnpjY
    • Remove the four 2mm screws on the sides of the battery.

  5. m1IIZHdXEdUgSAIb
    • To remove the battery, lift up on one side to get your fingers underneath and lift away.

  6. QFRfbwdmOKUL6NEP
    QFRfbwdmOKUL6NEP
    FwdhvRRMqbeMf6X2
    • Use #1 Phillips screwdriver to remove the 1mm screw in the network card.

  7. BLMgEsJTWxQSKUpX
    • Disconnect the network card from motherboard socket.

  8. kIn1oBgjRjebmK1K
    • Disconnect 2 cable connectors from network card.

    • If the cables are stuck, continue to gently wiggle them until they disconnect.

  9. DuRFxmNSMV5sCuJP
    • Gently pull to unplug fan connector.

  10. IsRTe3rj3aiGQbUT
    IsRTe3rj3aiGQbUT
    5WfUb2Wv5kHNcQto
    • Remove 4 screws securing heat sink.

  11. YysFiBpbtyFXTfYS
    • Lift away heat sink.

  12. QVtmsDNPvlSAIIsP
    • Remove the eight 2mm screws securing the motherboard in place.

  13. BAgv5UEAjLj6eWee
    • Release cable for the LED charging indicator by pulling up on connector.

  14. VQZWrWtKrGwXJnDJ
    • Gently remove the cable.

  15. bFMNgDcplYgNMJ2B
    • Pull up on connector tab to release IO board cable.

  16. varHRi5AXOcuyWaW
    varHRi5AXOcuyWaW
    J6tuLejCTS2gyIbe
    • Pull up on connector tab to release touchpad cable.

  17. V1iwIpfpNnCN1BGq
    • Release the keyboard backlight cable.

  18. F6hxhF4D1wPZGQP6
    F6hxhF4D1wPZGQP6
    KYxSXVaQKakkpnQI
    • Release the keyboard cable.

    • If taped to the motherboard, gently peel it off.

  19. K6jRlUO5h1DV4skc
    • Release eDP cable.

  20. BBoITJJqOuBFK4wm
    • Release dc-in cable.

  21. NTxjdXDOJTaSv2AN
    • Gently lift up the motherboard to remove it.

Conclusione

To reassemble your device, follow these instructions in reverse order.

Brett Raymond

Membro da: 01/11/18

469 Reputazione

Un commento

Is it possible to swap the non-touch matte display and the glossy touchscreen on two Dell Chromebook 13 7310?

Jeremy Ryan Terrence -