Introduzione

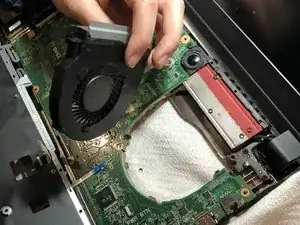
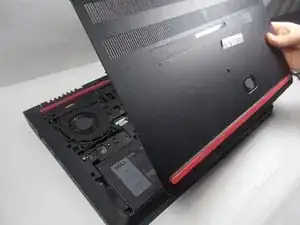
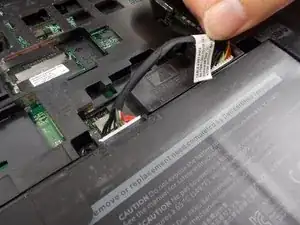
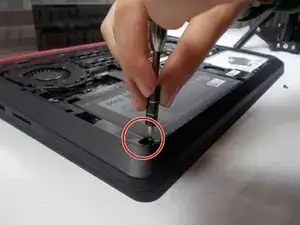
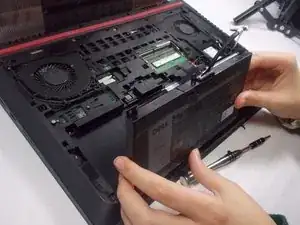
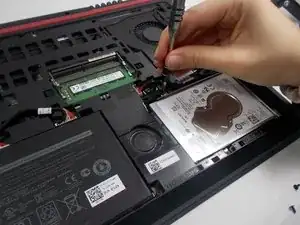
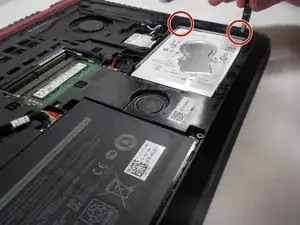
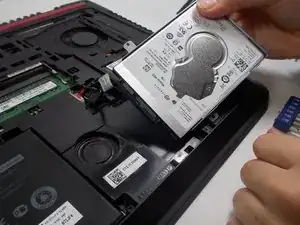
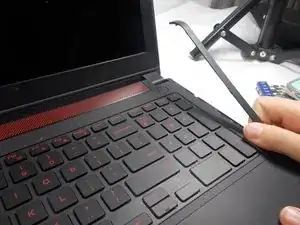
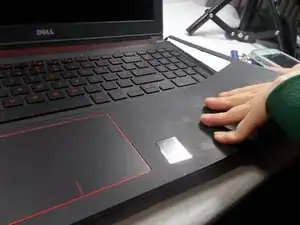
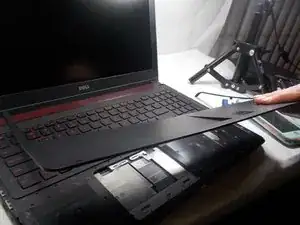
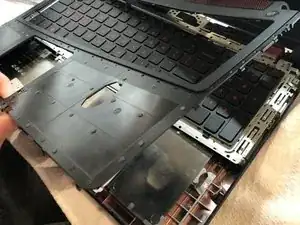
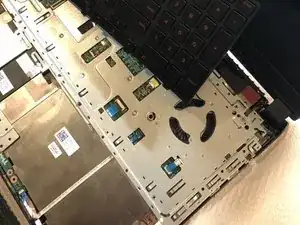
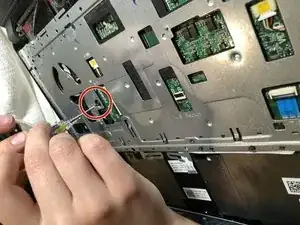
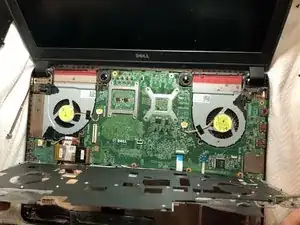
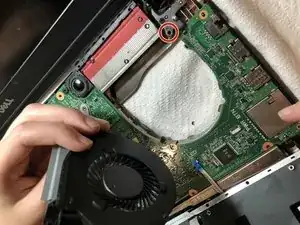
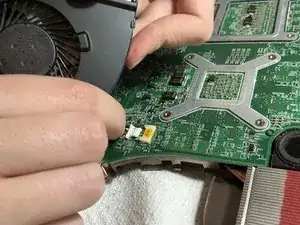
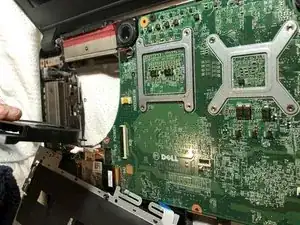
When your Dell laptop starts overheating or making strange fan noises, it may be time to consider a fan replacement. This replacement will improve heating issues, and protect your laptop from potential harm. Basic hardware skills are a must, along with having a gentle touch to navigate the disassembly process. Successfully swapping out the fan requires careful precision, making this repair a rewarding yet complex task for your Dell Inspiron 15 5577.

  1. CSAYZmLBxI5M44yt
    • Unscrew the base cover plate to locate the gaming fan.

  2. QRjl4tGrtQOSuQdc
    • Remove the base cover.

  3. vASZjTlwsCSHrBR3
    • Gently tug on the battery cable in order to disconnect it from the motherboard.

  4. TGABrLYYCrLFn2cW
    • Loosen the screws that secure the battery in place.

  5. ATYljCDrEH2fXMQo
    • Carefully pull the battery out of the laptop.

  6. VCKsvm3Pdagh62RQ
    • Remove the cable above the hard drive.

  7. 4eXtPhbtKDacVPmK
    • Loosen the screws that secure the hard drive.

  8. AwIYTlgMvbK6O6Ve
    • Carefully remove the hard drive.

  9. DOo6BWoLJKtXPke1
    DOo6BWoLJKtXPke1
    eBCxusLHNsrGQqOo
    LfjXsaojDbFfiy1Z
    • Flip the laptop over and open the lid.

    • Remove the palm rest.

    The breaks the palm rest so it cannot be re-attached. It looks like its an avoidable step according to videos on youtube.

    Ryan Zhan -

    This step should be removed.

    It cause damage to my laptop and now it’s broken. :/

    Ahmad Safdari -

    I just did this myself and had to superglue the palm rest back together. The correct solution is to pop out the keyboard (mind the ribbon cable) and remove the two screws under it.

    Then the palm rest, speaker grill and power button (ribbon cable again) can all be removed as one piece.

    fortunecaspian2 -

  10. l6anRFERLkmruZ5C
    • Carefully unsecure the rest of the shell on the base of the computer.

  11. 4jGcWvuqUgGHUdwA
    • Remove the keyboard.

  12. CSuHvECxXhpdHDqf
    • Loosen the screws securing the metal plate and contents of the base.

  13. HJ4wobH6jDQQKWTq
    • Remove the plate.

  14. a3MDRIQ5PqlXkXnD
    • Unscrew and remove the first fan from the base of the laptop.

  15. wqddKMIDsVmEiRGU
    • Remove the fan's cable from the board.

  16. ANcdYUjd5SiZJRxY
    • Repeat steps 14 and 15 for the remaining fan.

Conclusione

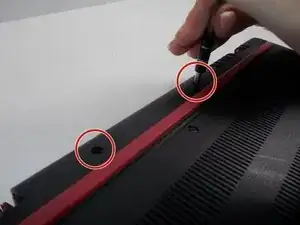
To reassemble your device, follow these instructions in reverse order.

Julia Cabral

Membro da: 31/10/19

379 Reputazione

0 commenti