Introduzione
You should be familiar with the basics of taking apart a computer take apart, specifically in terms of preventing further damage due to electro-static discharge (ESD).
Strumenti
-
-
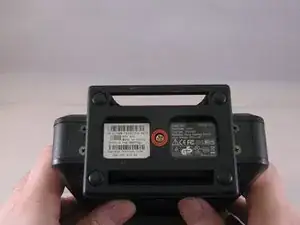
With the base stand facing upwards, unscrew the 6mm Phillips #2 screw.
-
Pull the base stand straight up from the device.
-
-
-
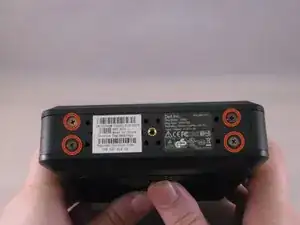
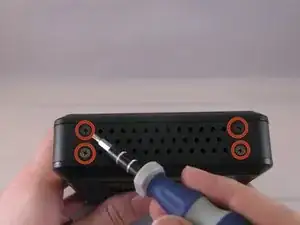
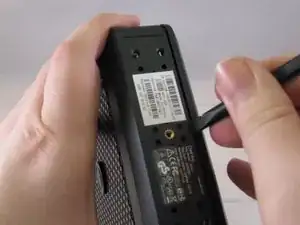
Unscrew and remove the eight 4mm Phillips #0 screws (four on top, four on bottom) from the top and bottom of the device.
-
-
-
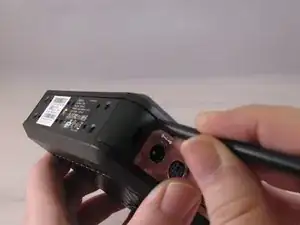
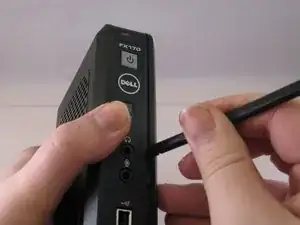
Run the flat side of the spudger along the entire line of the case starting from the back where the power plug and a small screw are located.
-
-
-
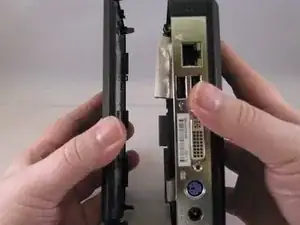
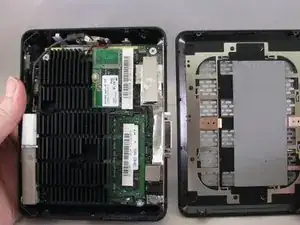
Once the clips have been released, gently disengage the cover from the rest of case by pulling in opposite directions.
-
-
-
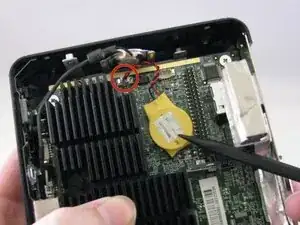
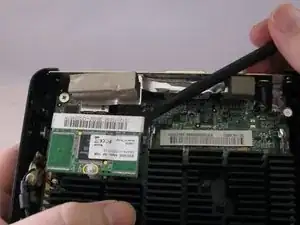
Using the spudger, gently push on the underside of the memory board to loosen it. Gently grasp each side and pull up to release the memory board.
-
To reassemble your device, follow these instructions in reverse order.