Introduzione
Use this guide to learn the steps to remove the keyboard of your Dell XPS 15 9570. The keyboard is an input device used to enter characters and functions into your computer system by pressing the keys.
Prior to starting this guide, be sure the laptop is powered off and it is unplugged from the charging cord.
-
-
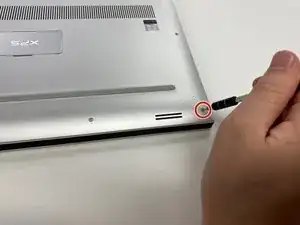
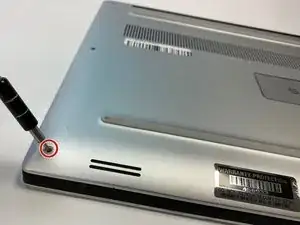
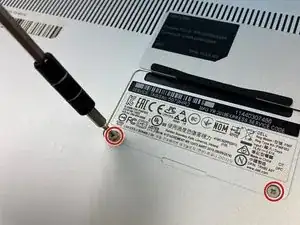
Flip open the system badge and with a Phillips #00 screwdriver, remove the two 8.5 mm screws.
-
-
-
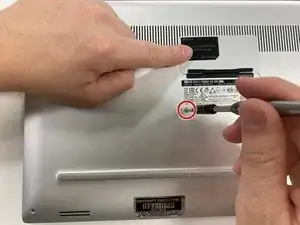
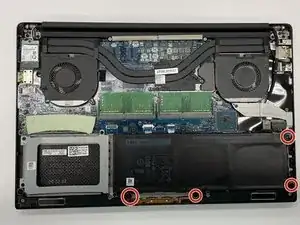
Using the Phillips #00 screwdriver, remove the four 4 mm screws holding the battery in place.
-
-
-
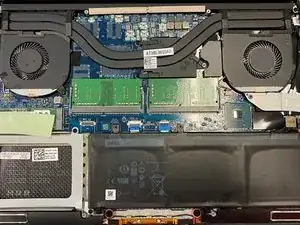
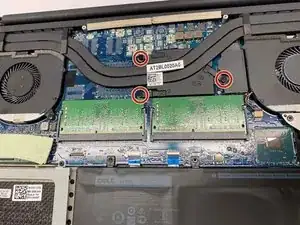
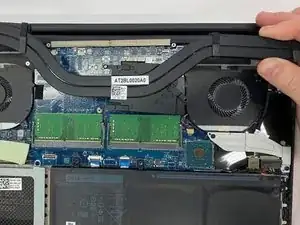
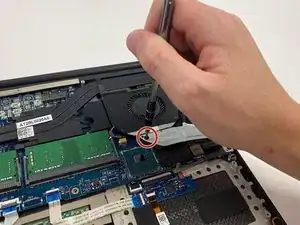
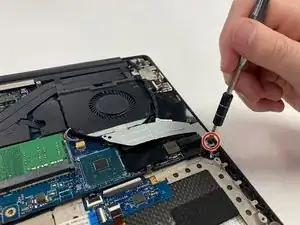
Use the Phillips #00 to remove the three (without graphics card) or four (with graphics card) 3 mm screws that connect the heat sink to the system board.
-
-
-
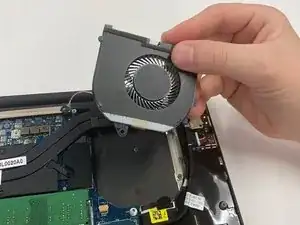
Lift the heat sink from the device. The thermal paste may have dried and make this handling more complicated, be careful.
-
-
-
Use the Phillips #00 screwdriver to remove the two 4 mm screws securing the grey display cable bracket.
-
-
-
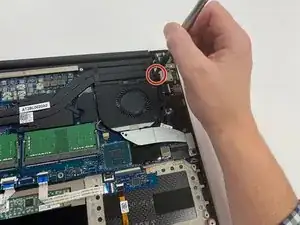
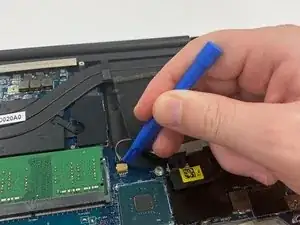
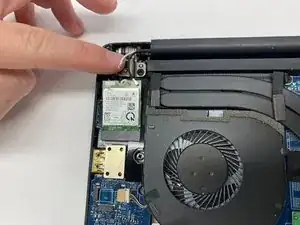
Using the Phillips #00 screwdriver, remove the 4 mm screw at the back right corner of the fan.
-
-
-
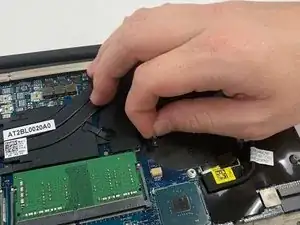
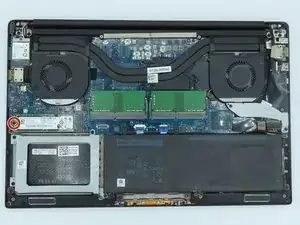
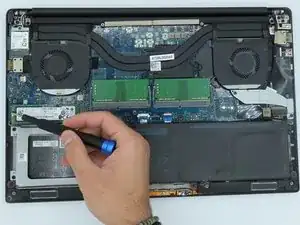
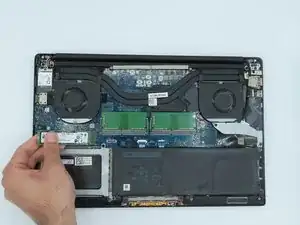
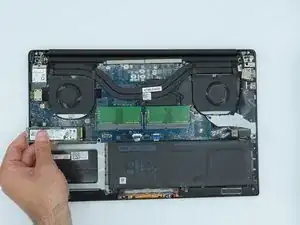
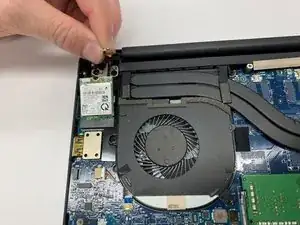
Disconnect the fan cable on the left of the fan and on the right side from the RAM, using the opening tool.
-
-
-
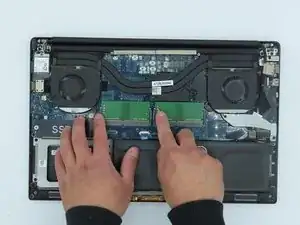
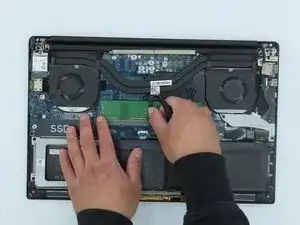
Use your fingers to pinch down the metal tabs holding the RAM in place. Do this for each tab.
-
-
-
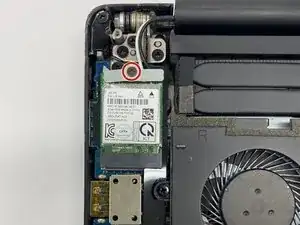
Using a Phillips #00 screwdriver, loosen the captive screw holding the wireless card bracket in place.
-
-
-
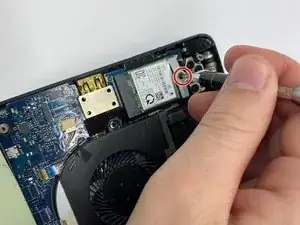
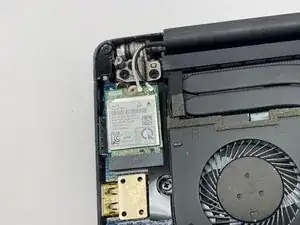
Using a spudger, disconnect the coaxial antenna cables from the Wi-Fi card by popping them gently off.
-
-
-
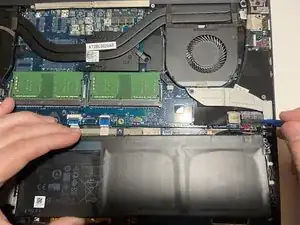
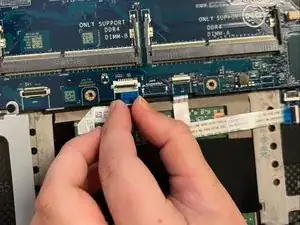
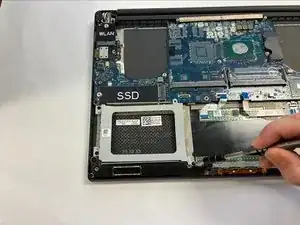
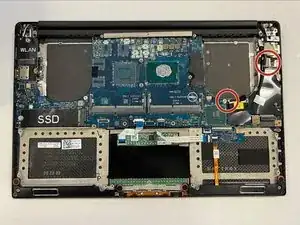
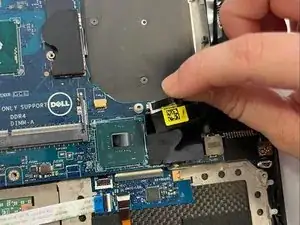
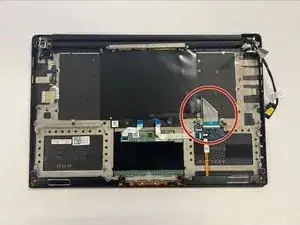
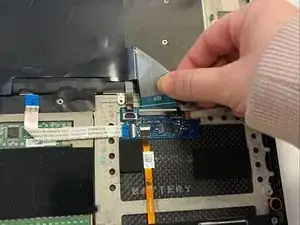
Disconnect the two motherboard cables located on the right of the motherboard using the opening tool.
-
-
-
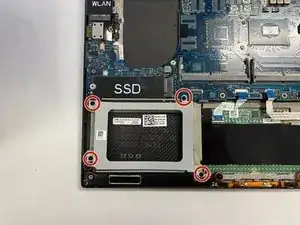
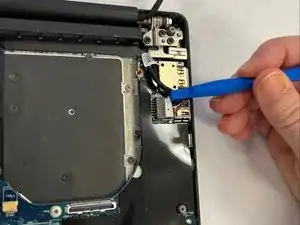
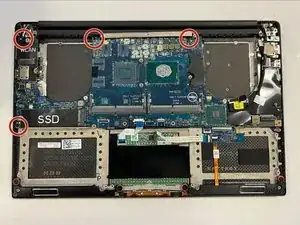
Using a Phillips #0 screwdriver, unscrew the 4 remaining 4mm screws holding the motherboard in place.
-
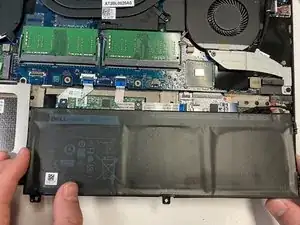
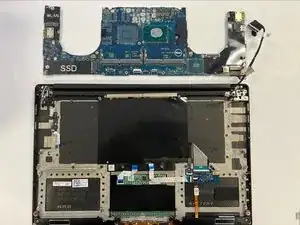
Remove the motherboard.
-
-
-
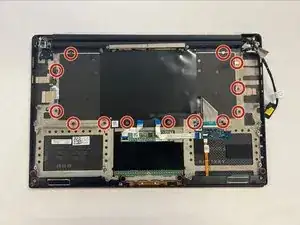
Unscrew the 1.9mm screws using a Phillips #00 screwdriver.
-
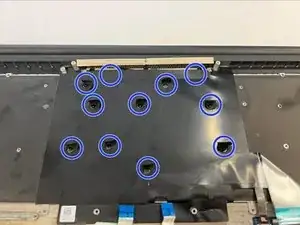
Flip the cutouts on the keyboard to reveal and unscrew remaining 1.9mm screws underneath.
-
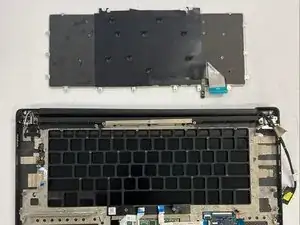
Remove the keyboard.
-


To reassemble your device, follow these instructions in reverse order.