
Introduzione
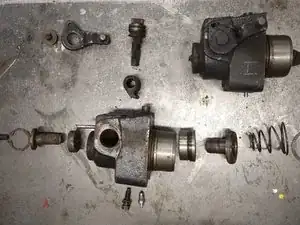
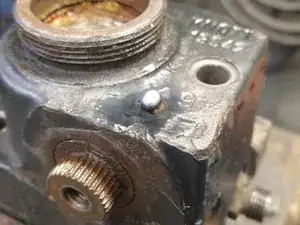
One of the types of brake slave cylinder on this tractor is a hydraulically assisted type.
This uses 18 bar hydraulic fluid that actuates the brakes. A common problem is rust building up inside the hand brake mechanism. This is a disassembly guide since most manuals don't seem to show how. New cylinders are also very expensive.
-
-
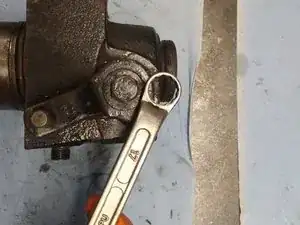
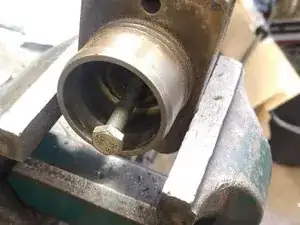
First we will remove the adjuster bolt, untighten the nut with 17mm spanner and then unscrew the bolt with a 8mm spanner.
-
-
-
If your cylinder is in good condition you might be able to get the piston out with compressed air but mine is rusted in place.
-
So I used a greasegun and some special fittings. A brake pipe fitting threaded for a grease nipple.
-
Replace the air bleed nipple with the greasegun nipple.
-
-
-
Plug the hydraulic inlet and use the greasegun to force the parts out.
-
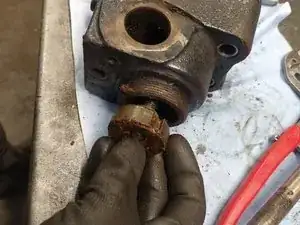
First comes the plunger that in this case was rusted in place.
-
Next the piston.
-
-
-
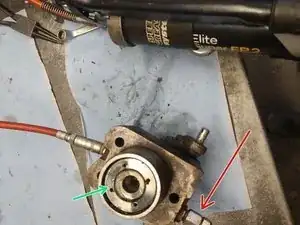
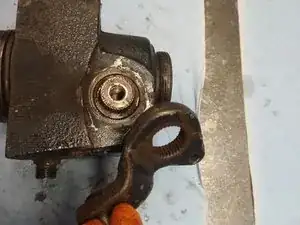
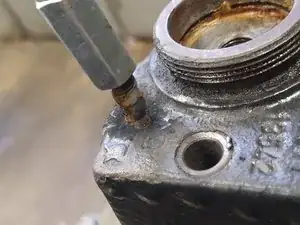
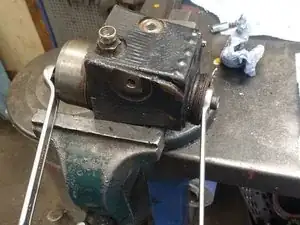
Next turn it over and use a 17mm spanner to remove the hand brake arm bolt.
-
Then using a scribe mark the end positions for the arm so you can get it back in the right rotation. Both the arm and the inner pusher have splines so this is a good thing to do.
-
-
-
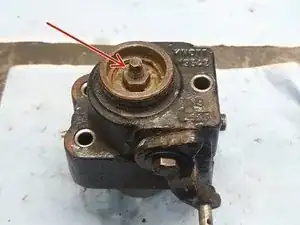
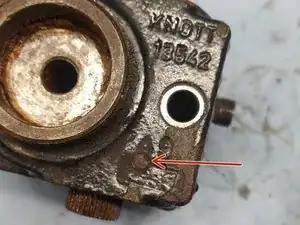
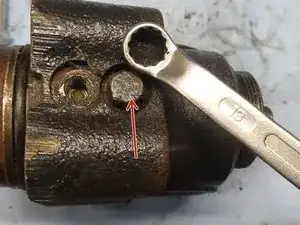
The handbrake axle is locked by a small pin marked with the red arrow. I used a welder and a slidehammer to remove this.
-
-
-
Next use the slidehammer and a m10 threaded end to remove the habdbrake axle like in picture 2.
-
-
-
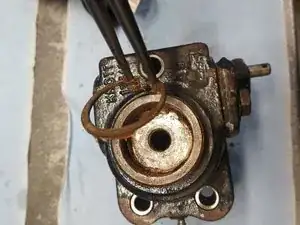
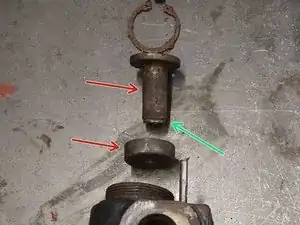
Now we will have to separate these two parts to get the handbrake actuator out.
-
Using a m10 bolt and a metric pipe thread I forced the to rotate in different directions which broke them free,
-
-
-
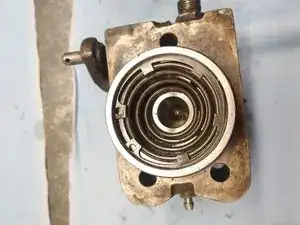
Now the top part can be removes followed by the handbrake actuator and lastly the lower part.
-


To reassemble your device, follow these instructions in reverse order.