Introduzione
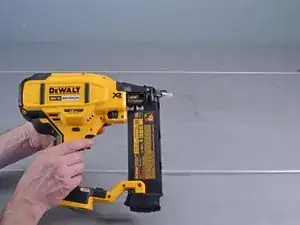
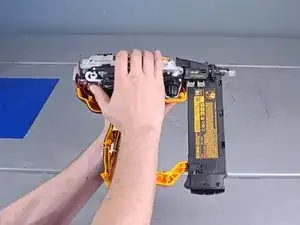
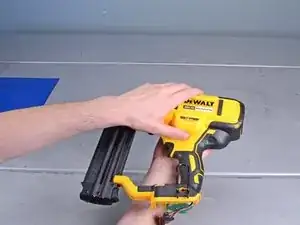
This guide shows how to remove and reinstall a driver blade for the Dewalt Nailers DCN680D1 2018.
-
-
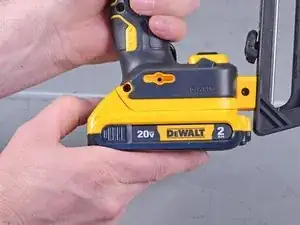
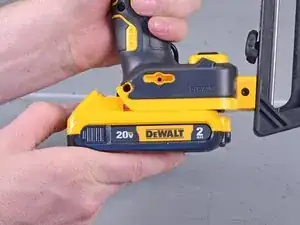
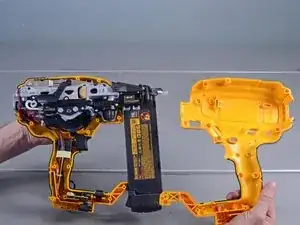
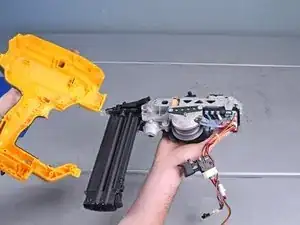
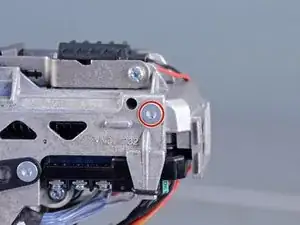
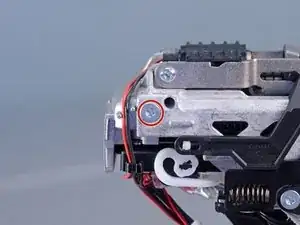
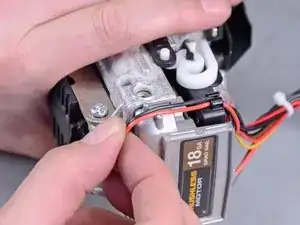
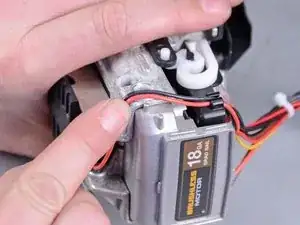
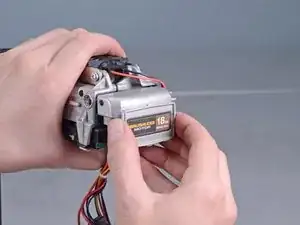
Remove the following screws securing the outer housing:
-
Twelve T10 screws
-
One 2.5 mm hex screw
-
-
-
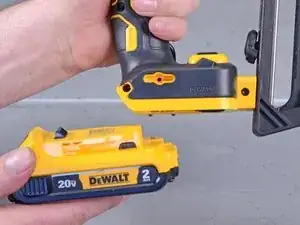
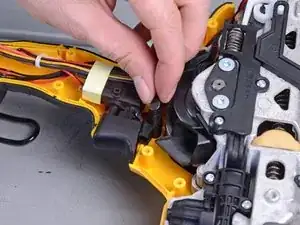
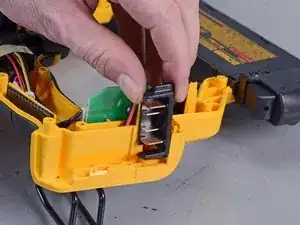
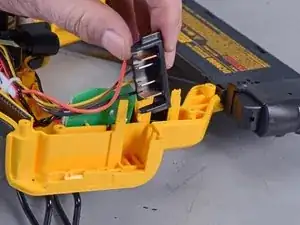
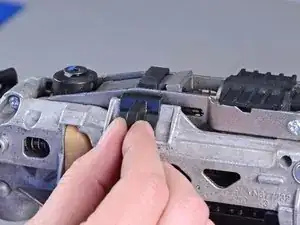
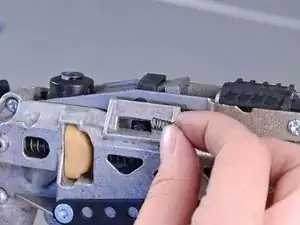
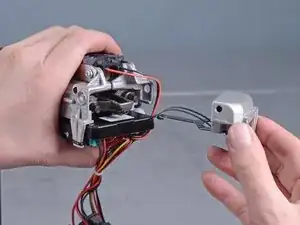
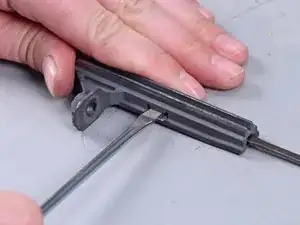
Carefully remove the release button from the device.
-
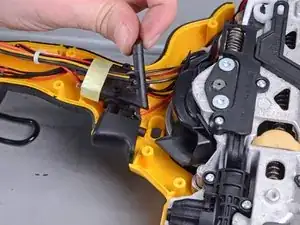
Remove the button spring from the device.
-
-
-
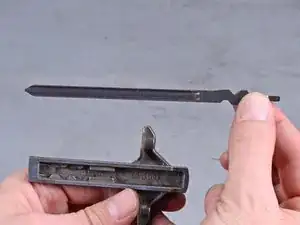
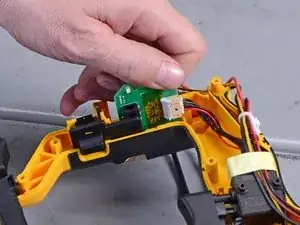
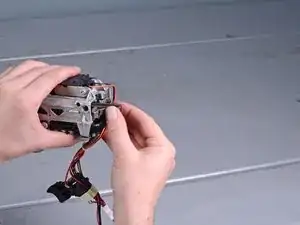
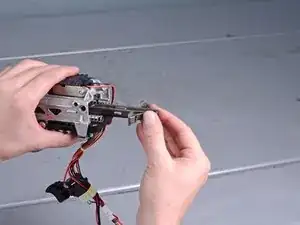
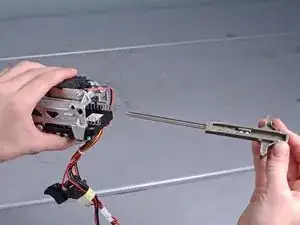
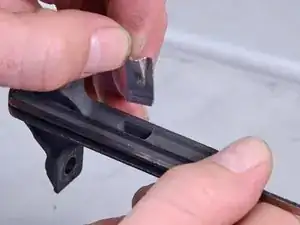
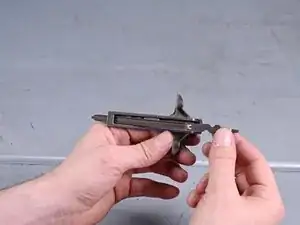
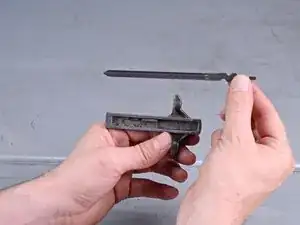
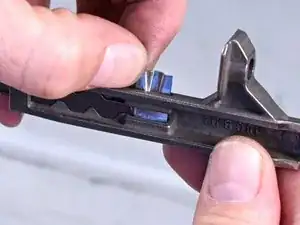
Slide the blade through the slot in the driver assembly and set it into the wavy groove.
-
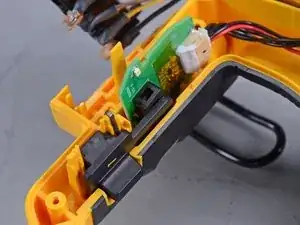
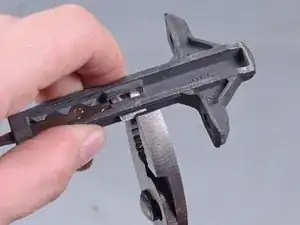
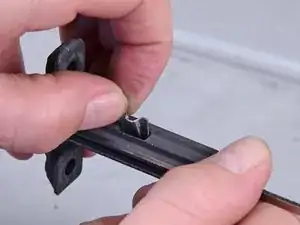
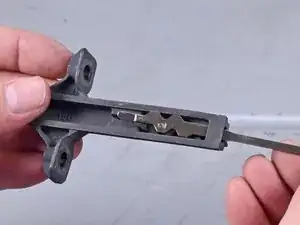
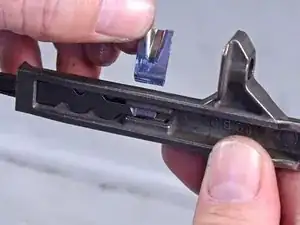
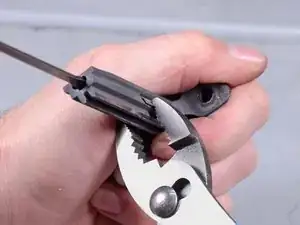
Insert the retaining clip oriented as shown in the photos into the driver assembly.
-
-
-
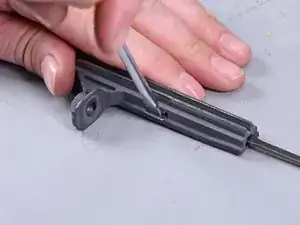
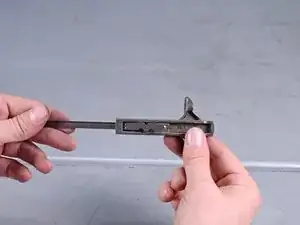
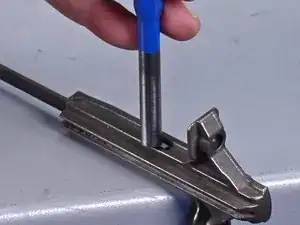
Use pliers or a hammer and punch to bend the protruding end of the clip over in order to secure the blade.
-


To reassemble your device, follow these instructions in reverse order.

3 commenti
Thank you for this video, replacing the drive blade would not have been possible without it. I had my brad nailer for 10 months & used it twice and it failed. DeWalt suggested I bring it in for warranty service. The warranty service center told me that it wasn’t under warranty & I’d have to pay a minimum of $250.00 to have the blade replaced. Dewalt then offered to send me the drive blade as a courtesy, I had already ordered the part I & said no, the brad nailer should have been covered under warranty. I repaired my brad nailer myself with your help and this is the last DeWalt product I’ll ever buy. Thanks again.
andysage -
I'm going to attempt this myself and am so glad I found this page. Thank you! Dewalt was going to charge me $200. I found a local repair guy who said he wouldn't touch it because there's an air chamber that you have to pressurize to do the repair. But it doesn't look like that's the case according to these instructions. Do you know anything about that?
Your tutorial was excellent. I replaced the driver blade with zero confusion or errors thanks to clear, logical text beautifully augmented with clarifying pictures.
Thank you.