Introduzione
This guide shows how to disassemble a complicated (but cheap) SLR lens, and hopefully reassemble it in working order. Please note that this is a fiddly and complicated procedure; if you value your lens and definitely need it to work, service it. I purchased an "untested" camera from eBay that had obviously been drop tested.
Strumenti
Ricambi
-
-
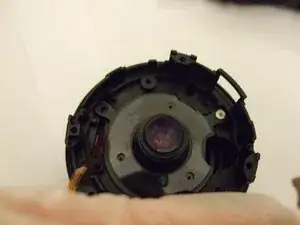
Remove the rear cover, and then remove the rubber seal (shown in place around the edge of the lens in this picture).
-
Note the piece of plastic that just fell out. Not a good sign!
-
-
-
Gently lift and remove the plastic barrel next to the focus switch. My one was already cracked.
-
-
-
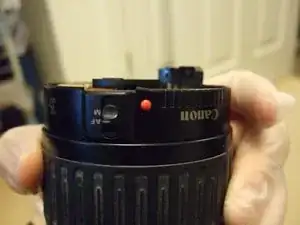
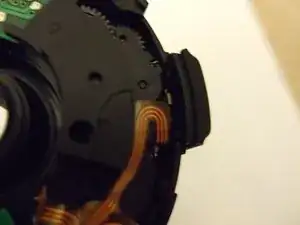
Gently manipulate and remove the AF/M focus switch - it is held in by four easily breakable brittle plastic clips.
-
Watch out for the autofocus mechanism and control wires. They are very delicate.
-
It's a good idea to switch the lens to manual at this point - adjusting the focus can help when removing the autofocus motor
-
-
-
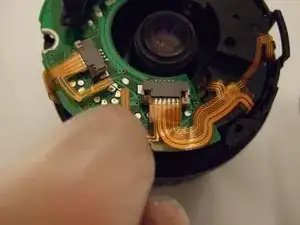
Remove the top two control wires by releasing the clamps, and then gently easing the wires from the connectors
-
Do not remove them by pulling the sticking out plastic parts (one is obscured by my finger here) - these will tear off
-
-
-
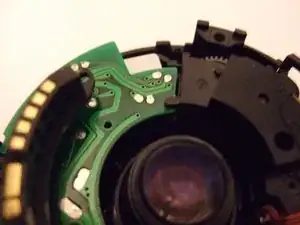
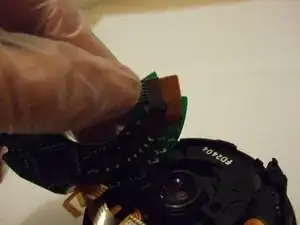
Gently lever the control board out from under the plastic tabs
-
Mind the cable underneath the board
-
Make sure you don't touch the lens element in the centre!
-
-
-
Lift up the board, and then gently pull the lower connector out by the solid connector
-
Then, remove the control board entirely
-
-
-
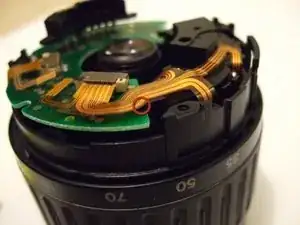
Next, we will remove the autofocus mechanism
-
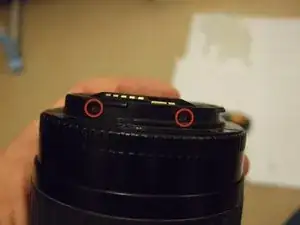
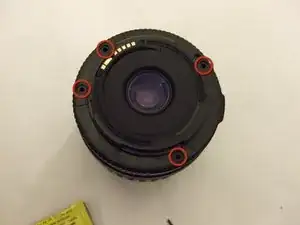
Remove the two screws shown
-
Be careful with the control cables. They tear easily. The aperture control cable on this lens is damaged already.
-
-
-
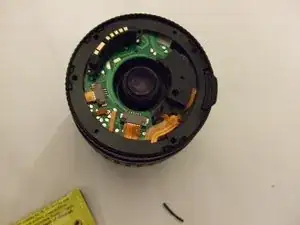
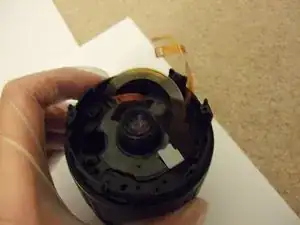
Lift off the focusing mechanism.
-
It's best to have the focusing mechanism in manual (M) - then extending the lens will help you remove the mechanism
-
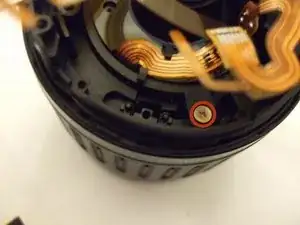
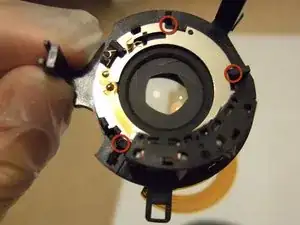
Remove the ringed screw and lift out the metal guide.
-
-
-
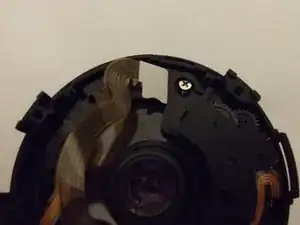
Gently turn the zoom so it is nearly at 35mm
-
This will lift the rear element and aperture unit towards the rear of the lens, and align the three legs with gaps
-
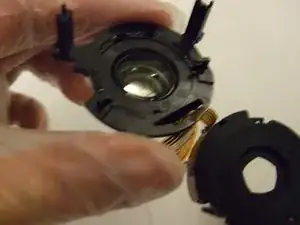
Lift the rear element and aperture unit out
-
-
-
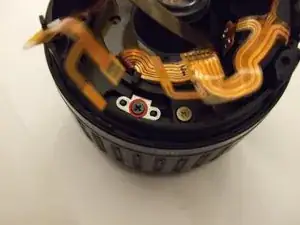
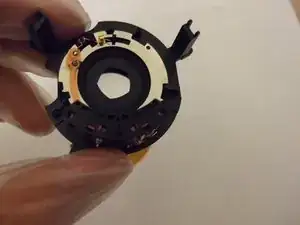
Gently rotate the aperture unit anti-clockwise so that the three ringed legs no longer lock it in place.
-
On my lens, there was one of the three legs intact, and the aperture unit was hanging off uselessly.
-
-
-
If your aperture unit is like mine, apply superglue around the outer rim, and replace
-
Don't get any on the glass!
-
-
-
That's as far as I went - the zoom was no longer jammed, and reassembly was the best option here! Reassembly is the reverse of disassembly
-
The aperture unit/rear element is slightly tricky to put back. Make sure you align it correctly (lens nearly at 35 mm, so that the screw holes are high up).
-
Remember to blow dust out of the lens if you see any as you are reassembling it. Do not use anything liquid to clean the inside of the lens unless you know what you are doing.
-
-
-
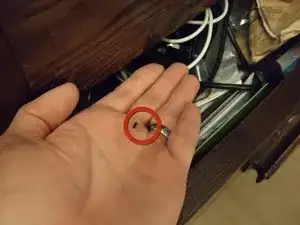
Put the random bits of plastic in your man (or woman) drawer. Who knows when they will come in handy?? But seriously, here's what I found:
-
That slightly torn aperture cable did not affect operation of the lens. It works perfectly.
-
-
-
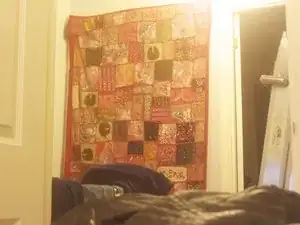
Completely reassemble the lens and test on your SLR/D-SLR. Now you can take badly exposed shaky indoor shots like the one shown again!
-
Don't think you can get away without those tiny screws in the barrel. They hold the contacts in place. I tried and focusing did not work!
-

Complete disassembly and some super glue fixed my lens, but not everyone will be so lucky.