
Introduzione
Questa è solo una guida prerequisita! Questa guida è parte di un'altra procedura e non è pensata per essere utilizzata da sola.
Strumenti
-
-
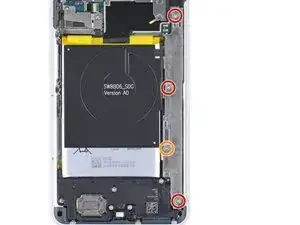
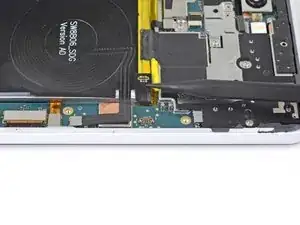
Rimuovi le seguenti quattro viti T3 che fissano la staffa della cover metallica:
-
Tre viti lunghe 4 mm
-
Una vite lunga 3 mm
-
-
-
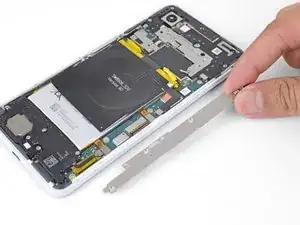
Inserisci l'estremità piatta di uno spudger sotto il bordo superiore destro della staffa della cover metallica e fai leva per liberarla.
-
Rimuovi la staffa della cover metallica.
-
-
-
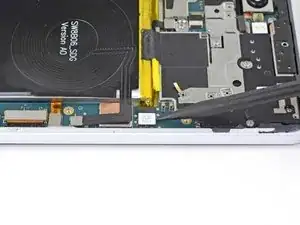
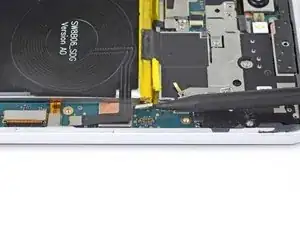
Usa l'estremità punta di uno spudger per sollevare dal suo zoccolo e scollegare il connettore della batteria.
-
Ripiega da una parte il cavo della batteria in modo che il connettore non possa accidentalmente toccare lo zoccolo.
-

Conclusione
Per rimontare il tuo dispositivo, segui queste istruzioni in ordine inverso.

Be careful when putting the screws back in that you do not over tighten. This will cause you to destroy some pixels on your screen.
Brian Retterer -
The long screw on my disassembly was adjacent to the lettering for the Qi inductive receiver, and not close to the silver exposed part of the battery as indicated
Andrew Munro -
In my case, all the screws are the same length.
Krzeszny -