Introduzione

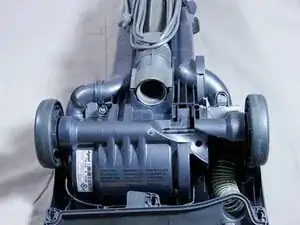
Dyson DC14 models come in two variants; with and without a clutch. For those without a clutch, a single drive belt connects the motor directly to the brush so the brush rotates continuously whenever the motor is on.

For those models with a clutch, the brush roller can be engaged or disengaged with a switch; "bare floors" vs. "carpets" settings. On the carpets setting, the clutch is only engaged when the vacuum is tilted down from the upright position.

This guide is also applicable to the DC07 and DC33 models.

  1. kEnmWiGElCCkwSnj
    • Turn off the vacuum and unplug it from the outlet.

    • Lay the vacuum on its top so that the brush bar faces you.

  2. WdFawhWCqNwIACff
    WdFawhWCqNwIACff
    Cl4v1AUWPn1ureCF
    iI1srOpkrjnoGFdS
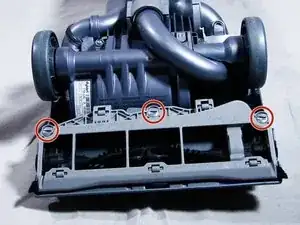
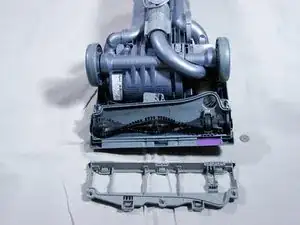
    • Using a quarter, turn the three soleplate fasteners 90 degrees to the left.

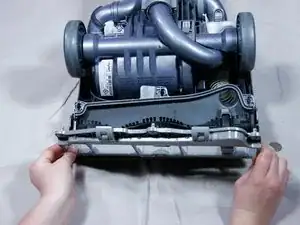
    • Holding the soleplate on both sides, tilt it down and away from the vacuum.

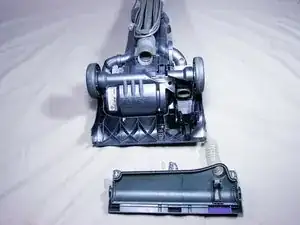
    • Remove the soleplate from the vacuum.

  3. CAymSIRQygsaIGYF
    CAymSIRQygsaIGYF
    Eiymp6gDMcwyfWJP
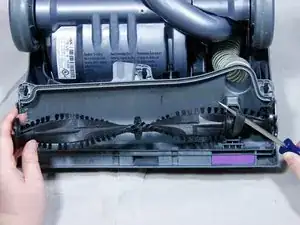
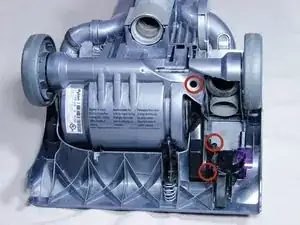
    • Turn down the squared tabs on the brushbar so that they face outward.

    • Use a screwdriver to pry the belt up from the brushbar.

    • Be careful not to cut the belt with the screwdriver.

    • While holding the belt, pull the brushbar to the left and remove it from the vacuum.

    • You can let go of the belt when it's free from the brushbar. The belt will not retract into the vacuum.

    • During reassembly, insert the brushbar with the tabs facing outward, then rotate the tabs up to lock the brushbar in place.

    Some models don't have the clutch mechanism, but are driven directly from the motor (and the belt cover which is shown as the clutch cover is now part of the soleplate); in that case, it may be simpler to just remove the belt from the motor spindle.

    If you've had the vacuum cleaner more than 2 or 3 years, consider changing the belt at the same time, they are not expensive

    Paul Blitz -

  4. 6yPcbdnwJ3a1VImC
    6yPcbdnwJ3a1VImC
    QNLnElj4uFNAlHv3
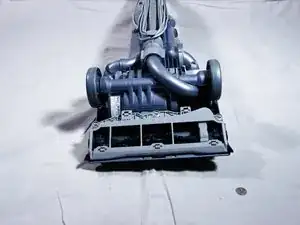
    • Place vacuum face down.

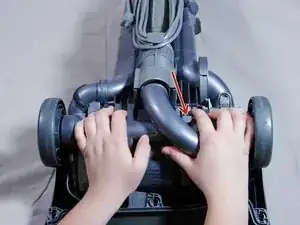
    • Remove the u-bend pipe that connects the canister to the telescopic wand by pressing the release button and pulling straight out.

  5. sMRhnZa6Xhiy5HWX
    sMRhnZa6Xhiy5HWX
    FcULloseoB5ToVqF
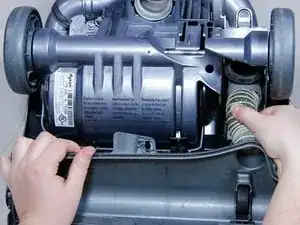
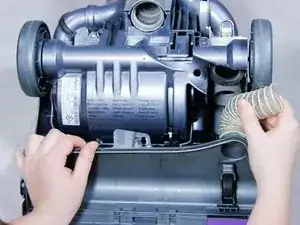
    • Pull the clear hose out of the gasket on the right side of the vacuum under the axle.

    • Pull the hose straight back towards you.

    • Note that the rubber cap on the end of the hose has come off in this picture. If this happens, simply pull it off the vacuum and screw it back onto the hose.

  6. fvmS35vxsqlEgms2
    fvmS35vxsqlEgms2
    ekaaEDtRAWcOkxfS
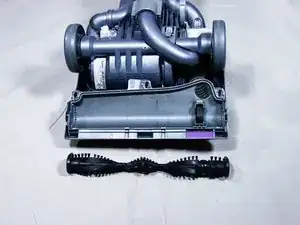
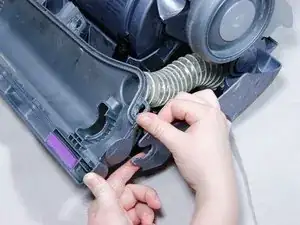
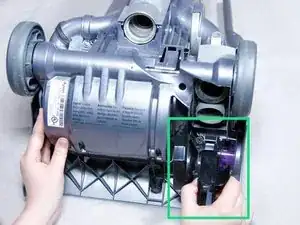
    • Remove brush-bar housing by prying the housing out of the clips that hold it.

    • Pull brush-bar housing toward you while keeping vacuum stationary.

  7. iR1WqfCFeIBAtCcZ
    iR1WqfCFeIBAtCcZ
    LXip4ncjGQlCBGC5
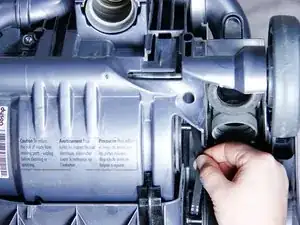
    • Remove the three T15 torx screws that secure the cover to the brush clutch belt.

    • Pull the cover of the brush clutch belt out towards you.

  8. TRJqiMQ2JX1XHgIw
    • Pull belt to the right to remove the belt from the brush clutch axle.

    • To reassemble your vacuum, pull the belt with your finger towards the axle. (Using a screwdriver, or a similar device, will delay access to the axle.)

  9. klc2qslyJXIQtpE5
    klc2qslyJXIQtpE5
    KwPboDmkhPGRPTM1
    aXBWHawQjQh22j6M
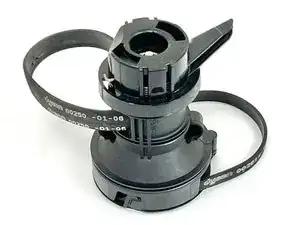
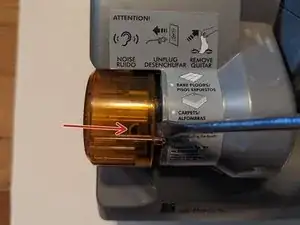
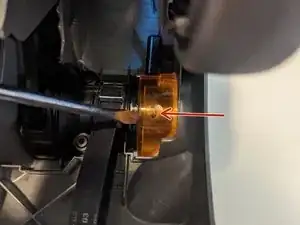
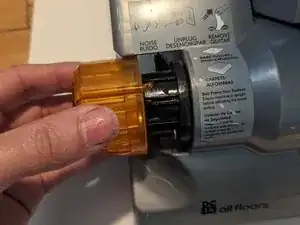
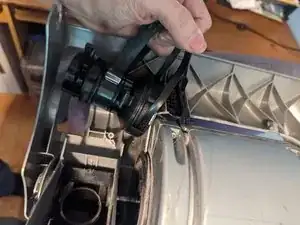
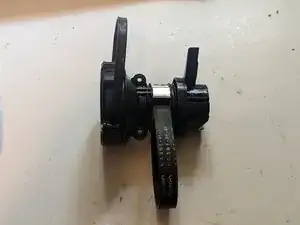
    • Two clips secure the clutch knob to the clutch assembly. They can be identified by the half moon cutouts in the interior wall of the clutch knob.

    • Pry the knob off with a flat blade screwdriver.

    • Slide the knob off the clutch.

  10. 2plRWNscfTurhsHT
    2plRWNscfTurhsHT
    lHBAGOMnTToF11He
    • Grasp the drive belts and use them as a handle to pull the clutch out of the housing.

  11. qrAWw3JYc14lkNbC
    • The clutch is now free.

Conclusione

To reassemble your device, follow these instructions in reverse order.

Jerry Wheeler

Membro da: 21/03/22

56003 Reputazione

0 commenti