Introduzione

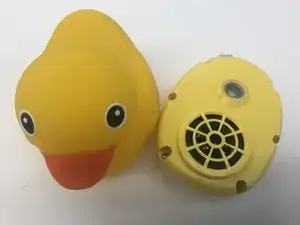
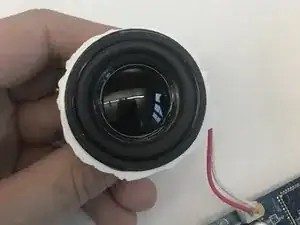
If your duck’s speaker sounds disoriented or has stopped working properly, your duck may have experienced water damage and you will need to replace the speaker. This guide will assist you with properly opening the duck and replacing the speaker.

Please note, this guide requires desoldering. For more instructions on how to solder and desolder connections, please see this guide.

  1. N3O4lSv1TrNNhFwI
    N3O4lSv1TrNNhFwI
    mcLsxnguWZpNZLLA
    • Unscrew the four 9mm screws with a T8 bit

    • Remove the back plate off

  2. 3RlmwKBCFIJcE1FU
    3RlmwKBCFIJcE1FU
    qN3U3qy3ddigrBuJ
    • Carefully take off the rubber skin.

    • Be patient and don't rush. You don't want to rip or damage the rubber skin resulting in not having a waterproof cover.

  3. ZmaFmXvFwRKilfJE
    • Using the J1 bit, unscrew all six 9 mm screws that run along the border.

  4. waMZspZdOhuBjSVt
    waMZspZdOhuBjSVt
    IDdreOvStFUYBgAx
    • Use the plastic opening tool to open the inside of the duck.

    • Be very careful when splitting the two halves apart. There are wires connecting to both sides. So open it very slowly.

  5. LeKsPfIl4CCyqC6c
    LeKsPfIl4CCyqC6c
    1RTttERiWk1DQTx4
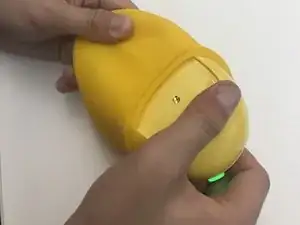
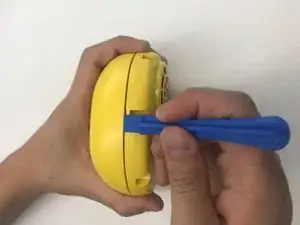
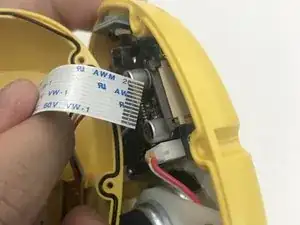
    • Using the plastic opening tool, pull up the black tab up until it stops.

    • Be careful not to pull the black tab too far up, otherwise the cable won't be able to secure anymore.

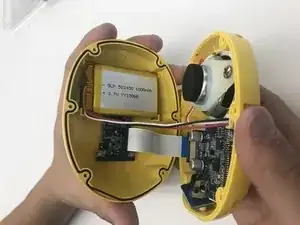
    • Pull up the white cable tab up slowly

  6. 4qZYwpca2CtxZCcu
    4qZYwpca2CtxZCcu
    tmPU3gNhbvu4oLEl
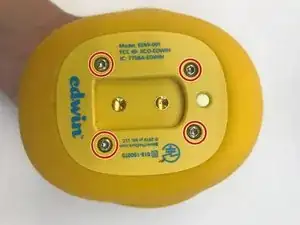
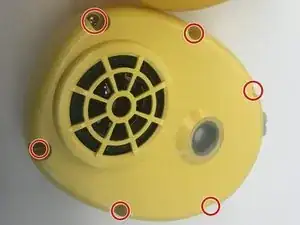
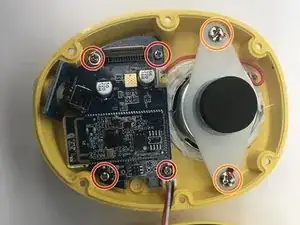
    • Use the J1 bit to unscrew all four screws attached to the motherboard.

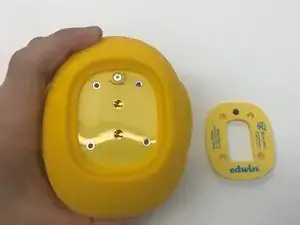
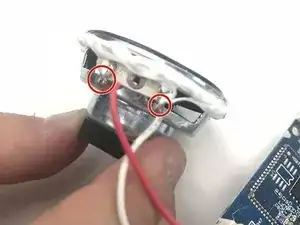
    • Use the J1 bit to unscrew both 9 mm screw attached to the white plastic plate.

  7. pI5iOBofXP5xGTTm
    • Lift up the motherboard and speaker, and place to the side like done so in the image.

  8. x5WLhXLLAvPREu3d
    x5WLhXLLAvPREu3d
    SIkOZvVxXQZiwdiZ
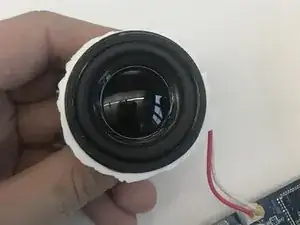
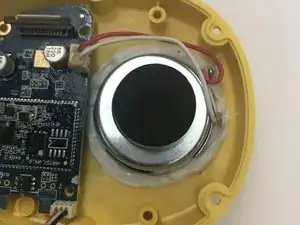
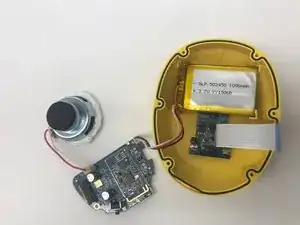
    • Take the speaker and by using the soldering iron, unsolder by the red and white wires.

    • For more detailed information on how to solder and desolder connections, please see this guide.

    • Replace the new speaker and solder the two wires back into place. The red wire goes on the left and white wire goes on the right.

Conclusione

To reassemble your device, follow these instructions in reverse order.

Tanner Mowbray

Membro da: 18/10/17

101 Reputazione

0 commenti