Introduzione

The screen of the Epson BrightLink 450Wi is extremely important in letting the user know what settings the device is using. If this goes out, the user can not navigate through menu options and settings. In the event the screen goes out or when in need of a replacement, follow this guide.

  1. 5VZEjKYAMfL5CwbP
    5VZEjKYAMfL5CwbP
    WCN4brtSe2sUP4fW
    oJDmHCSiC2rywWtR
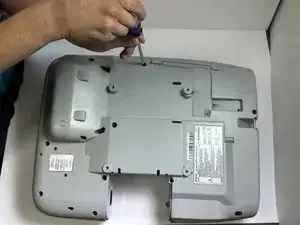
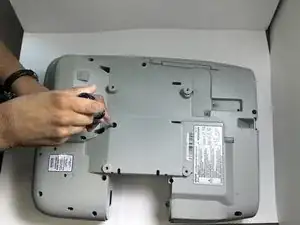
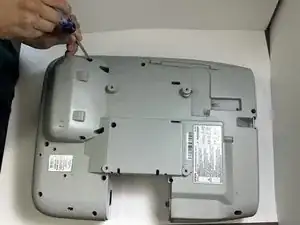
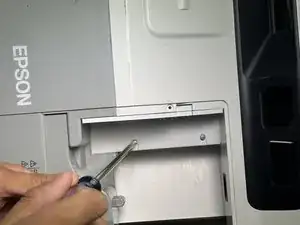
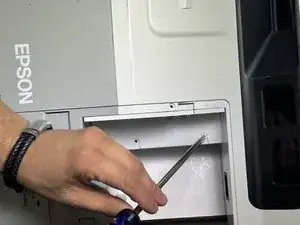
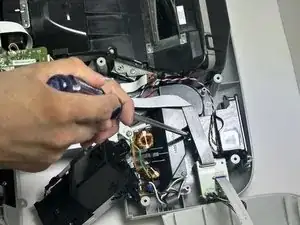
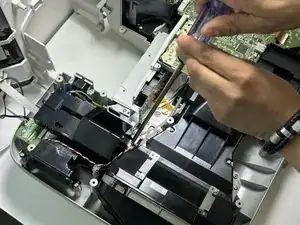
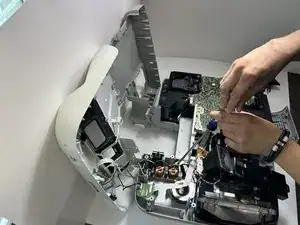
    • Remove the 11 mm screws from the bottom of the device using a long-handle Phillips screwdriver.

  2. Dpu4i2lAwFOVIXKL
    Dpu4i2lAwFOVIXKL
    FQstFcByegsYwGBO
    DJynk1qw4nT3Rggl
    • Remove the 11 mm screws from the air filter section and power source section.

  3. PPHQdtmxId4pZYMx
    PPHQdtmxId4pZYMx
    uCC12dh4RJH6saOq
    yoR1VwAvXvLCG4lK
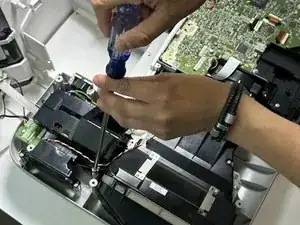
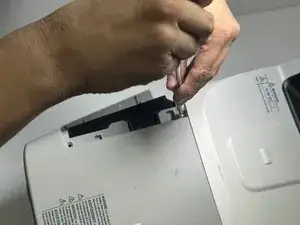
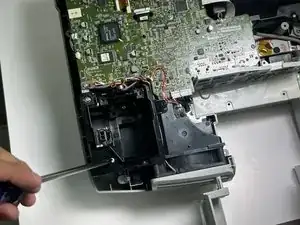
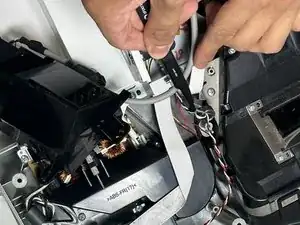
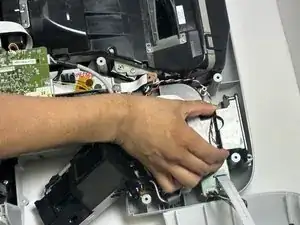
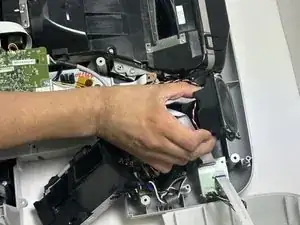
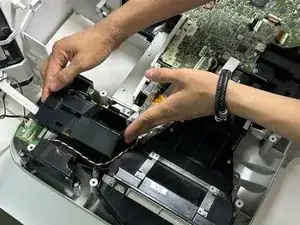
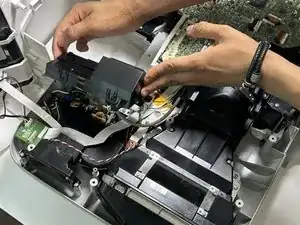
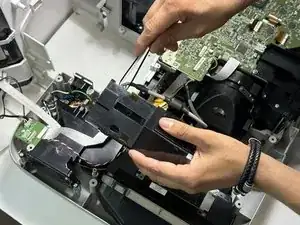
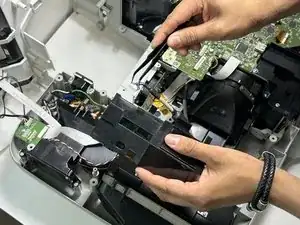
    • Remove the 11 mm screws around the speaker. Use tweezers to move wires out of the way to locate screws.

  4. JoUUmk6YMxLTl4bn
    JoUUmk6YMxLTl4bn
    d1Sav6wbv45An2q1
    • Once the screws are removed, the speaker can be removed.

  5. goX1Lld3EhDn1UVN
    goX1Lld3EhDn1UVN
    ViuVECsOOVlGoheR
    S63UXkZGtkGCr4mo
    • Using Phillips screwdriver unscrew the screws to the screen.

  6. LojAWBuaNBFUEGEB
    LojAWBuaNBFUEGEB
    HnE4UR2LBRo5h6Dr
    • Gently lift the screen up after the screws are removed.

  7. CVljlUMYvniPwt5q
    CVljlUMYvniPwt5q
    CVyhHmJqrBLGR1JK
    • Using the tweezers remove the wire to the back of the screen.

Conclusione

To reassemble your device, follow these instructions in reverse order.

Jason

Membro da: 01/09/23

257 Reputazione

0 commenti