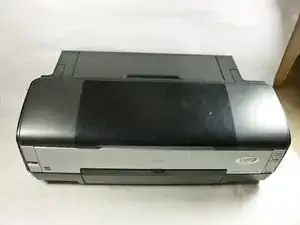
Introduzione

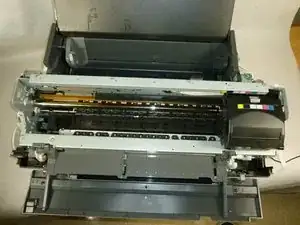
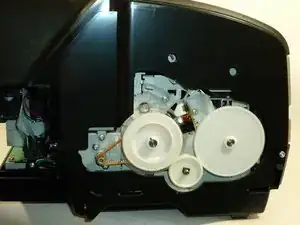
To get to the inside parts of the printer, the housing components must come off.

  1. lccTL6SZ3kbvrUG2
    • Turn off the printer.

    • Disconnect all data connections coming into the printer such as USB, networkd cables, firewire, etc. as well as removing the power cord.

  2. QYteIeiAr3eYANHf
    QYteIeiAr3eYANHf
    YacUSN6hThuTEpFy
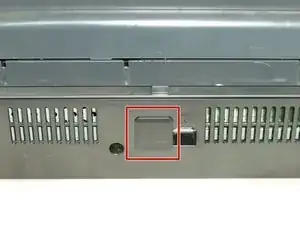
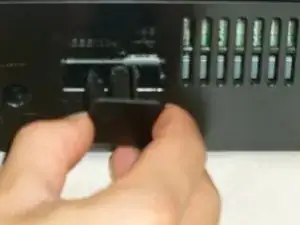
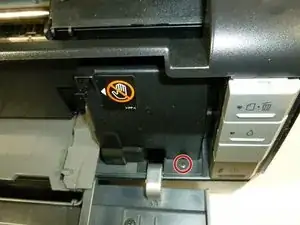
    • Locate the IEEE cover in the back.

    • Gently slide the cover to the right to unlatch, then pull to remove it.

    errore avevo chiesto informazioni x sostituire la batteria al cellulare HUAWEI Mod. LX1

    Luigi Martinenghi -

    avevo chiesto informazioni x la sostituzione della batteria cellulare HUAWEI Mod.LX1

    Luigi Martinenghi -

  3. C4dBWDDOARfU6BKl
    C4dBWDDOARfU6BKl
    Zobe3GQ4ytZXQuXj
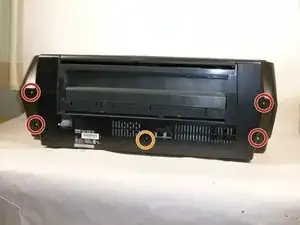
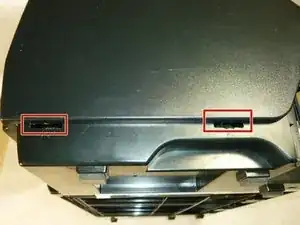
    • Using a Phillips #2 screwdriver, remove the four 10 mm screws shown.

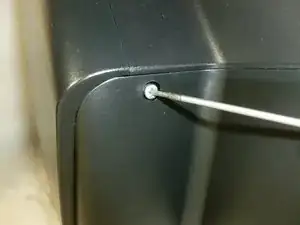
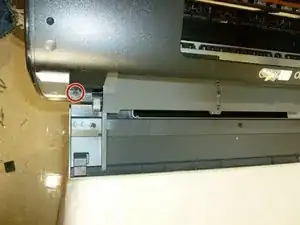
    • Remove the 6 mm screw that holds the rear housing in place.

  4. iSFOcWcCsIxvdqON
    iSFOcWcCsIxvdqON
    BfSTmc334IPJEjIW
    • Remove the rear housing by pulling it backwards.

  5. ZRQjtn2Y1AjXrlTx
    ZRQjtn2Y1AjXrlTx
    VS6Om6BsNLdA6RX1
    q1rUDpQs4M13aSXO
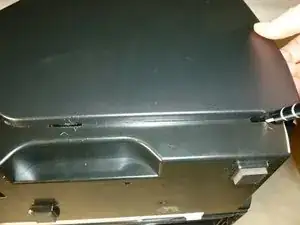
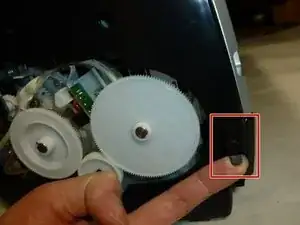
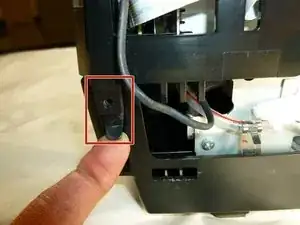
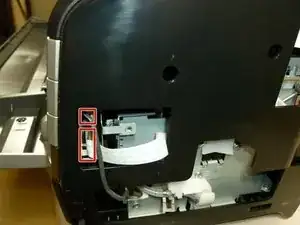
    • Insert a plastic opening tool into the cutouts of the lower housing.

    • Release the two tabs of the side housing by lifting the tool in an upward motion.

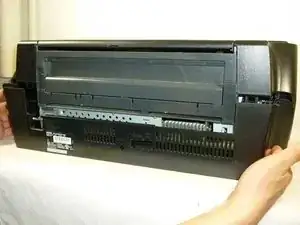
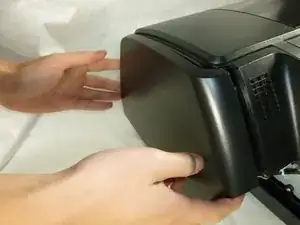
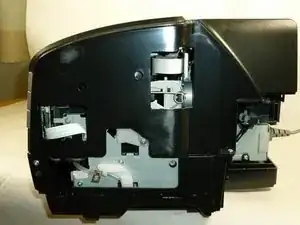
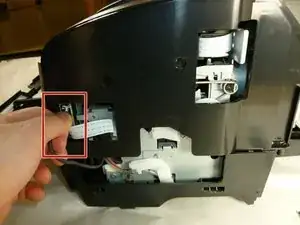
    • Remove the side housing by pulling it outwards.

  6. vfiVSPXdkGxi1FFa
    vfiVSPXdkGxi1FFa
    fEIKc1TbHiBORjdF
    • Both side housings are attached by the same type of mechanism.

    • Using the same method, remove the other side housing.

  7. JyXjekvUHEsuITOZ
    JyXjekvUHEsuITOZ
    GHYP2VbWwuIIexap
    Twc3ylCxi3RZdNAd
    • Lift the paper support.

    • Open the printer cover and front cover.

  8. XgpHaunnOSVioafK
    XgpHaunnOSVioafK
    xxXUiIkZyPRmwsnn
    uD12N4KNMu1DRYHI
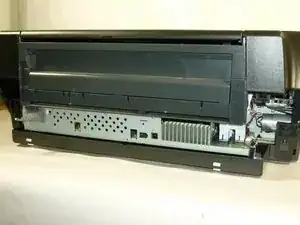
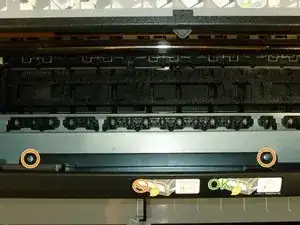
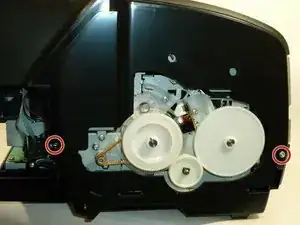
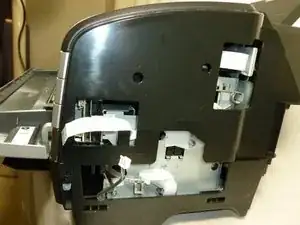
    • Remove the four 10 mm Phillips #2 screws from the sides of the printer.

    • Remove the three 6 mm Phillips #2 screws.

  9. iTMoHjNDg4EXjWr6
    iTMoHjNDg4EXjWr6
    auVkiwhoUQ5t3yOR
    • Detach the tabs from the pins on each side by pulling it outwards.

  10. tCKNoqZRVGbrTnYR
    tCKNoqZRVGbrTnYR
    5CcLsgUa3gDWxdMl
    • Remove the two 10 mm Phillips #2 screws on the front of the printer.

  11. ShQrsIGl1fSNefvJ
    ShQrsIGl1fSNefvJ
    2IXjV2g466oM1Ryu
    RTWbClacrIBJ6yJD
    • Disconnect the two cables on the side by carefully pulling it outwards.

    • You may need to gently rock the two cables up and down while pulling.

  12. GNbFiqQLlN4SnJv5
    GNbFiqQLlN4SnJv5
    4NKVJbuNDxa5hqHg
    • Remove the upper housing by lifting it upwards.

    • It's easier to lift the housing by gripping it from the bottom.

    this is where I get stuck. the top won't come off. it seems to be stuck at the right front corner, where the buttons are. Is the button grouping part of the upper housing or does it come separate from the upper housing unit. The picture appears that you are taking the button attachment as part of the upper housing unit. But it is really stuck there on my 1400.

    1gr8nana -

Conclusione

To reassemble your device, follow these instructions in reverse order.

Larry Huang

Membro da: 12/10/11

1004 Reputazione

Un commento

Thank you so much, Larry! I am repurposing my 1400 for sublimation printing and need to get the print head a little easier than standard methods! Much appreciated!

ryan Caputo -