Introduzione
This guide is to assist you in removing the Epson VS240's shell for access into the projector. Removal of the shell will be necessary for any repairs of the eternal components of the projector.
For this repair you will need a screwdriver extender to reach some of the screws.
Be careful for the white ribbon cable in step 7, it is very fragile and you don't want to break it.
-
-
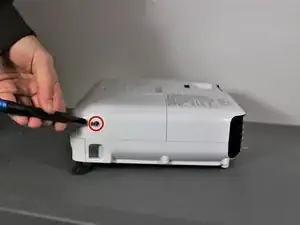
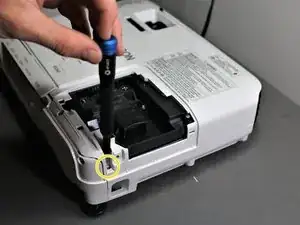
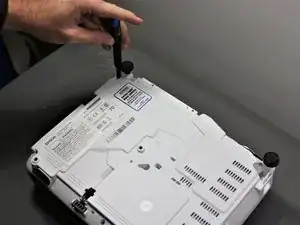
Using the Phillips #2 screwdriver, loosen the single captive screw on the left side of the projector.
-
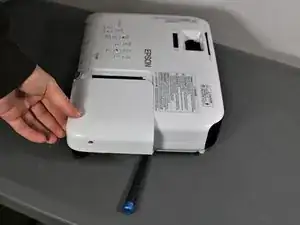
Slide the panel off and remove it from the device.
-
-
-
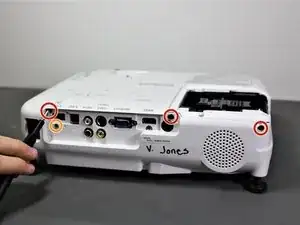
Use the Phillips #2 screwdriver to remove the three 5 mm screws.
-
Using the same Phillips #2 screwdriver, remove the single 8 mm silver screw.
-
-
-
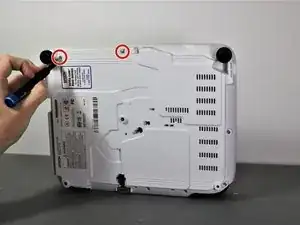
Use a Phillips #1 screwdriver to remove the two 10 mm silver screws from the bottom of the device.
-
-
-
Use a Phillips #1 screwdriver to remove the single 10 mm screw where the panel was removed in Step 1.
-
Remove the white back plate from the device.
-
-
-
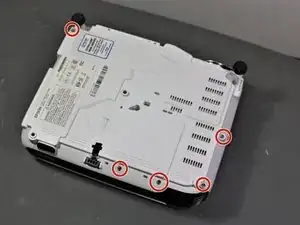
Flip the projector over so that the underside (side with the feet) is facing you.
-
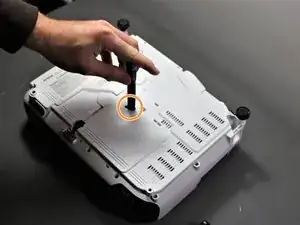
Use a Phillips #1 screwdriver to remove five 10 mm screws on the underside of projector.
-
Using the same Phillips #1 screwdriver, remove a single 10 mm screw in the center hole.
-
-
-
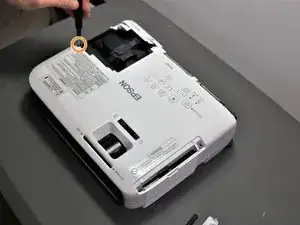
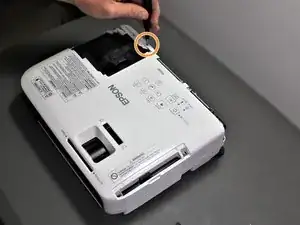
Use a Phillips #1 screwdriver to remove two 10 mm screws from the openings on each side of the air filter, on the topside of the projector.
-
Using the same Phillips #1 screwdriver, remove the two 10 mm screws where the white panel was removed on the topside of the projector in Step 1.
-
-
-
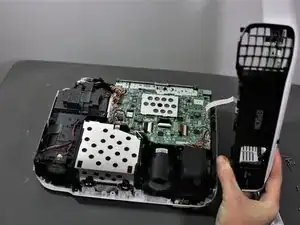
Gently lift top cover and place it on its top next to the projector so that the ribbon has no tension on it.
-
Gently pull the brown tape connecting the cable to the motherboard and then remove the shell from the device.
-


To reassemble your device, follow these instructions in reverse order.