Introduzione
After some time, your Aerogarden LED grow lights may start to strobe rather than stay lit. Often this is due to bad capacitors inside the hood of the Aerogarden and replacing them will solve the problem. With some basic tools and a little soldering skill, you'll be able to get your garden growing again.
-
-
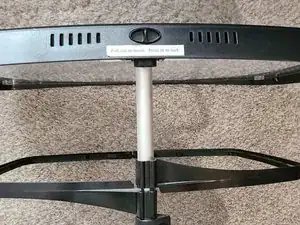
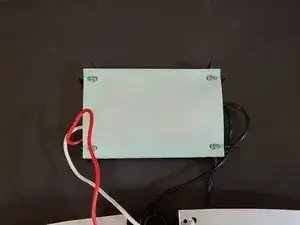
Follow the instructions to disconnect the hood from the Aerogarden:
-
Unplug the power cable from the hood
-
Pull out the tab on the back of the hood
-
Lift the hood off of the post
-
-
-
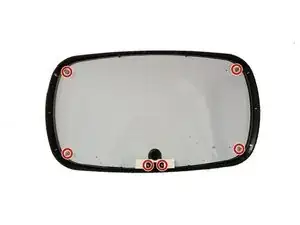
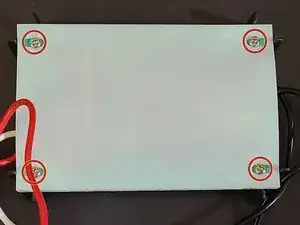
Gently pry clear plastic light cover out of two clips on one long side of the hood.
-
Slide plastic cover out of other two clips, being careful not to lose the clear plastic screw retainers at the corners.
-
-
-
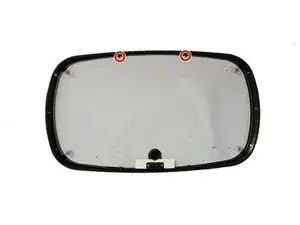
Similar to last step, gently pry LED panel out from the plastic clips in the hood. Note that the clips have two slots, one for the LED panel and one for the cover. You will need to get past both of them.
-
The wires for the LED panel will be attached, so rather than setting it aside, flip it over to expose the power board.
-
-
-
Remove power board from hood and flip over
-
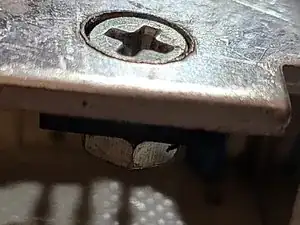
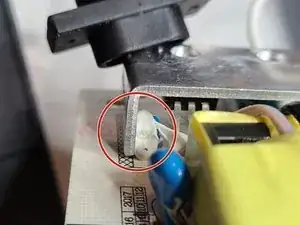
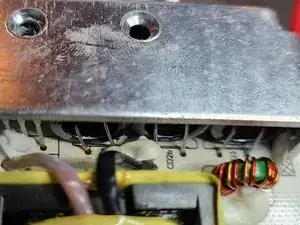
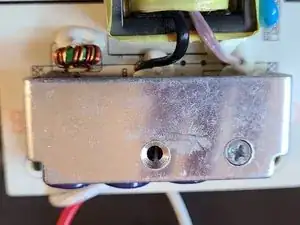
Remove bolt from heat sink. Note that there is a nut under the heat sink, so you will need to hold the nut with your finger while unscrewing the bolt.
-
Use knife to separate adhesive from heat sink. There is white adhesive under the heat sink that will hold it in place. Being careful not to cut anything else, slide a knife between the heat sink and the adhesive to separate the two. You may need to do this on all sides of the heat sink. There is no need to remove the adhesive.
-
-
-
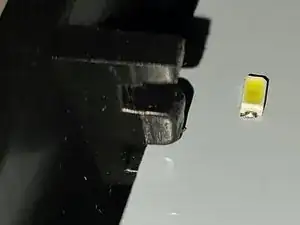
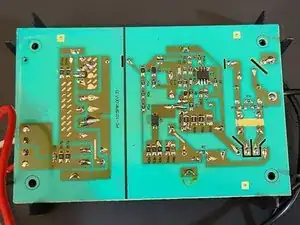
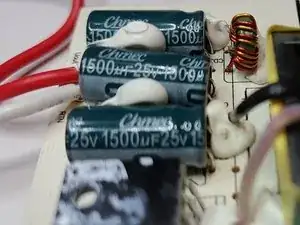
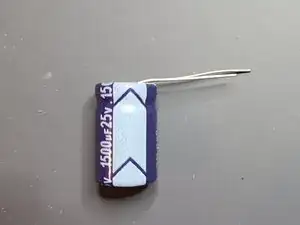
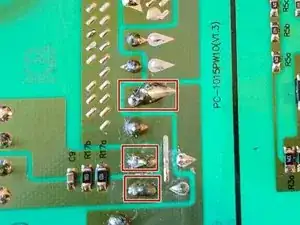
Note the orientation of the capacitors. The stripes on the sides indicate the polarity and will all face the same direction. You will need to orient the new capacitors the same way.
-
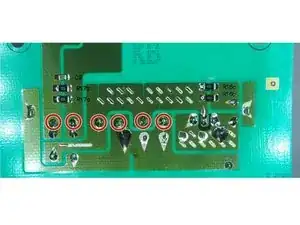
Desolder the 3 cylindrical capacitors. Some are directly soldered to other components, so the joints will be larger and cover multiple leads. There is no need to desolder the other components.
-
Remove the capacitors from the board.
-
-
-
Bend the new capacitor leads at a ninety-degree angle in the direction matching the picture. This will orient them correctly and allow them to fit under the heat sink.
-
Thread capacitor leads through the holes where old capacitors were.
-
Double-check that the capacitor stripes face the same way as noted in step 8.
-
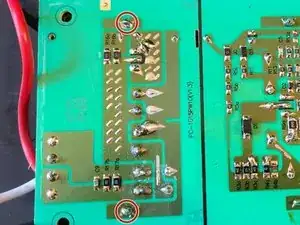
Solder the new capacitors in place. Some joints may bridge multiple leads as before.
-
Trim the excess leads with wire snips.
-
-
-
Put the heat sink back in place, making sure to orient it so the bolt will go through the component as before.
-
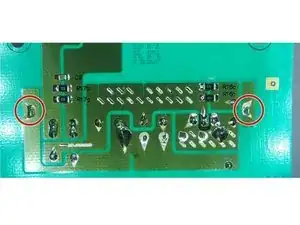
Attach the heat sink by adding solder to the two heat sink pins sticking through board.
-
Screw the bolt through heat sink and component and into nut as it was originally.
-


To reassemble your device, follow steps 1-5 in reverse order.
5 commenti
Worked perfectly. Great instructions and fixed the blinking problem! Thanks!
I'm glad it worked for you. My Aerogarden continues to work successfully and I hope yours does too!
This worked like a charm. My Ultra LED is working good as new. Great, easy to follow nstructions and the capacitors are cheap and easily found on Amazon. Thank you!