Introduzione
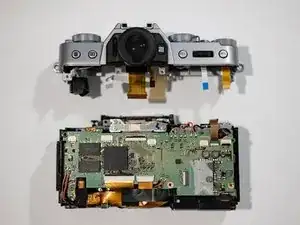
Use this guide to replace a damaged back or top case, or open the case to access other components of your camera.
We highly suggest you use a magnetic project mat or an organization tray. This camera has many different types of screws and keeping them organized is key to proper reassembly.
-
-
Remove the lens.
-
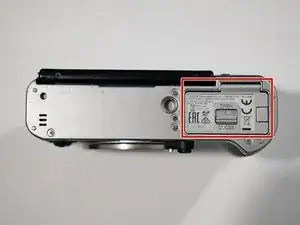
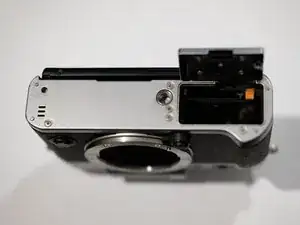
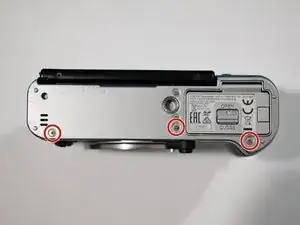
Turn the camera upside down to locate the battery compartment.
-
Slide the button up to open the compartment.
-
Slide the orange button up to release the battery.
-
Push to remove SD card
-
-
-
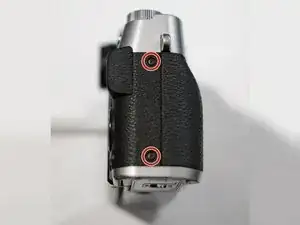
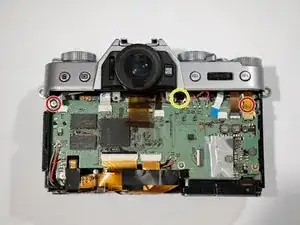
Remove 2x 3.7 mm length Phillips screws.
-
Remove the 3.1 mm length Phillips screw.
-
Remove 2x 3.2 mm length Phillips screws.
-
-
-
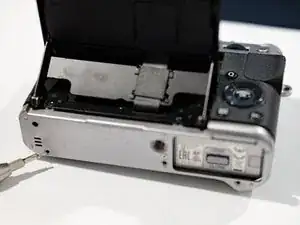
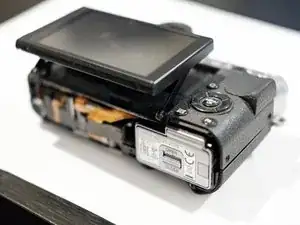
Start prying and lifting the back LCD assembly
-
To remove the ribbon cable, flip up the WHITE lock on the large ZIF connector with the flat end of a spudger.
-
-
-
To remove the ribbon cable, flip up the BLACK lock on the connectors with the flat end of a spudger.
-
Carefully pull out the ribbon cables.
-
-
-
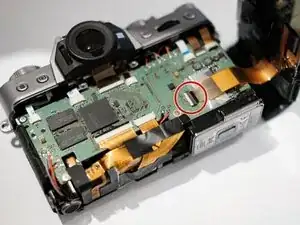
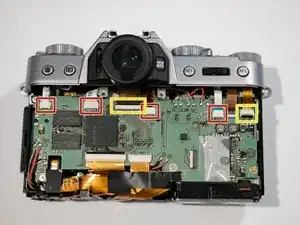
Remove x2 2.1 mm length Phillips screws.
-
Remove 6 mm length Phillips screw from deeper in the case.
-

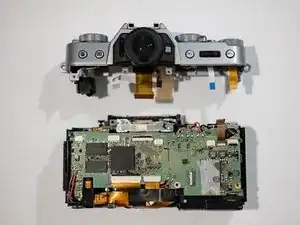
To reassemble your device, follow these instructions in reverse order.
5 commenti
Hello community,
my x-t10 is broken: as soon as the camera lens attaches, the screen (also EVF) was blinking, switching on and off, after roughly 20s LCD displays "Lens Error". As described in detail in this post (https://www.fuji-x-forum.com/topic/8121-...), some people were able to disassemble the motherboard and change broken fuses.
Can someone help me to find the correct spare part fuse?
Is there a manual for changing fuses from a motherboard?
Unfortunately I do not have any experience with such projects.
Thanks in advance
Juri
Hi Juri,
Personally I am not a complete beginner, but was not able to identify which is a broken part.
Ended up replacing the motherboard and in the meantime made this manual.
If you feel comfortable in soldering and have patience for microscopic things try to watch some youtube videos about SMD soldering, motherobard repairs, broken fuse and capacitors identification.
You will also likely to need hot air station, as parts are really microscopic, and regular soldering iron will be too large.
Spare fuses can be found for example in DigiKey, or AliExpress.
Best of luck! and please share your experience if you manage to fix it!
I may be able to fix my old board too and make new tutorial as this seems common issue with this camera.
Rimvydas -
Does anyone know what type of fuse this mainboard uses? I saw the issue on the fuji link and figured I'd ask here. Looking to replace the fuses on mine but am not sure what Ampfuse to use. Thanks
Hi, I think I researched what each letter means, and ordered those:
https://www.aliexpress.com/item/40004126...
https://www.aliexpress.com/item/40008129...
But did not have any luck repairing the board.
Please post about what worked or not for you :)
Rimvydas -
Would love to see X T 3 repair I need a new internal battery
al hardy -