Introduzione
-
-
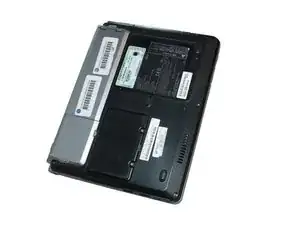
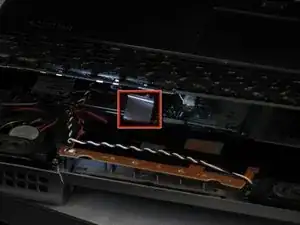
Locate the battery (the grey block). Find the two tabs on one end of the battery near the side of the laptop.
-
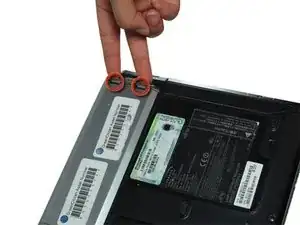
Using your fingers, press both tabs down at once until they are fully depressed.
-
-
-
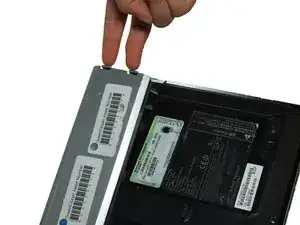
While holding the tabs down, slowly pivot the battery up.
-
The battery is now free and safe to pull out.
-
-
-
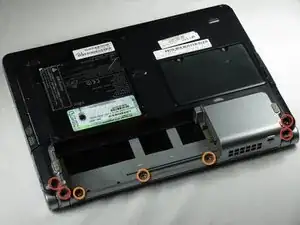
Unscrew three 2.4mm and one 5.7mm screws using a Phillips # 0.
-
Unscrew three 1.9mm screws in the battery compartment still using a Phillips # 0
-
-
-
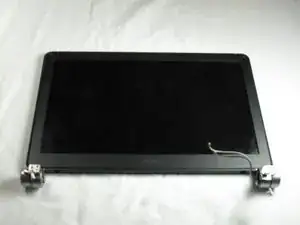
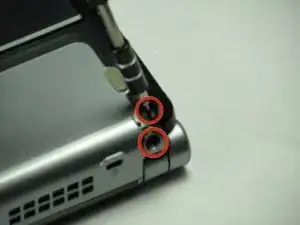
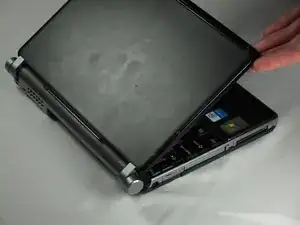
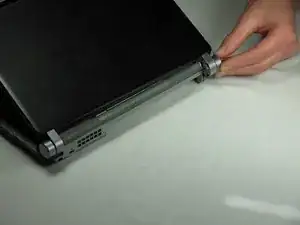
Raise the monitor as you normally would until it pops out by itself. Rotate the left side up and to the right to unhook hinges that may catch on the computer.
-
Lay the monitor flat next to the computer.
-
-
-
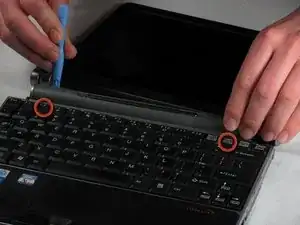
Using a smaller spudger (like a PX3688), pivot the sound case out above the "F2" and "Insert" buttons.
-
Lift the case out and set it aside.
-
-
-
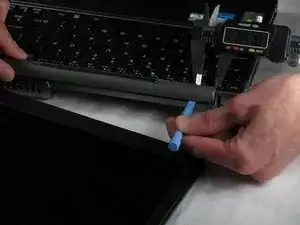
Using the same spudger, pry the top of the keyboard up above the "F2" key.
-
Turn the computer so that the bottom is facing you.
-
-
-
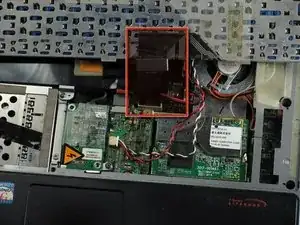
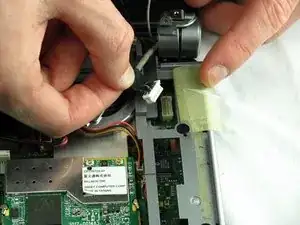
Peel the white tape from the wires connected to the monitor, but do not completely remove it.
-
Unplug the white and black wires with your fingers.
-
-
-
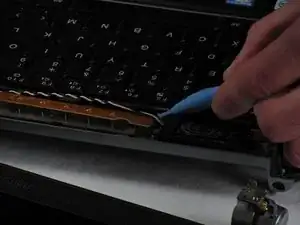
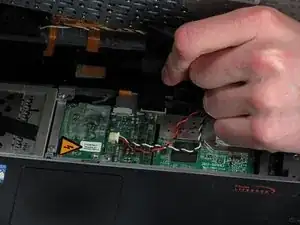
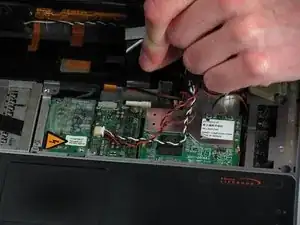
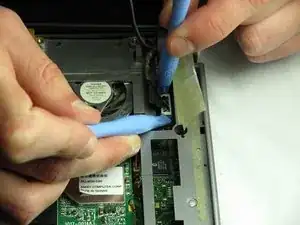
Unplug the white chip connected to the thicker wire with two smaller spudgers (like a PX3688) by wiggling it back and forth until it pops out.
-
To reassemble your device, follow these instructions in reverse order.

Place the laptop upside down on a table. (to the point...)
Bruce -
Why is it asking me for a second comment?
Bruce -