Introduzione

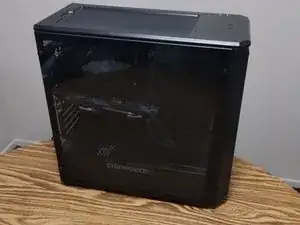
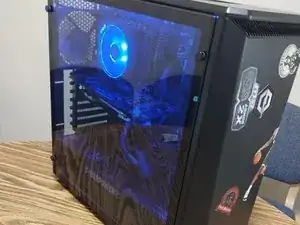
This guide details the replacement of a graphics processing unit using the B350M BAZOOKA Motherboard. This guide requires no prior knowledge or special skills to complete. However, there are a few things to be cautious of:

  • The possibility of shattering a glass front panel.
  • The possibility of static build-up.
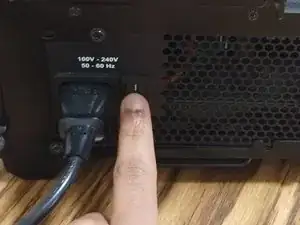
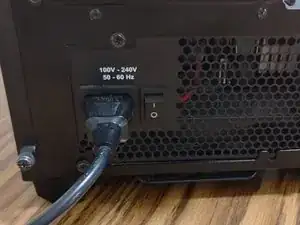
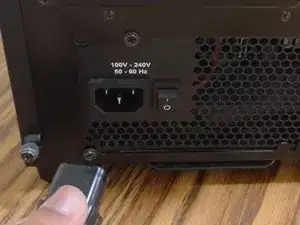
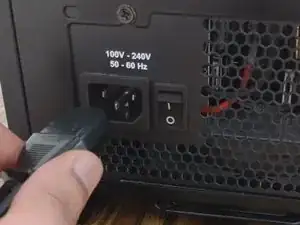
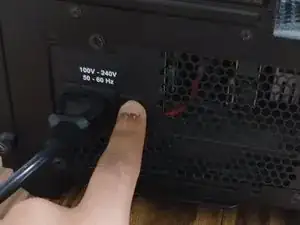
  • Turn off the desktop before starting, and handle all parts with care.
  1. S4ThywuZHJVBruQb
    • Establish a clean work space.

  2. IhmaxnsT5OaqCLVd
    IhmaxnsT5OaqCLVd
    FqWpYpTRXYFOMhrr
    TWQs2dSaYJLmVJqk
    • Turn the desktop's power supply off.

    • Unplug the desktop from all power sources.

  3. QrDJ2Ji1vUYVxws3
    QrDJ2Ji1vUYVxws3
    es2kTUqbFgrSJOUX
    • Remove the screws on the side of the case.

    • Screw types may vary by desktop case.

    • These screws hold the side panel, which promotes airflow inside the desktop. Do not misplace them.

  4. tVbGkCrLtmnddbtd
    tVbGkCrLtmnddbtd
    HjUSOWpLr2BmxZ1C
    • Gently remove the side panel by pulling it away from the case.

  5. p6OWTEHmsXLCnSZa
    • Place the desktop horizontally, so the motherboard is facing up.

  6. i6VFMHMxFSfSgEcG
    i6VFMHMxFSfSgEcG
    eqBtyFI4hiXPI2Ek
    iXcqACMneRtsCRIV
    • Disconnect the 8-pin PCI-E cable from the GPU.

  7. UJt2lrCwDQeKJMfb
    UJt2lrCwDQeKJMfb
    xIaAt3KucLlEKoqw
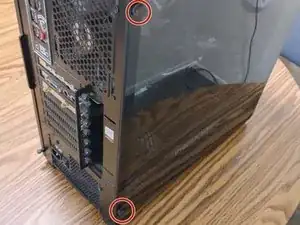
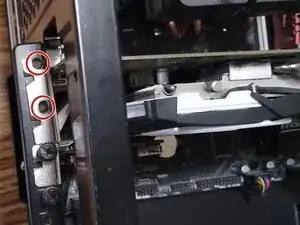
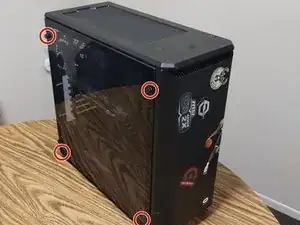
    • Remove the UTS 6-32 screws on the side of the desktop using a Phillips #0 or a flathead screwdriver.

    • These screws hold the GPU in place. Do not misplace them.

  8. SPlASqNiWgyV5QUG
    SPlASqNiWgyV5QUG
    tNBHyCQISDxkXynw
    • Gently press down on the right side of the PCI-E tab until there is a click.

    • The click signifies the GPU has been released.

  9. 1WWCVtM64SYRnLBC
    • Gently pull the GPU out of the PCI-E slot.

  10. JS2YvHvP2gYmW1Nu
    JS2YvHvP2gYmW1Nu
    TBP5n6VU5hYLV4LT
    ptC4Zq22xTuaTQLJ
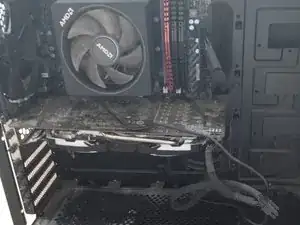
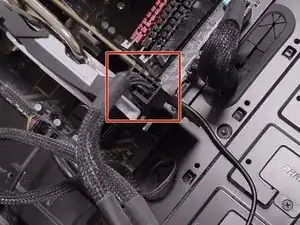
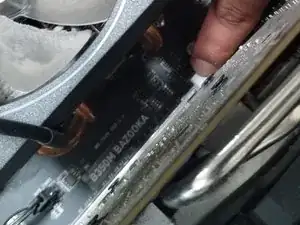
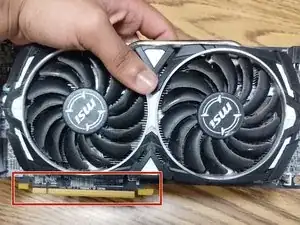
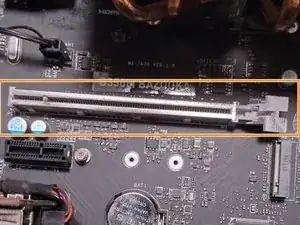
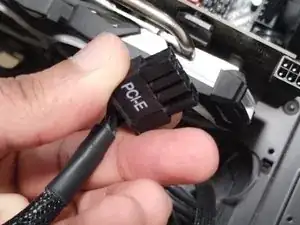
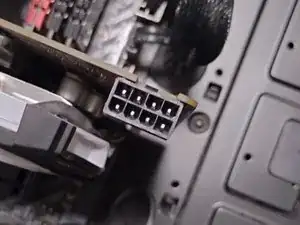
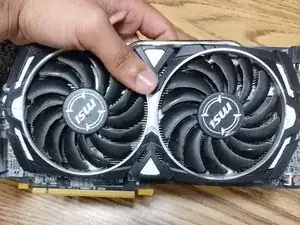
    • Line up the pins of the new GPU with the empty PCI-E slot.

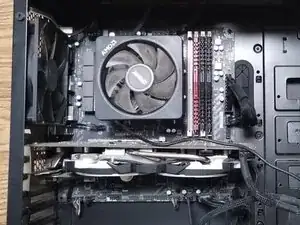
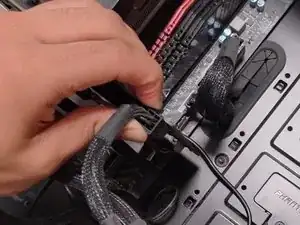
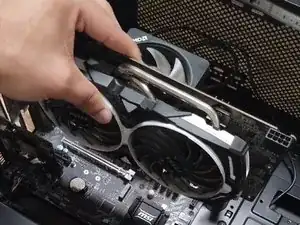
    • Gently push the new GPU into the PCI-E slot until the tab clicks.

  11. s5ule4nBBGyfsJSG
    s5ule4nBBGyfsJSG
    1vqJFCemTRBMtXAn
    Jtcf6FOOilXjvnHT
    • Gently connect the 8-pin PCI-E cable from the power supply to the new GPU.

  12. cTEjdFoXoKOQFMpS
    cTEjdFoXoKOQFMpS
    BIfUNfMFt1LhETHg
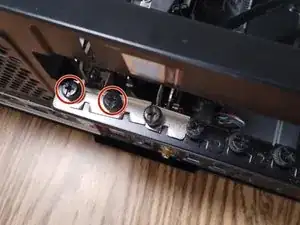
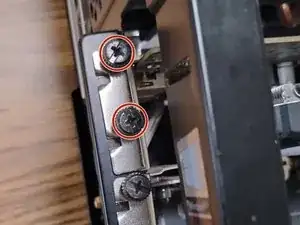
    • Screw the UTS 6-32 screws which hold the GPU in place back in using a Phillips #0 screwdriver.

  13. YRXLxcVOgFP1GU2j
    • Gently place the side panel back on the case.

  14. MWN6N4vxPgyRBr6n
    MWN6N4vxPgyRBr6n
    vMkNENlXD6alMHFK
    nKinDxykE4G3fP3f
    • Screw in the side panel screws.

  15. ZSv1UsuGMFi3IZxg
    ZSv1UsuGMFi3IZxg
    Ith1HkHe6AGeXPcT
    HMwGrYSFfbxbdNyw
    • Plug the desktop back into a power source.

    • Turn the desktop's power supply on.

    • If the fans on the bottom of the GPU are not spinning once the desktop is on, retry this process. Or begin troubleshooting for a defective GPU.

Mason Price

Membro da: 26/10/22

295 Reputazione

0 commenti