Introduzione
-
-
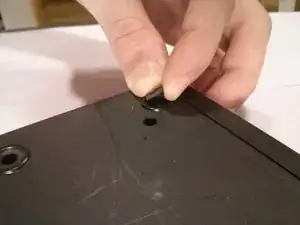
Pop off the front two rubber footings from the bottom of the device, revealing 2 hidden main panel screws.
-
-
-
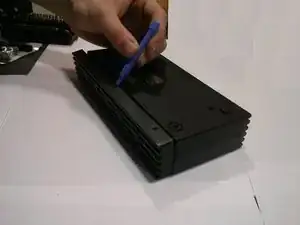
Position the device so that its bottom is on your work surface, and its top is facing up.
-
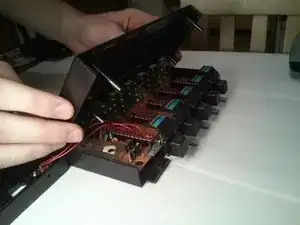
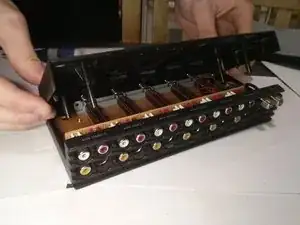
Remove the lid of the device.
-
-
-
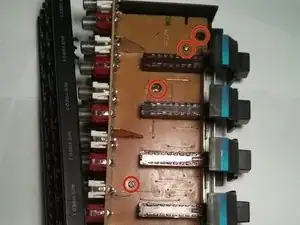
Now the circuit board should be able to be removed from the casing of the device except for two wires that are attached to the casing.
-
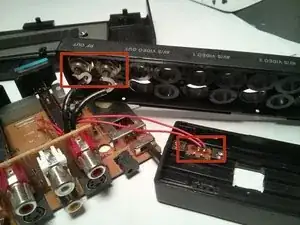
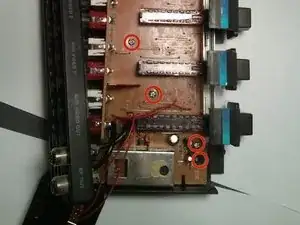
Detach the black wires from the casing, by pulling them out of the cable ports.
-
Using pliers or a similar tool, detach the red wires from the small circuit board that is attached to the case of the device.
-
-
-
Now it's time to replace the old circuit board with the new one.
-
Push the two black wire's ends into the cable ports on the back panel of the casing.
-
Solder the ends of the two red wires onto the small circuit board on the front panel of the device.
-
-
-
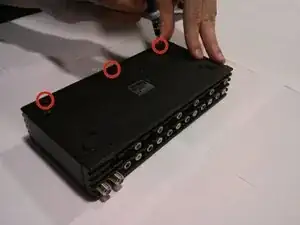
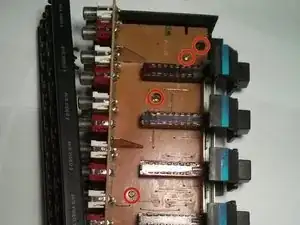
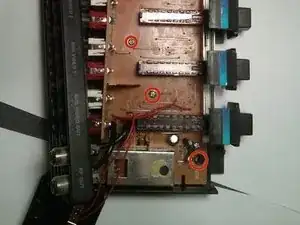
Correctly place the circuit board back into the case of the device and replace all six screws on the circuit board.
-
-
-
Snap the front and back panels back into place and reassemble the device.
-
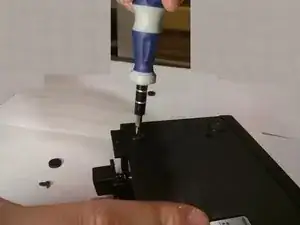
Now replace all the screws on the bottom and you are done!
-


The device should now be working properly. If the device does not function properly the replacement motherboard may be faulty, or the wires may not have been properly connected.