Introduzione
If you find that your Garmin Rino 700 is having battery charging issues (i.e. when you plug it up to charge, it is abnormally slow or not charging at all), you may need to replace the charging port. Replacing the charging port should allow for your Garmin Rino 700 to charge correctly and efficiently again.
For this replacement guide you’ll need a T5 Torx Screwdriver, a TR6 Torx Security Screwdriver, a spudger, an iFixit opening tool, a soldering workstation, and tweezers. This process does involve soldering which can be hazardous as it does involve heat. For more information on soldering connections, please visit this guide. Additionally, you will be picking at small parts within your Garmin Rino 700 so be sure to use caution as to not break any important parts. Going forward, you can see how to prevent these issues on our troubleshooting page: Garmin Rino 700 Troubleshooting
-
-
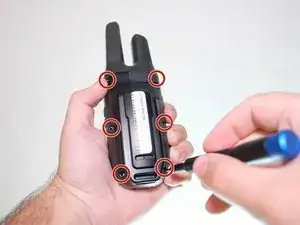
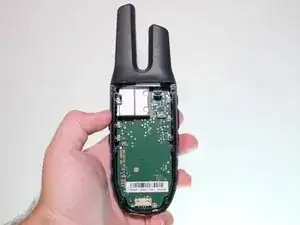
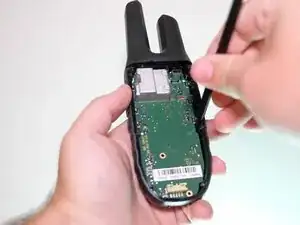
Flip the Garmin Rino 700 over so that the underside is facing up.
-
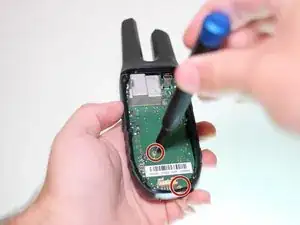
Using the TR6 Torx Security screwdriver, remove the six 9.5 mm screws on the backside of the device.
-
-
-
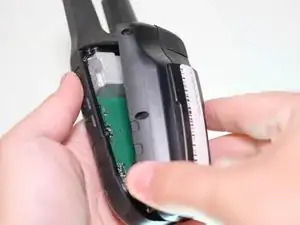
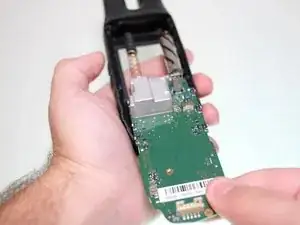
Using the nylon spudger, lift the motherboard out of its position.
-
Slide the motherboard out of the front panel of the device.
-
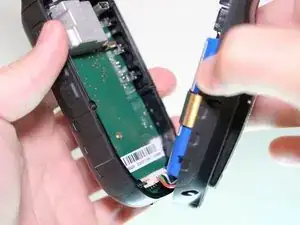
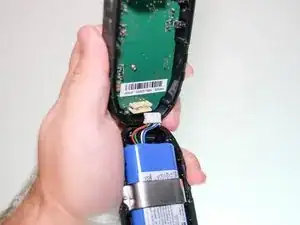
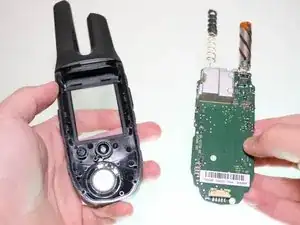
Carefully disconnect the motherboard from the panel and remove it out of the device.
-
-
-
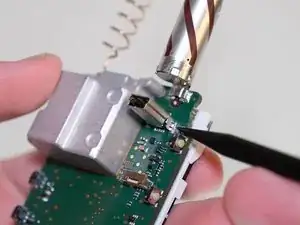
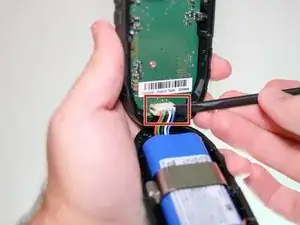
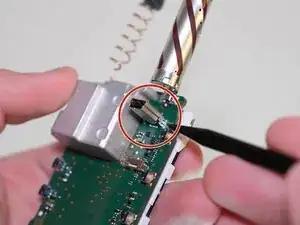
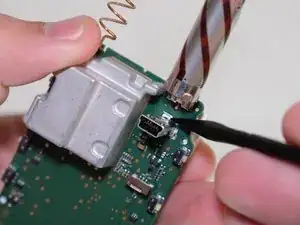
Gently and delicately heat up the solder holding the USB port to the motherboard.
-
Carefully remove the USB port with the tweezers and set it aside.
-
Refer to the How To Solder and Desolder Connections for a guide on soldering.
-
To reassemble your device, follow these instructions in reverse order.