Introduzione
For this guide you will be opening the device, but it is fairly simple. Before you begin disassembling the device, be sure the power is off.
Strumenti
-
-
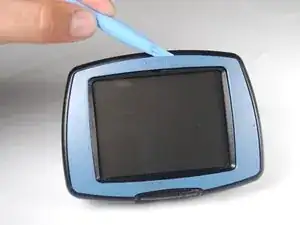
Wedge a plastic opening tool in between the outer frame and the rear panel assembly.
-
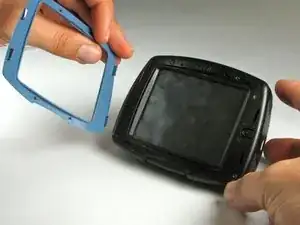
Pry the outer frame off the perimeter of the rear panel assembly.
-
-
-
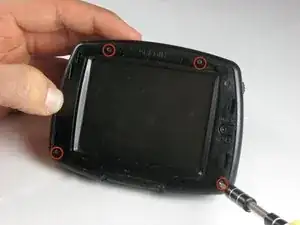
Remove the four #00 Phillips screws securing the front case assembly to the rear case assembly.
-
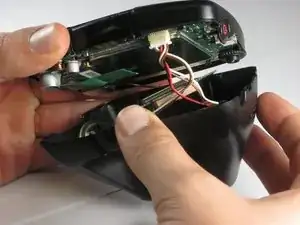
Carefully lift, but do not completely separate, the front case assembly from the rear case assembly.
-
-
-
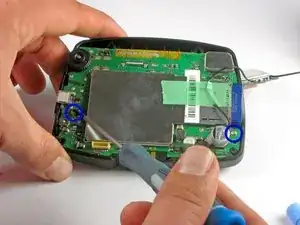
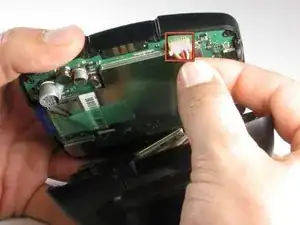
Gently pull the battery cable connector from its socket on the motherboard.
-
The second connector can remain attached to the motherboard, but be careful not to break the connector while handling both halves of the device.
-
-
-
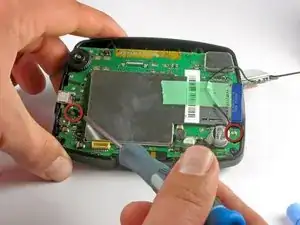
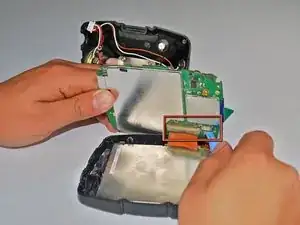
Use the edge of a plastic opening tool to flip up the retaining flap on the LCD ribbon cable ZIF socket.
-
Use the plastic opening tool to pull the LCD ribbon cable out of its socket.
-
Disconnect the right connector using the edge of a plastic opening tool.
-
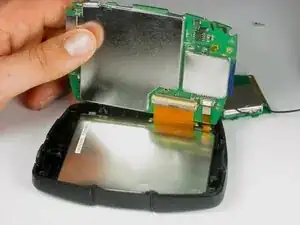
To reassemble your device, follow these instructions in reverse order.