Introduzione

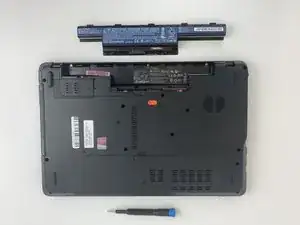
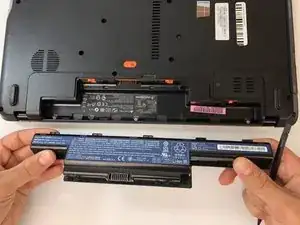
The hard drive is how you store data in your device. If you have experienced a hardware failure or you simply want to upgrade your Gateway NE56R27u’s hard drive, this guide will allow you to replace your laptop’s hard drive. Upgrading your hard drive can allow your device to run with increased speed and capacity and with more space to store files.

  1. exIMORKXLLKFj5to
    exIMORKXLLKFj5to
    6lPNprcRYGTBiIUZ
    • Using the spudger, push the orange tab to the unlock position.

    Do you have shots of before and after? For this kind of step, iFixit prefers flipbook style shots.

    Alex Watkins -

    You also used the screwdriver, not the spudger, in the image. Be sure to appropriately identify tools.

    Alex Watkins -

  2. GJgm5KPZTRTSZV31
    GJgm5KPZTRTSZV31
    XldfDsXDJnACBwTW
    • Lift the battery from its compartment.

    • When reinstalling, insert back end of battery first, then clicking into place.

    As before, include multiple shots to demonstrate how to do this. Also, since you’re not using the screwdriver, I would not include it in the background here.

    Alex Watkins -

  3. 3y4avtC4qNOOHQLu
    3y4avtC4qNOOHQLu
    xPfSeNauyDfjr6ju
    M3YDSXOuCerFAoDW
    • Unscrew the two 7.9mm Phillips #0 screws that secure the service cover.

    Take pictures from first person perspective, rather than as if you’re watching the repair.

    Alex Watkins -

    Make sure to use appropriate bullets to match markup. What size are the screws?

    Alex Watkins -

  4. XmX6KjVBAPoFTwHk
    XmX6KjVBAPoFTwHk
    Wq63n5RTOF1pk5N5
    • Use the opening tool to gently pry open the compartment covering.

  5. Y1EVsiqlVlBJoxAd
    Y1EVsiqlVlBJoxAd
    qiRoM4XYOCFjJ2cQ
    VPbNKBaI1GJciom1
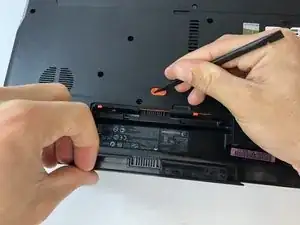
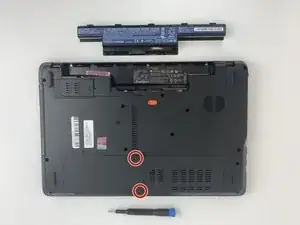
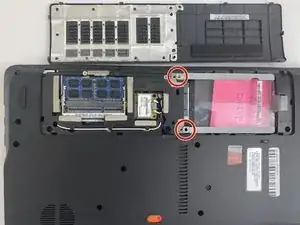
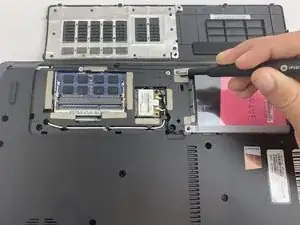
    • Unscrew the two 0.5mm screws from the hard drive brackets using the Phillips #0 screwdriver.

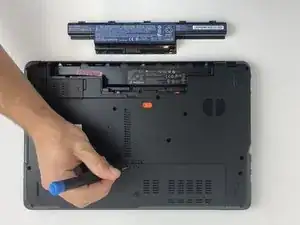
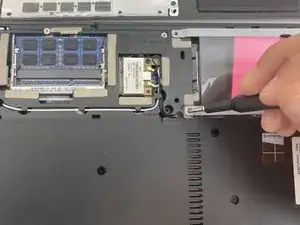
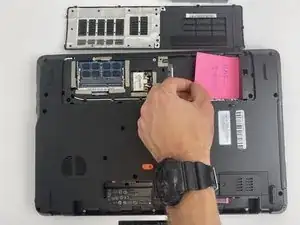
    • Pull the plastic tab attached to the hard drive to the right to remove the hard drive.

    • The hard drive plugs into the port on the left within the compartment. Be sure to gently remove the hard drive without damaging the port.

    For all screws, you need to include the measurements.

    Alex Watkins -

    Also, be sure to always use the appropriately colored bullets to match markup. I’m not marking additional instances of this issue, so be sure to check throughout.

    Alex Watkins -

  6. WRoTg12DRXU2EbdE
    WRoTg12DRXU2EbdE
    JtsUBkhSsVvWGuQt
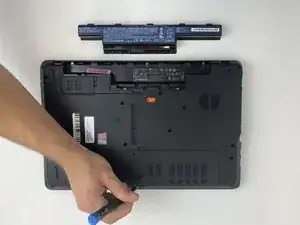
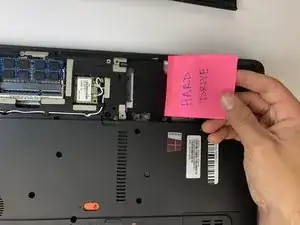
    • Remove the hard drive by lifting up the right side, releasing the hard drive from the compartment clips on the left.

    Can you add a final image of you removing the “hard drive” here?

    Alex Watkins -

Conclusione

To reassemble your device, follow these instructions in reverse order.

Piper Moeller

Membro da: 24/01/20

619 Reputazione

0 commenti