Introduzione
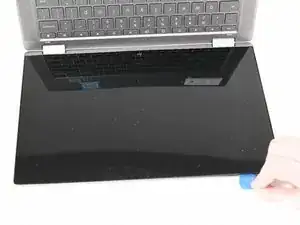
This guide outlines how to remove the screen of an HP Chromebook x360 14c-ca0053. The screen functions to display images on the device, and it should be replaced if it is cracked or going black routinely. The black tape in step 11 can be difficult to locate and is susceptible to snapping, so make sure you have good lighting and pull the tape out gently; this tape will need to be replaced as it is useless after removal.
-
-
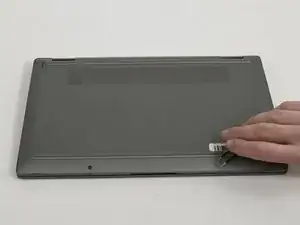
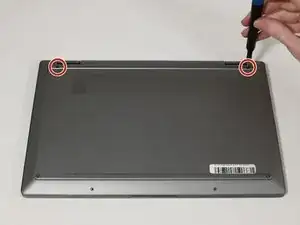
Use tweezers to apply light pressure on the outer sides of the 2 small screw covers located near the bottom of the device.
-
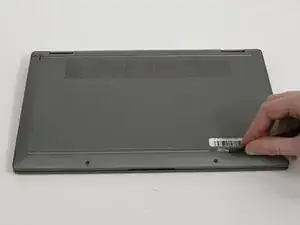
Rotate the covers until they pop up out of the screw socket enough to remove them with tweezers.
-
-
-
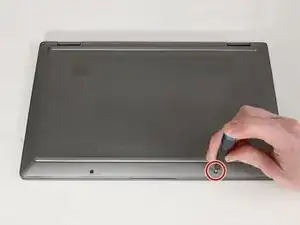
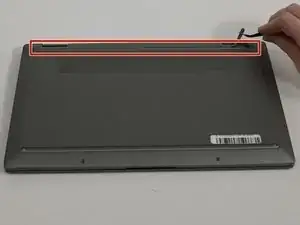
Use tweezers to peel back the feet on the top and bottom of the Chromebook to reveal four additional screws.
-
-
-
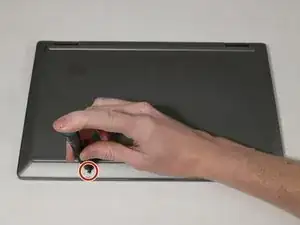
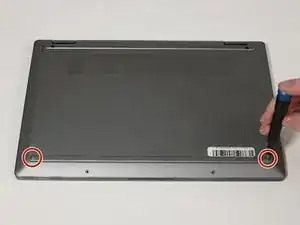
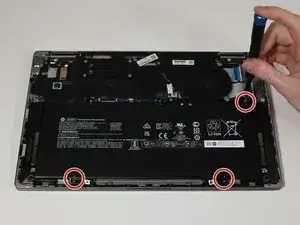
Use a Phillips #1 screwdriver to remove the 4 7 mm screws located at each corner of the device under the grips.
-
-
-
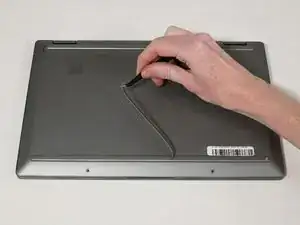
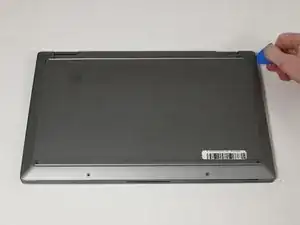
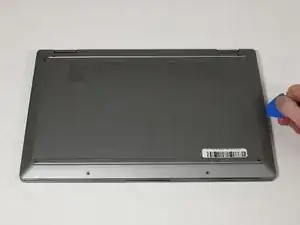
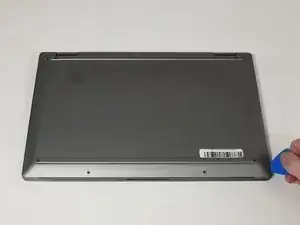
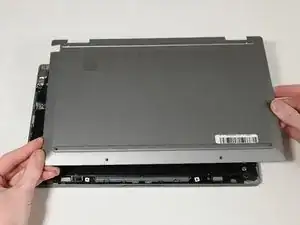
Insert an opening pick between lower case and chassis.
-
Separate the lower case from the frame by sliding the opening pick along the perimeter until the case releases.
-
-
-
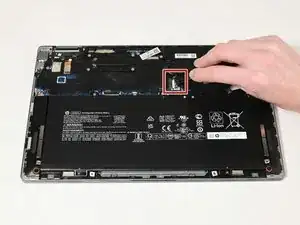
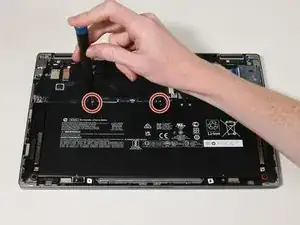
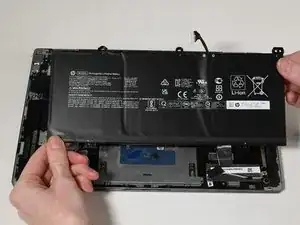
Open the tweezers wide enough to fit on each side of motherboard battery connection.
-
Pull the connector directly out of its socket.
-
-
-
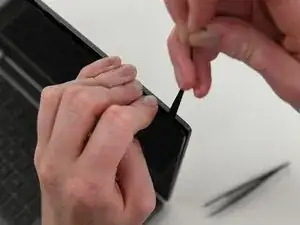
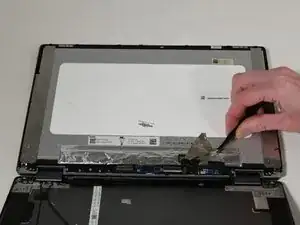
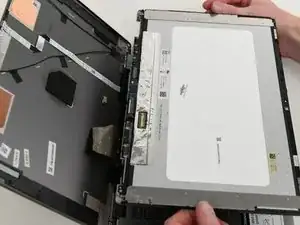
Use the opening pick to create a small gap between the back panel of the screen and the display screen.
-
-
-
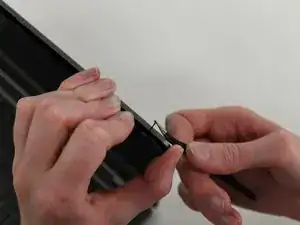
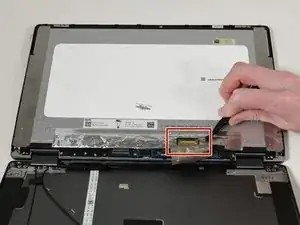
Use tweezers to locate the black tape between the back panel and the display screen.
-
Pull the adhesive through the gap on each side of the screen until it comes loose.
-
-
-
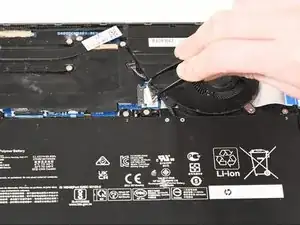
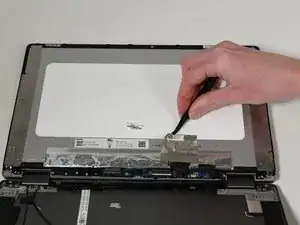
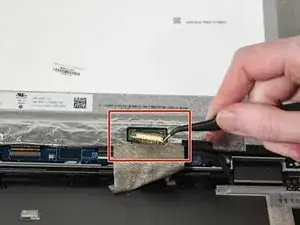
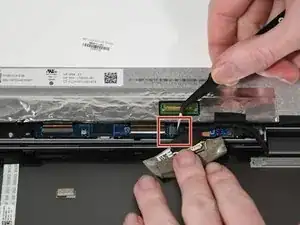
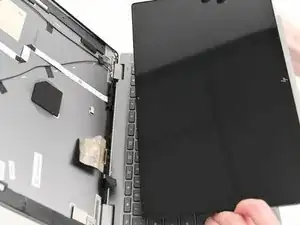
Use tweezers to lift up the black metal wire covering the connector.
-
Gently pull the display connector out from the device.
-

To reassemble your device, follow these instructions in reverse order.