Introduzione
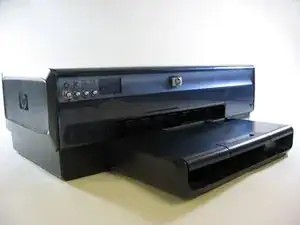
In this guide, we're going to help you clean your HP Deskjet 6840 so that it keeps on printing the documents you need and the photos you love!
Strumenti
-
-
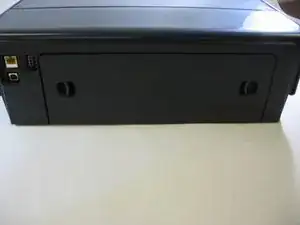
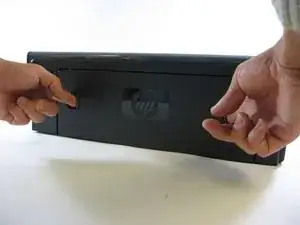
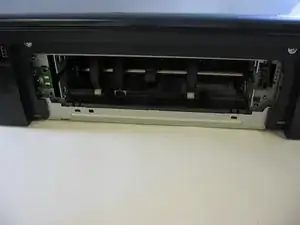
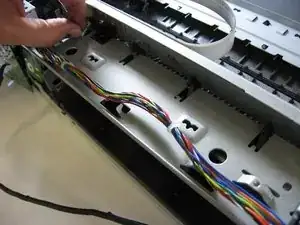
Use two fingers to simultaneously press the two grooves on the back of the printer down and in.
-
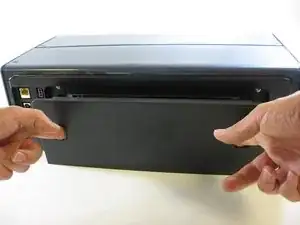
Pull the panel off of the printer.
-
-
-
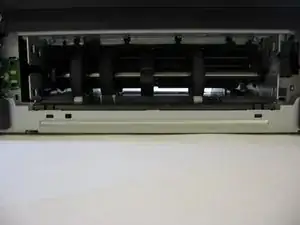
Use a screwdriver to remove each visible screw.
-
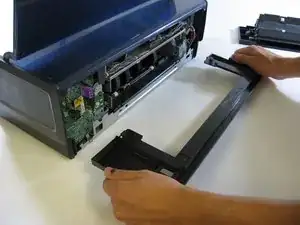
Pull out and remove the rear support structure using two hands.
-
-
-
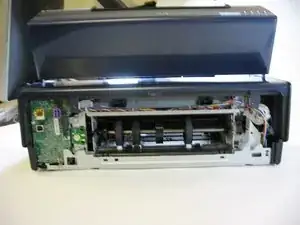
Carefully remove the shell that encases the internal parts of your printer.
-
Gently remove the shell from the base of the printer by placing your hands at the corners and firmly lifting the shell until it pops off of the base. Do not pry or bend the shell.
-
-
-
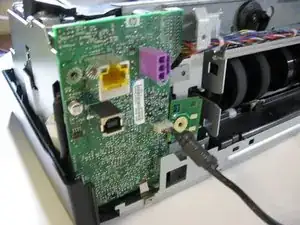
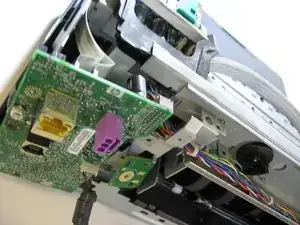
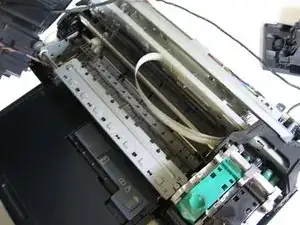
Use a screwdriver to remove the screws from the printer carriage assembly and the green plastic motherboard.
-
Gently loosen the motherboard from its base, but don't completely pull it out.
-
-
-
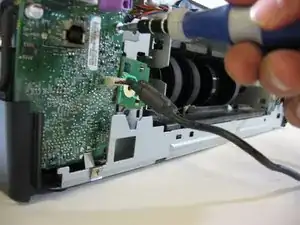
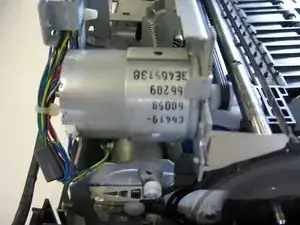
Use a screwdriver to remove the screws from the motor carriage.
-
Remove the screws from the motor housing if you need to replace the motor.
-
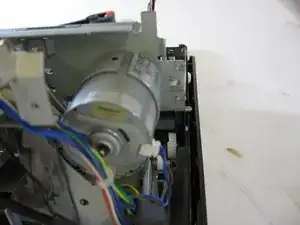
Remove the motor from the housing using your fingers.
-
Replace the motor with a new one if needed.
-
-
-
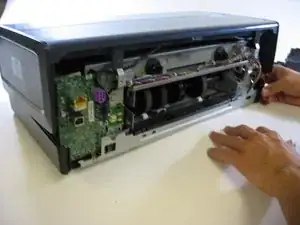
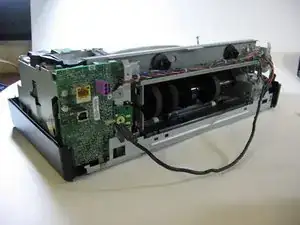
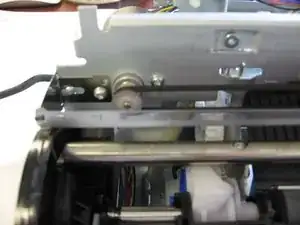
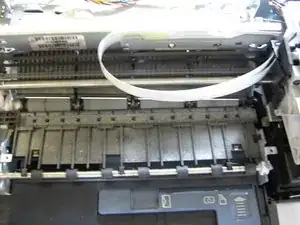
By now, your printer should look like the one in the photograph.
-
Use a screwdriver to remove any remaining screws.
-
-
-
To clean the exterior of the device, generally a soft, moist cloth can be used to wipe away any dust, smudges, or other granules that may have collected on the device. Be careful not to dampen the cloth too much, as excessive water (or other liquids) slipping into the interior could damage the device.
-
-
-
There may be an amount of ink residue that builds up inside the device, so be thorough when sterilizing your printer.
-
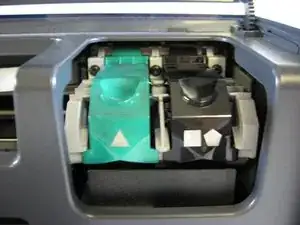
However, regarding general maintenance, the ink cartridges and carriage are your main concern, as most other residue is normal build-up for this device.
-
-
-
To maintain the ink cartridges, you simply wipe them down with a soft, clean cloth.
-
However, if you find the dried ink stains disconcerting, know that they are character of a healthy, functioning device. You can still wipe them off, but be cautious not to rub too hard- you risk denting or otherwise damaging the machine.
-


To reassemble your device, follow these instructions in reverse order.