
Introduzione
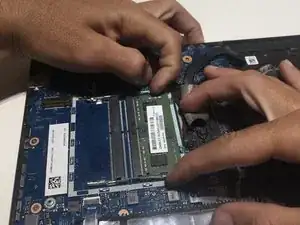
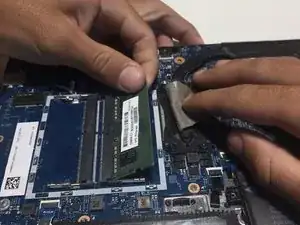
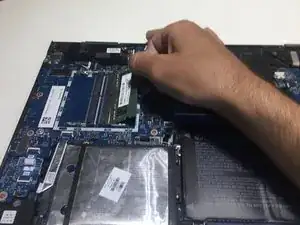
There are many different reasons that you may want to replace or upgrade your Random Access Memory (RAM), including faulty ram causing booting errors or system memory failures. Upgrading your RAM can help with your operating speeds, especially when multitasking. The steps outlined in this procedure walk you through replacing a RAM card in an HP Envy x360 15m-bq021dx laptop.
If you're noticing a dramatic decrease in operating speed, your computer is crashing while performing, or your applications are responding slowly, faulty RAM may be your issue.
Overall, upgrading your RAM optimizes your computers performance, so even if you are not experiencing any major issues with your HP laptop, it is a good idea to swap the RAM card for a compatible one of a higher storage rating.
Some computers have two or more RAM sticks that can be easy to access or tucked away where it's hard or risky to get to them. When replacing you RAM make sure you are replacing the right piece and be extremely careful not to rush the process of replacing them.
This replacement or upgrade does not require any special skills such as soldering.
-
-
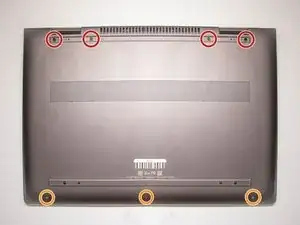
On the back panel of the device, remove the four (4) M2.5xL6 screws at the top of the photo using a Phillips #0 screwdriver.
-
Unscrew the three (3) screws at the bottom of the photo using a T5 Torx screwdriver.
-
-
-
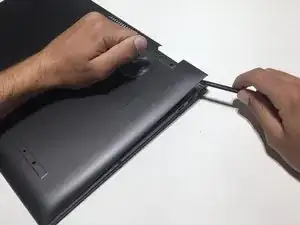
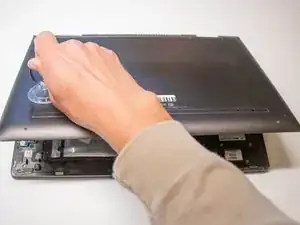
To remove the back cover, use the black spudger to lift up on the edges of the cover.
-
Use a suction cup to assist in lifting the back cover
-
-
-
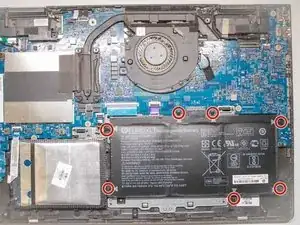
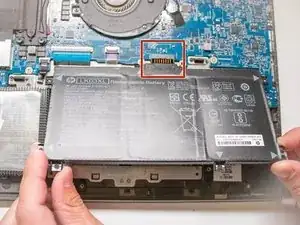
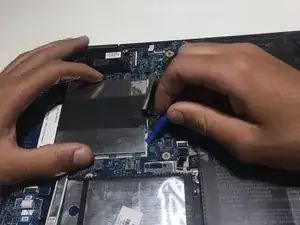
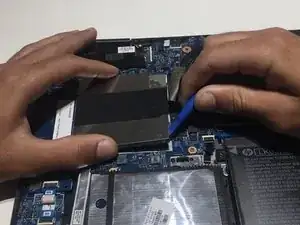
Using the Philips #0 screwdriver, remove the final screw from the battery connected to the SSD storage unit.
-

To reassemble your device, follow these instructions in reverse order.