Introduzione
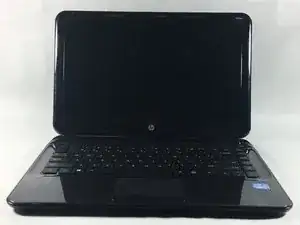
In this guide, you will find helpful information on removing and replacing the Wi-Fi card in an HP Pavilion 14-b015dx laptop.
Signs of a defective Wi-Fi card include not showing available Wi-Fi networks, frequently dropped Wi-Fi connections, and slow network speeds. As connection issues may arise from network problems, it is a good idea to test the laptop on different Wi-Fi networks to diagnose this problem correctly.
This guide requires the removal of the keyboard and the top case of the laptop. Before starting this process, the laptop must be unplugged and powered off completely.
Strumenti
-
-
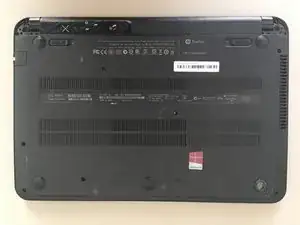
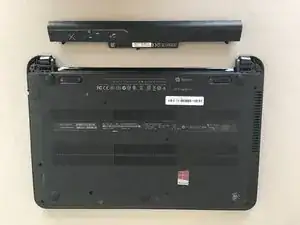
Place the device on your work surface with bottom facing up and the battery located at the top.
-
-
-
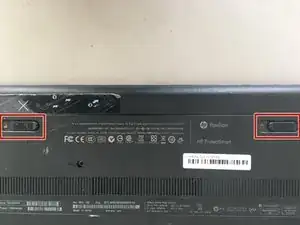
Slide the left release tab toward the center of the computer to the unlock position. Next slid the right tab toward the center of the computer and hold it there while completing step 4.
-
-
-
Unscrew the ten 6.0 mm Philips head screws on the base of the device with a Phillips #0 head screwdriver.
-
-
-
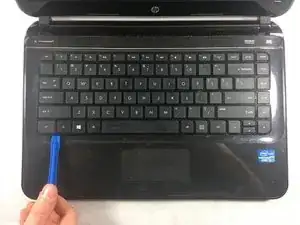
Insert the plastic opening tool between the keyboard and the plastic housing.
-
Pry the keyboard upward away from the device.
-
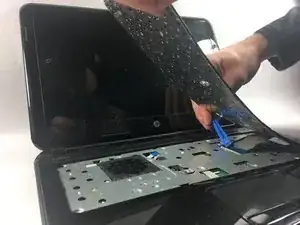
Move the tool around the edge of the entire keyboard while continuing to pry.
-
-
-
Once you have released all of the clips, slowly lift the keyboard exposing the ribbon cable.
-
Lift the tab on the keyboard ZIF connector with a plastic opening tool and gently remove the ribbon cable.
-
-
-
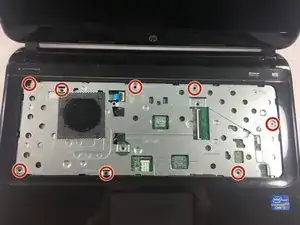
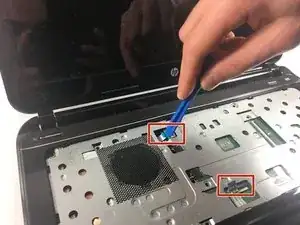
Remove the track pad and power button ribbon cables.
-
Lift the locking bar on each connector with a plastic opening tool and gently remove the ribbon cables
-
-
-
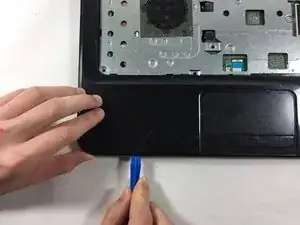
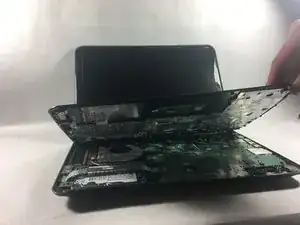
To remove the palm rest, insert the plastic opening tool in the seam between the palm rest and the base.
-
Pry upward to undo each clip.
-
-
-
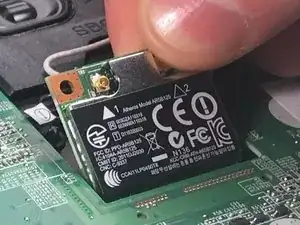
Remove the two 4.0 mm long screws on the corners of the wireless card the using a Philips #0 screwdriver.
-
-
-
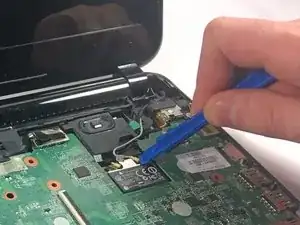
Remove the black and white wires attached to the wireless card by using your blue opening tool and prying upward.
-
-
-
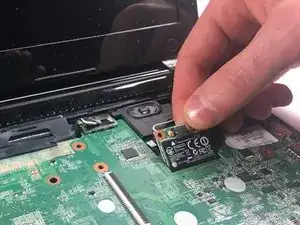
Once you have removed the screws and wires on the network card lift it up and away from the motherboard.
-


To reassemble your device, follow these instructions in reverse order.