Introduzione

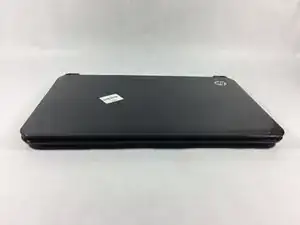
This guide provides the steps to remove and replace the cooling fan on a HP Pavilion 14-b120dx laptop. During this process be advised to power down the device to prevent electrical shock and be careful when applying force to prevent damage to the motherboard or cables.

  1. XcNnLNvNoJqZKcW4
    • Power down the laptop and detach the charging cord (failure to do so can result in electrical shock).

  2. vXtigFaWa3eicWXH
    vXtigFaWa3eicWXH
    DSvOKABGHGAnRd3R
    1tmItTJduHVsOhmI
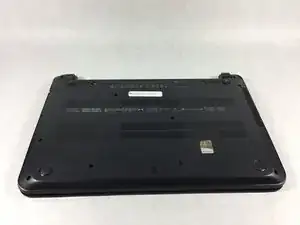
    • Flip the laptop upside down so that the bottom is facing you.

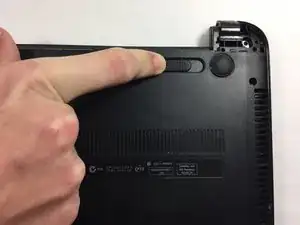
    • Push the slide on the right toward the center of the laptop, releasing the battery latch.

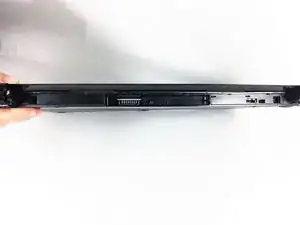
    • Lift the battery up and away from the laptop.

  3. 2kMB1AvVsGT5mDQT
    2kMB1AvVsGT5mDQT
    qKtvvANNO1MCIJgs
    wRNVBeruAaVxsb1X
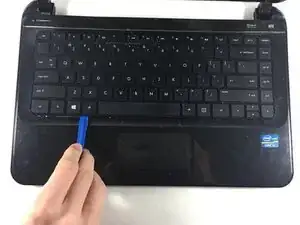
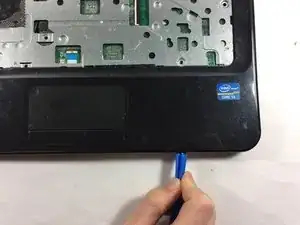
    • Insert the plastic opening tool between the keyboard and the palm rest.

    • Pry upwards until the keyboard section detaches from the laptop.

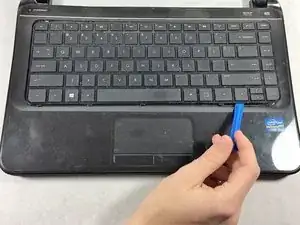
    • Repeat this around the edge of the entire keyboard.

    • Sections will make loud snapping noises as they detach from the palm rest - this is normal.

    there are 2 screws on the back that are marked with a mini keyboard. these have to be removed before lifting the keyboard

    John Bollman -

    Insert the opening tool at the back of the keyboard, not the front!

    Philip Le Riche -

  4. aNCrc5yfAjDuoXcC
    aNCrc5yfAjDuoXcC
    I3ZPChg1UqyTtmTt
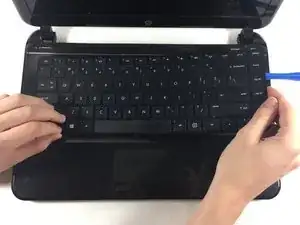
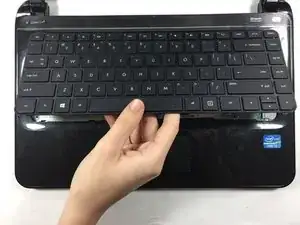
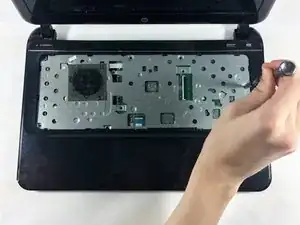
    • Lift the keyboard slowly up until the connecting cable is exposed.

    • Carefully lift the flap on the ZIF connector using a fingernail or plastic opening tool. This will release the cable.

    • Detach the cable.

    Lift the back of the keyboard, not the front!

    Philip Le Riche -

  5. ovgCEcMaj3hXTfxn
    ovgCEcMaj3hXTfxn
    ExvKwSoPHeZCJUA3
    • Unscrew the 10 6.0 mm screws under the keyboard housing with a Philips #0 head screwdriver.

    2 of these marked locations are the holes for the keyboard screws

    John Bollman -

  6. XoxHBDe1Vu16RV6A
    XoxHBDe1Vu16RV6A
    cJukWtMBo4pjwSpV
    KKBgLjVNsoxBpPXF
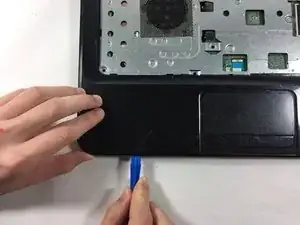
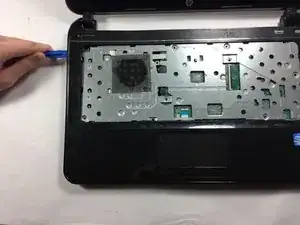
    • Insert the plastic opening tool into the seam between the palm rest and the laptop.

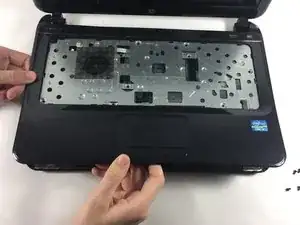
    • Pry upwards until the palm rest separates from the laptop.

    • Repeat this process around the entire computer.

    • These steps will be similar to the ones you took to remove the keyboard. Again, you will hear snapping noises.

  7. UOCffdOWVsJJaOEC
    • Lift upwards to remove the palm rest.

  8. Jm1ZSTdoROh3ZwBU
    Jm1ZSTdoROh3ZwBU
    6VxXenbUDYZMbRyL
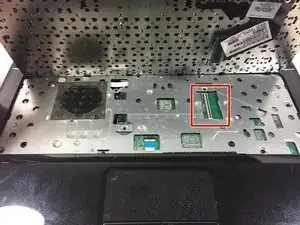
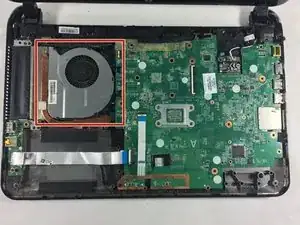
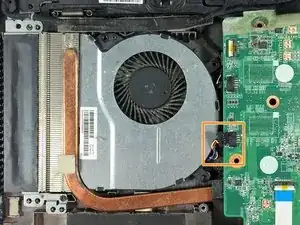
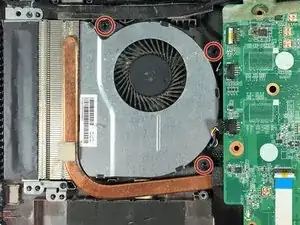
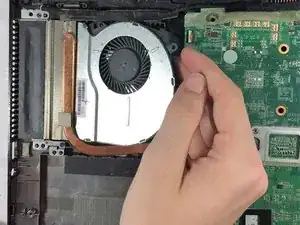
    • Locate the fan in the upper left hand corner of the laptop.

    • Remove the cable connecting the fan to the motherboard.

    • Be sure not to damage the motherboard or the connecting cable. Carefully apply force to remove the cable.

  9. OtmcLGHue6jjKtDy
    OtmcLGHue6jjKtDy
    NnwErygJ1aHPeFap
    • Unscrew the 3 6.0 mm screws holding the fan with a Phillips #0 head screwdriver.

  10. FlGRrMkkAVrRYUWl
    • Remove the fan by pulling upward and to the right.

Conclusione

To reassemble your device, follow these instructions in reverse order.

Erin Lavalla

Membro da: 19/10/16

458 Reputazione

0 commenti