Introduzione
Use this guide to replace the heat sink in your HP Pavilion 14-bk061st laptop.
The heat sink is an important part of any computer that disperses heat away from the CPU (Central Processing Unit). A faulty heat sink can put your CPU at risk of overheating, which can result in a system failure of the entire computer.
Before using this guide, make sure that the problem you are having is a faulty heat sink first and not a computer fan problem causing the computer to overheat, as a computer fan not performing properly is a common issue that causes general overheating. To find out more about this, visit the troubleshooting page.
Thermal paste is important to help with heat conduction between the CPU and heat sink. When putting the heat sink onto the CPU, it is absolutely crucial to reapply this paste, otherwise the CPU may overheat. To learn more about this, check out this guide on how to apply thermal paste.
Remember to power off the computer, as well as disconnect all external components that are plugged into it.
Strumenti
-
-
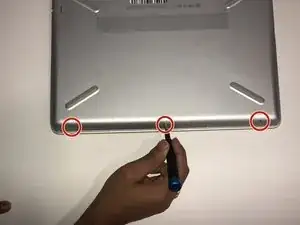
Remove the three 5.7 JIS #1 screws from the bottom of the laptop.
-
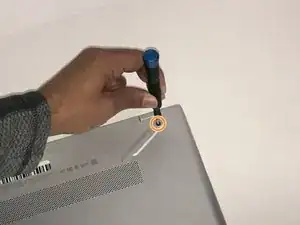
Remove the two 6.7mm JIS #1 screws from underneath the feet of the laptop close to the exhaust vent.
-
-
-
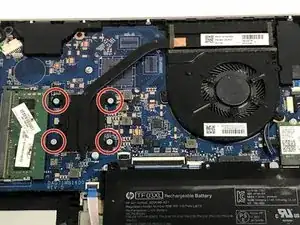
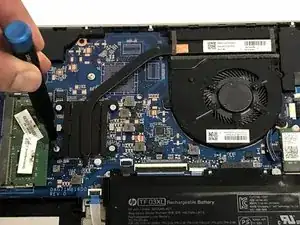
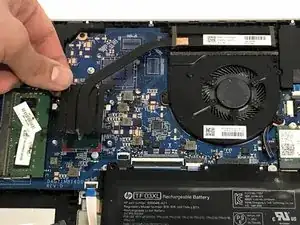
Carefully grab the heat sink from any side and lift straight up while trying to avoid touching other components.
-
To reassemble your device, follow these instructions in reverse order.