Introduzione

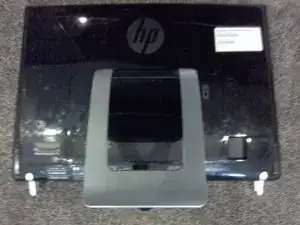
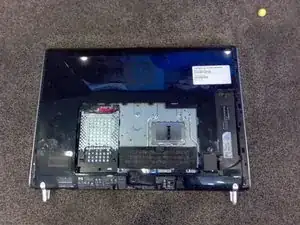
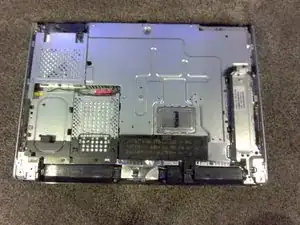
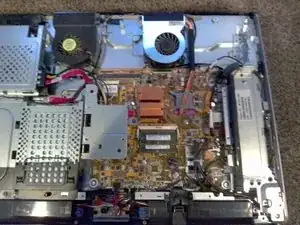
The Touchsmart 600 comes with a Core 2 Duo stock CPU, but the CPU is socketed so it can be removed and upgraded.

  1. KwmYf4uRGlBAG6DO
    KwmYf4uRGlBAG6DO
    YDZDZVUN2PfhENZR
    om2AKpggZSdmxF5E
    • Nearly every screw in this computer uses a Torx bit, but they also have a slit that allows them to be removed with a flat-head screwdriver as well.

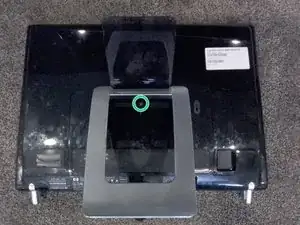
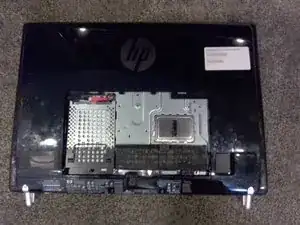
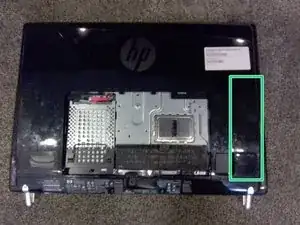
    • Flip the computer screen down, and flip the cover on the stand up.

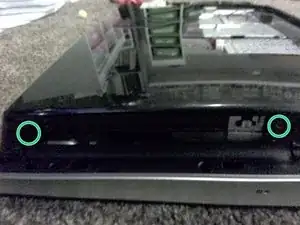
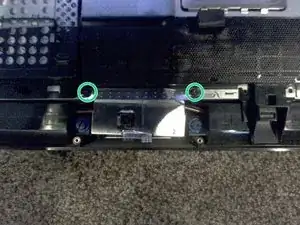
    • Remove the screw and slide the panel down to remove the cover.

  2. RngggmvpBlt2I32p
    RngggmvpBlt2I32p
    sTUEexcy3CMRZrrF
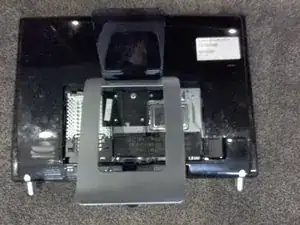
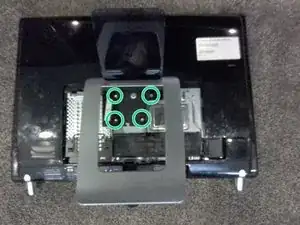
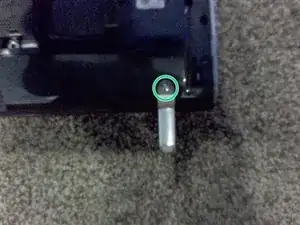
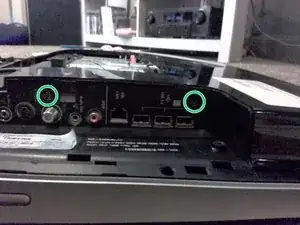
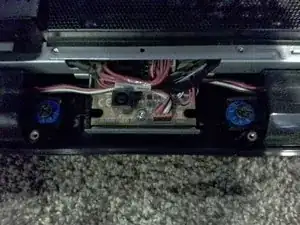
    • Unscrew the 4 screws holding the stand to the computer and pull the stand down to remove it.

  3. YBfLsAS5EBWUPXX2
    • Remove the bezel covering the ports

  4. hdBNYEANEAPjP4EK
    hdBNYEANEAPjP4EK
    BblYVvdpISyxRVrh
    emEvmYGLhxQmJuZn
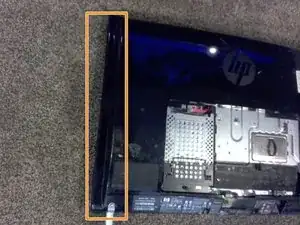
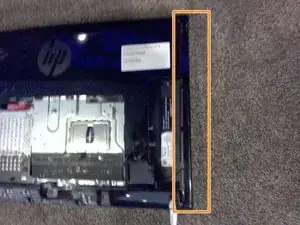
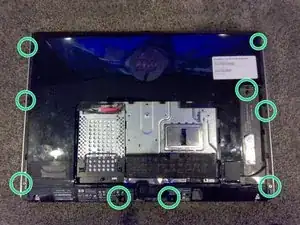
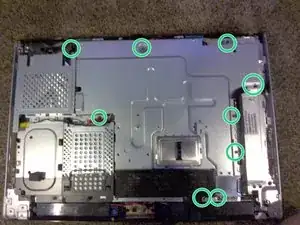
    • Pull up on the bezel from the bottom. As long as you are careful, you should be able to remove them without breaking any clips

  5. jZVPkRUQaGsSF1UV
    • Unscrew and pull the foot towards you. Repeat on other side.

  6. bOieI1Ag55t3FUM2
    bOieI1Ag55t3FUM2
    qCNcEHxZcj5jnUVW
    • Pull up on the little tab and remove the DVD cover

  7. CNxDL36iC2ncXhtU
    CNxDL36iC2ncXhtU
    hJcKLyrMvWKPDaJi
    FIwXAhZJ45wjMRRo
    • CHECK ALL THREE PHOTOS TO REMOVE ALL SCREW

    • Remove all 13 screws

  8. 3aJWxSsQDNjRvHpW
    3aJWxSsQDNjRvHpW
    3I4mHOCMkhWMgmpG
    • Pull up on the bottom of the panel and hinge it.

    • It will come off, set it aside

  9. t1ZrnDnOACRHQmKE
    t1ZrnDnOACRHQmKE
    5lNguT2G25SjF6Yl
    • Unscrew both screws and remove the cover

  10. qVBM1QEg2vENAYNY
    • Unscrew the nine screws holding the panel in.

  11. sKAyJsBPIQkgWgmM
    • Pull the cover towards the top left to remove it

  12. n3TKx3sRbgnTp6rM
    • Unscrew CPU fan

    • DO NOT TRY AND REMOVE THE FAN. THE HEAT PIPE IS ON TOP OF THE CPU

  13. DQFjpawokuvfEFLL
    DQFjpawokuvfEFLL
    OmYbFMlndDFdFM4V
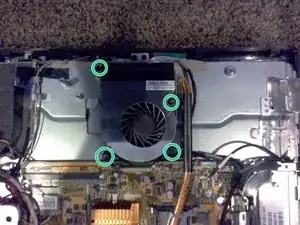
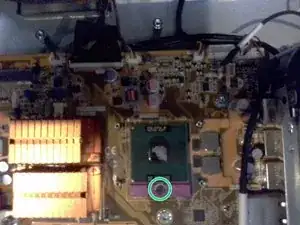
    • Unscrew the plate over the CPU

    • It uses a small phillips head, one of the only non torx bits in the computer

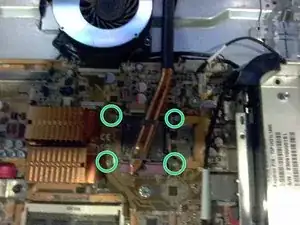
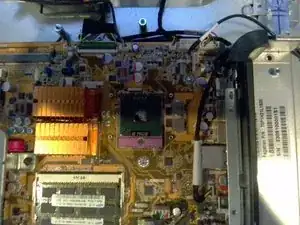
    • After unscrewing the plate, flip the fan off of the CPU

  14. W5CryFxVxhovdgjo
    W5CryFxVxhovdgjo
    L2RyirKRBtj1Lpph
    • Unlock the socket and remove the CPU

Conclusione

To reassemble your device, follow these instructions in reverse order.

NahDoesntExist

Membro da: 13/08/23

352 Reputazione

0 commenti